It’s almost Christmas! Which means it’s almost my birthday. Little known (or lotta known) fact, my birthday is ON CHRISTMAS! That’s right, I’m a Christmas baby and before you ask… yes! I LOVE IT. All of my family is there and I get to celebrate the birth of Christ and mine on the same day! Today, I thought I’d share with you my technique for Christmas gift wrapping. I wrap my boxes just like anyone else, but instead of ribbon, I use strips of fabric. I’ve been doing this since before I graduated college. I think it makes the bows a little bigger and bolder and I like my bows BIG and BOLD!
The other great thing about using fabric is that there are SO many more options of cotton fabric than there are for ribbon. I’ve done pink, olive green, and black and white polka dots. I’ve done all white and green. And you can pair different fabrics so that each gift under your tree is unique.
So lets get started.
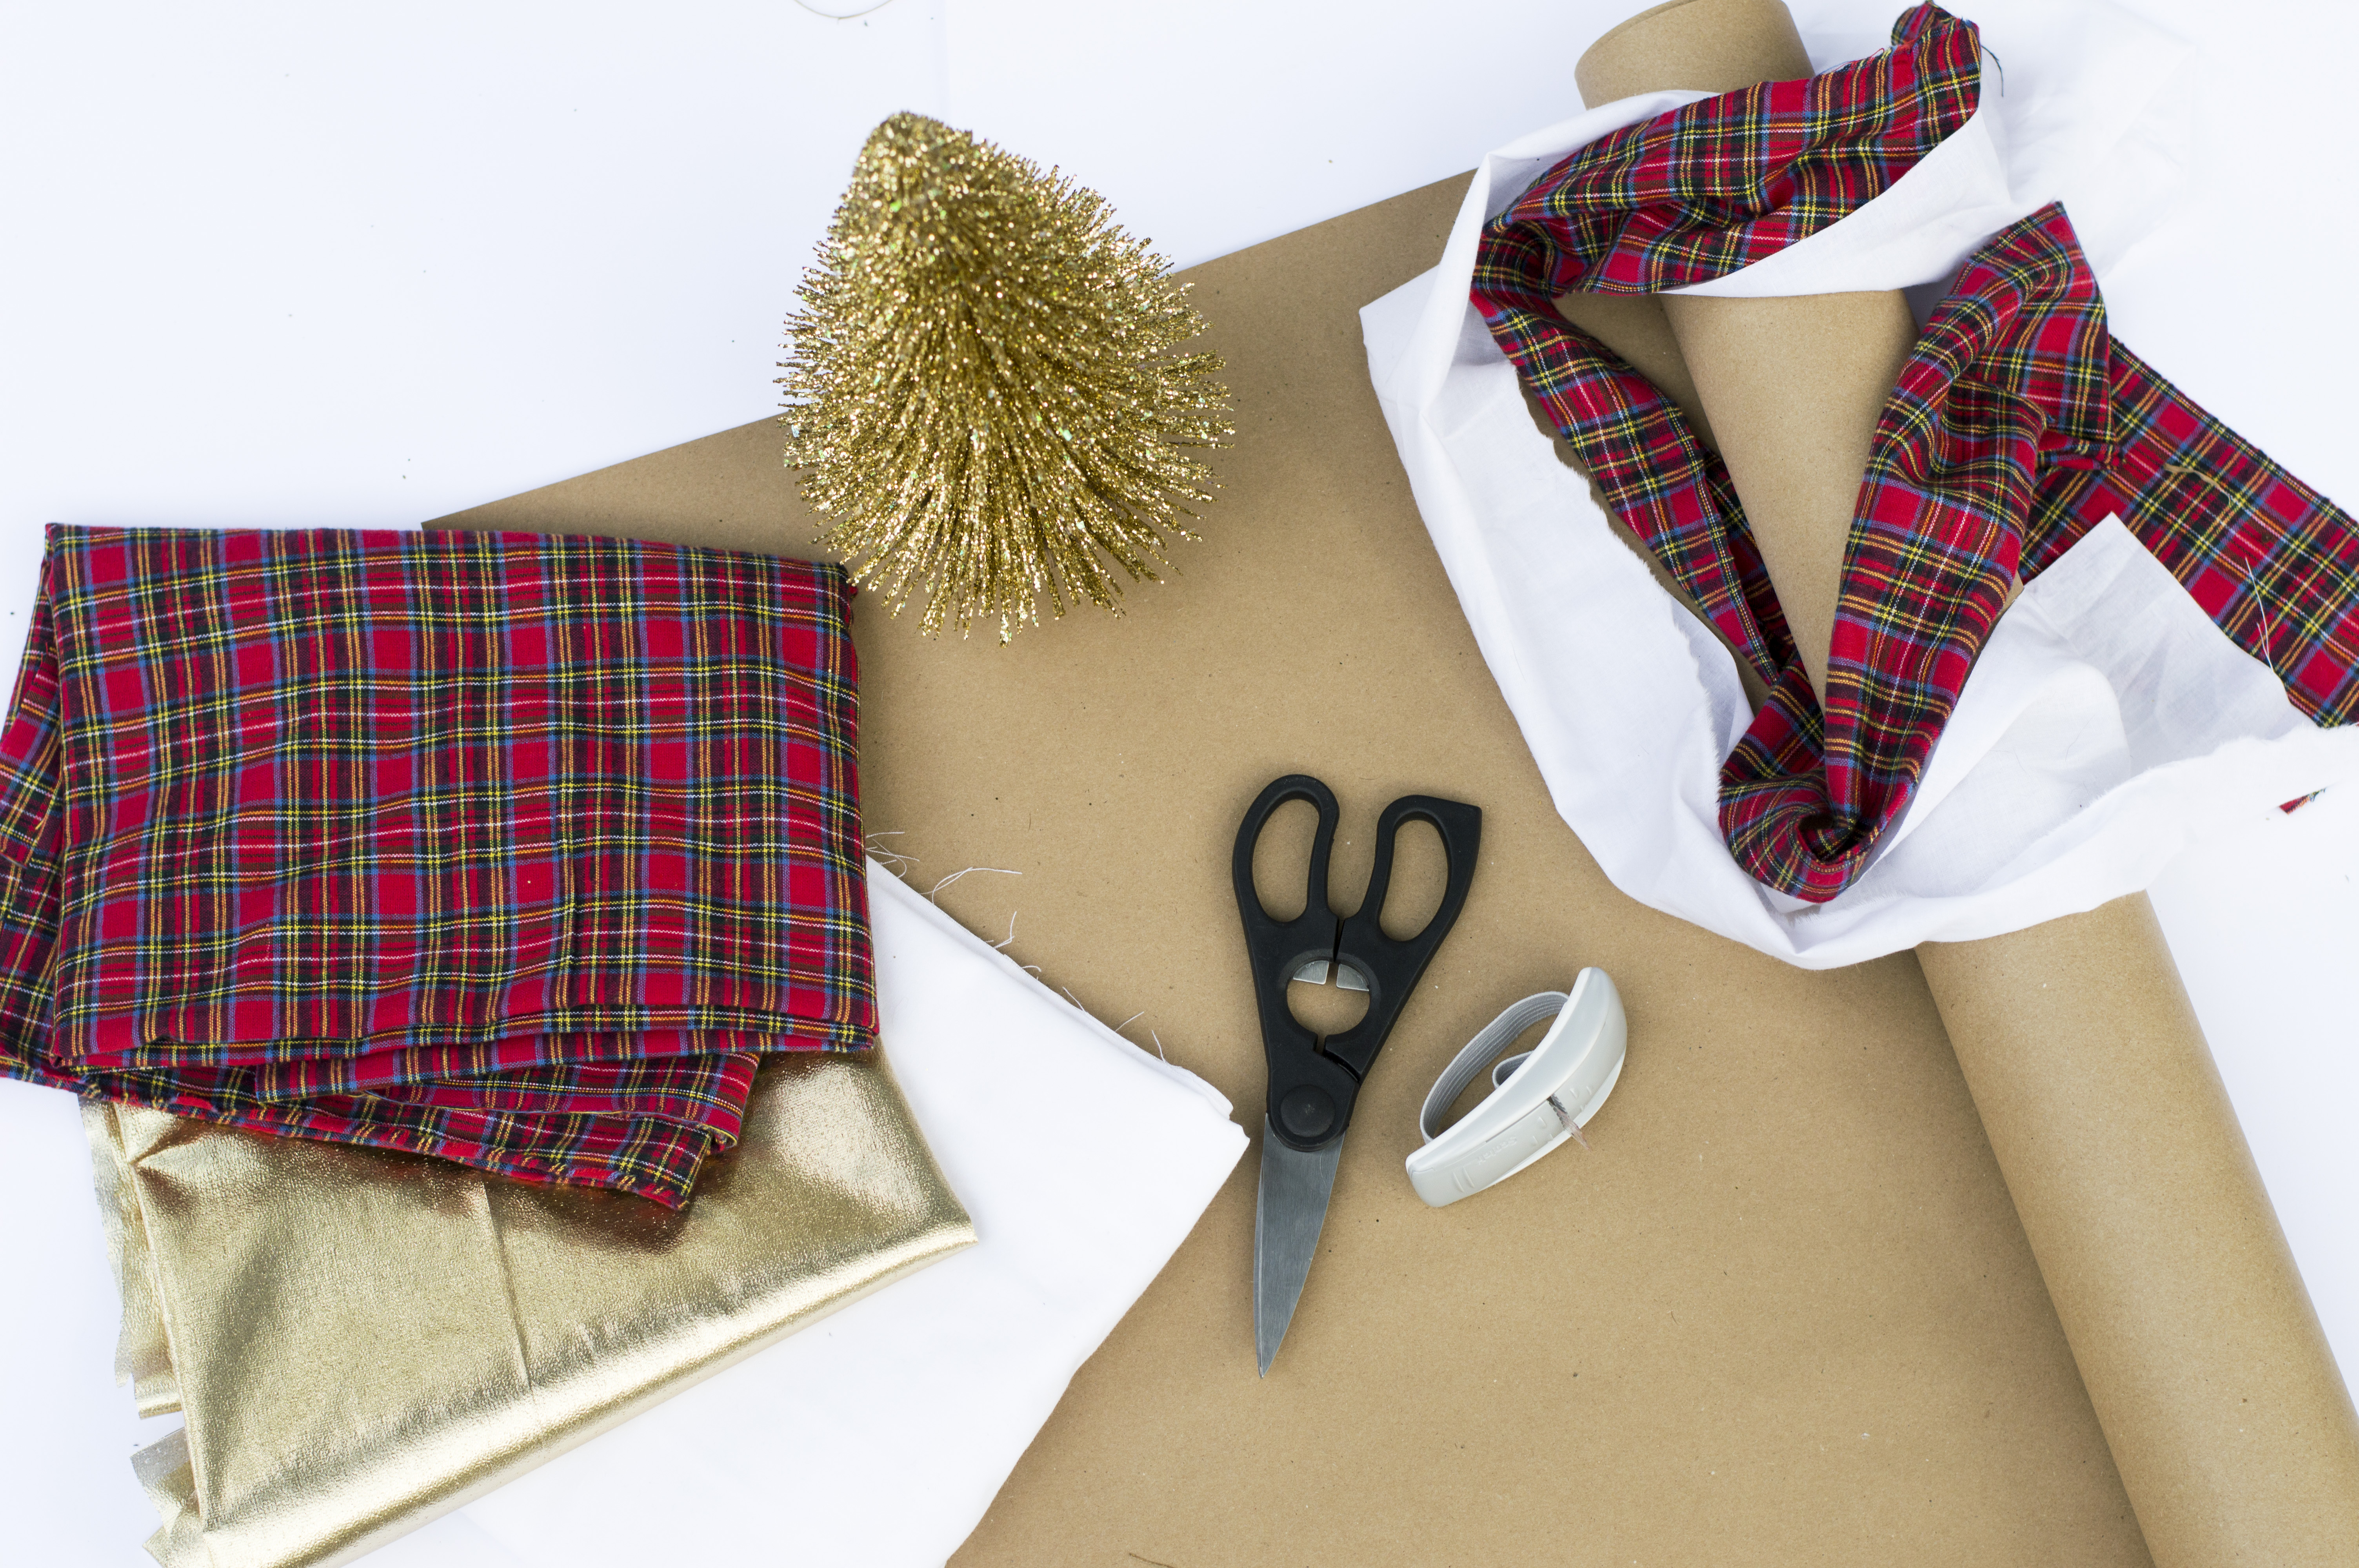
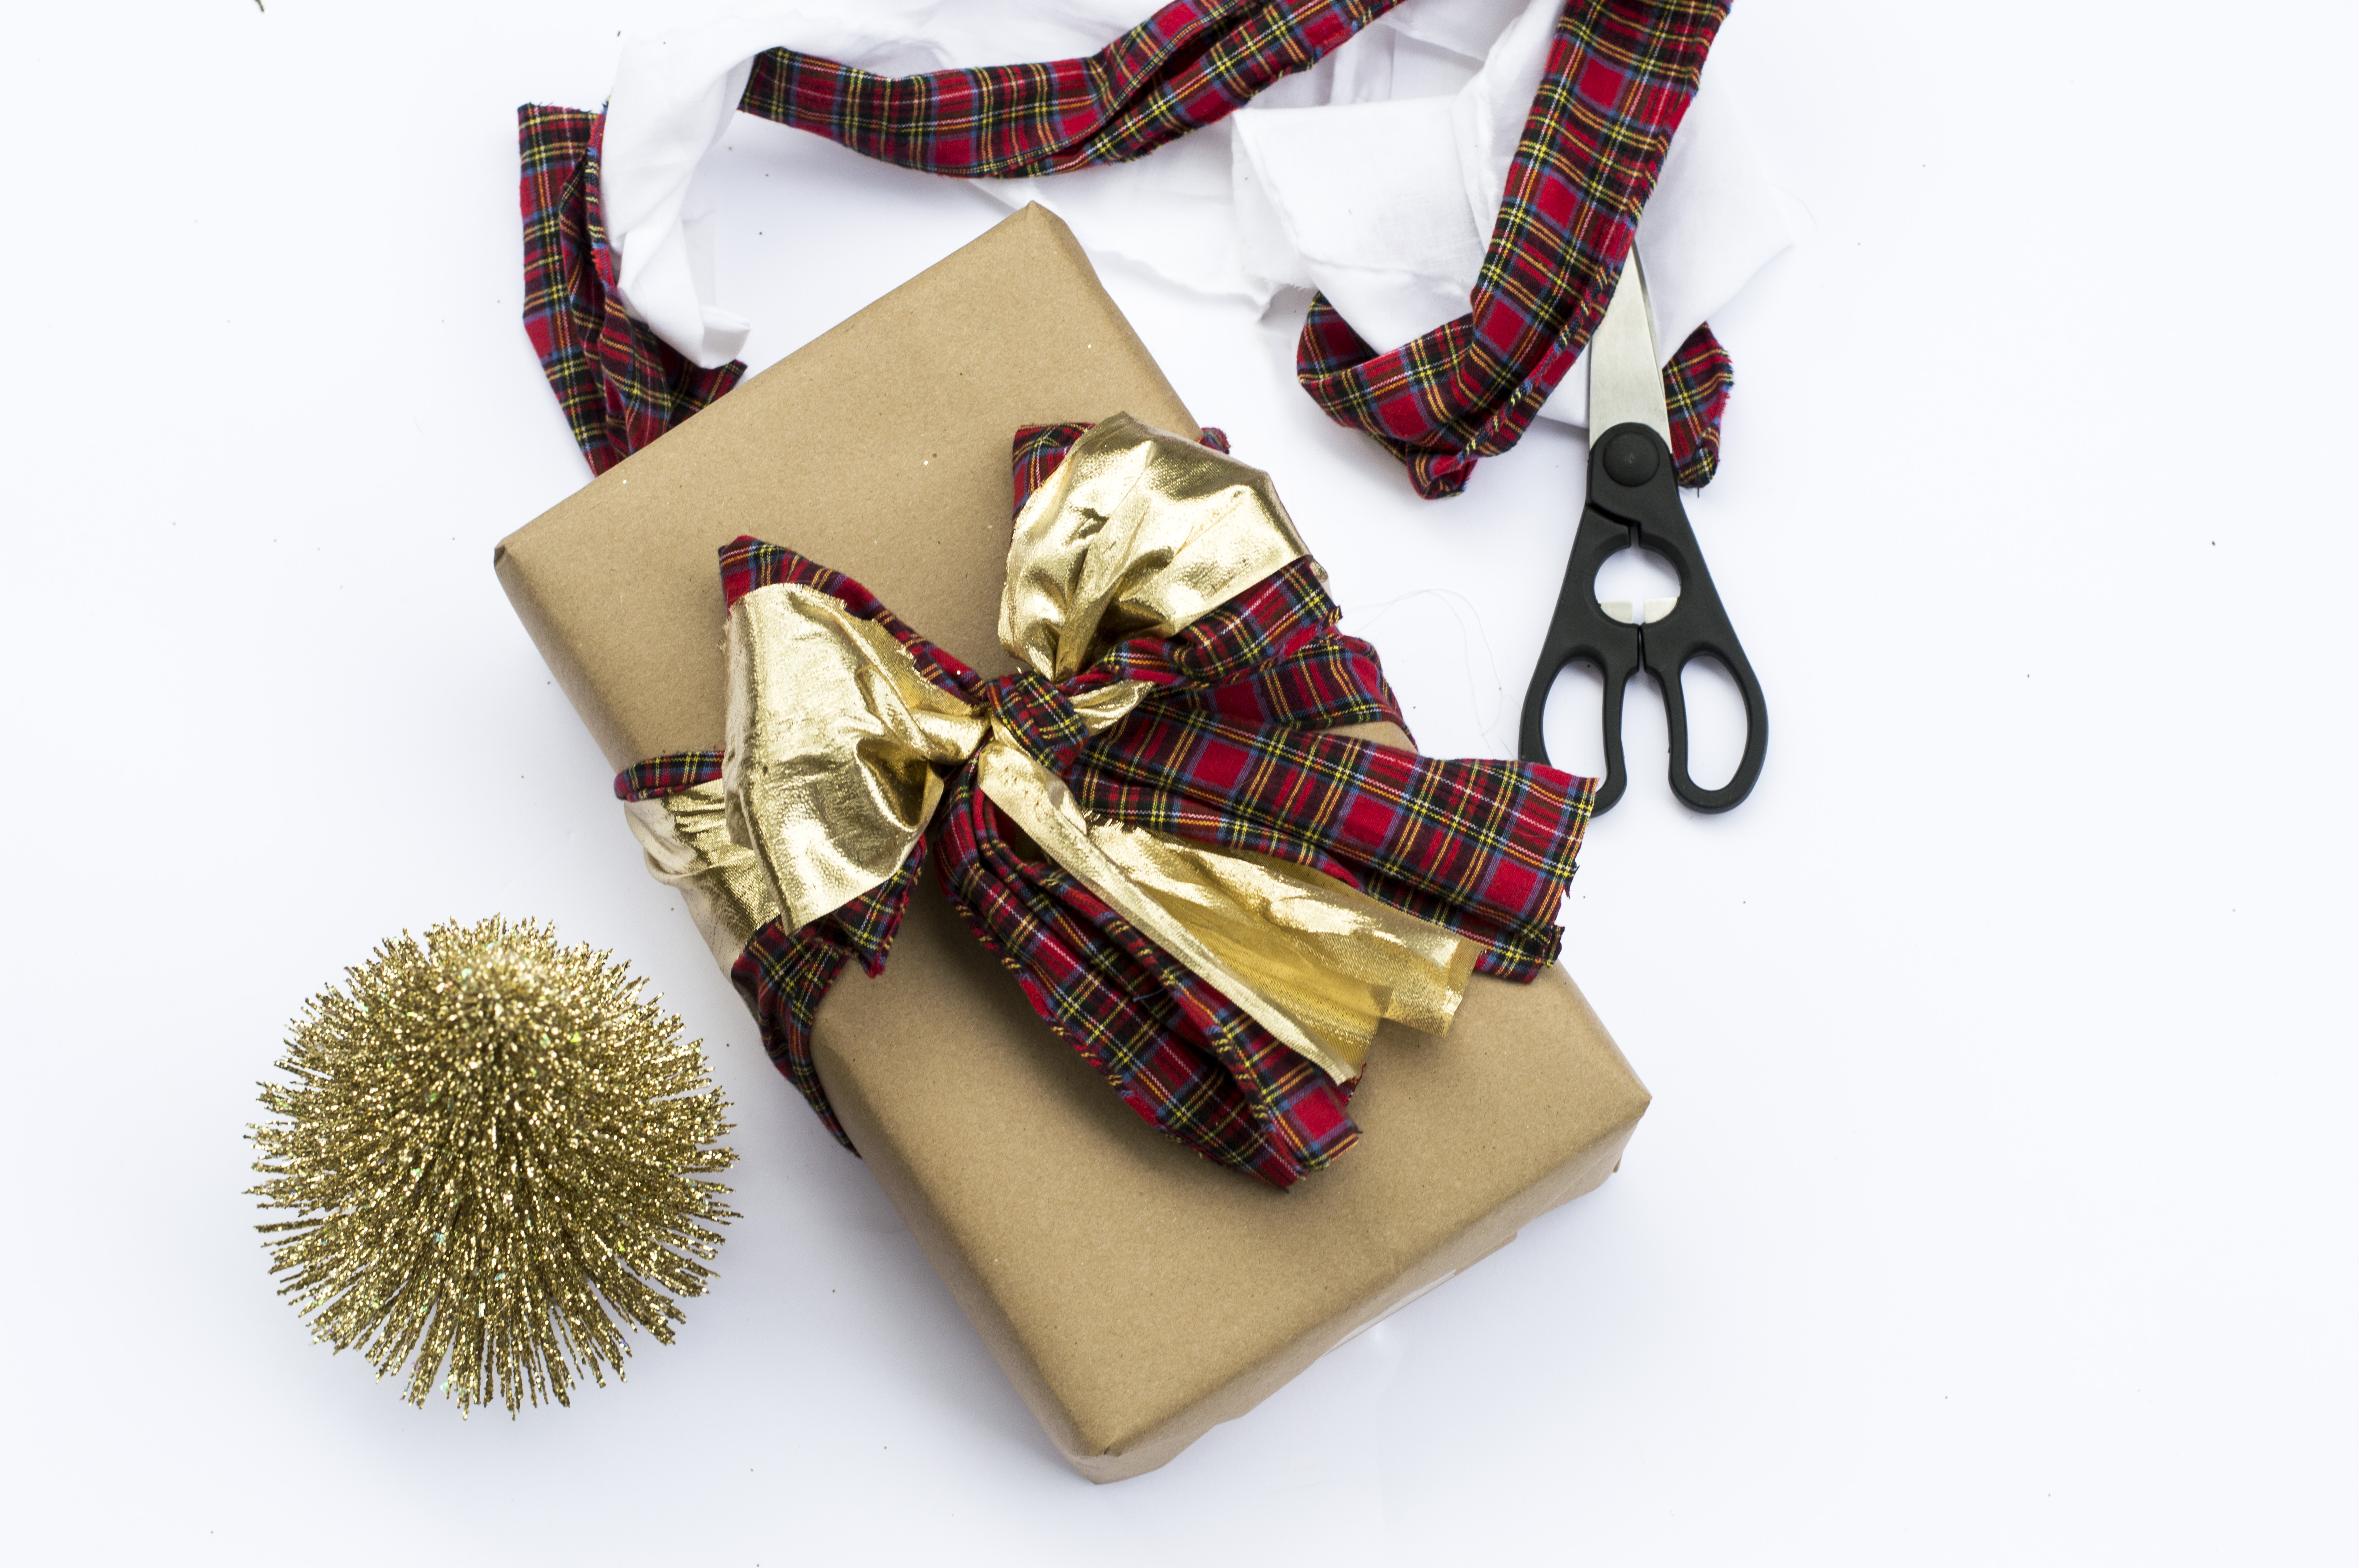
First, Gather your materials. I used brown craft/pack and ship paper to wrap my boxes. I would stick with something solid so that your fabric bows really pop. You’ll need at least 2 or 3 different fabrics (I usually get 2 yards of each to start). Cotton works best but I used a metallic gold lame’ this year along with a plain white and some tartan plaid. And of course, scissors and tape.
You’re going to want to wrap your gift now. Nothing special here. Just wrap it. I swear by this little hand-strap tape dispenser. Didn’t know I needed it until I had it but I don’t know what I would do without it. It’s made my Scotch (of course) and the tape comes out in the PERFECT gift wrapping size. Trust me, you need this.
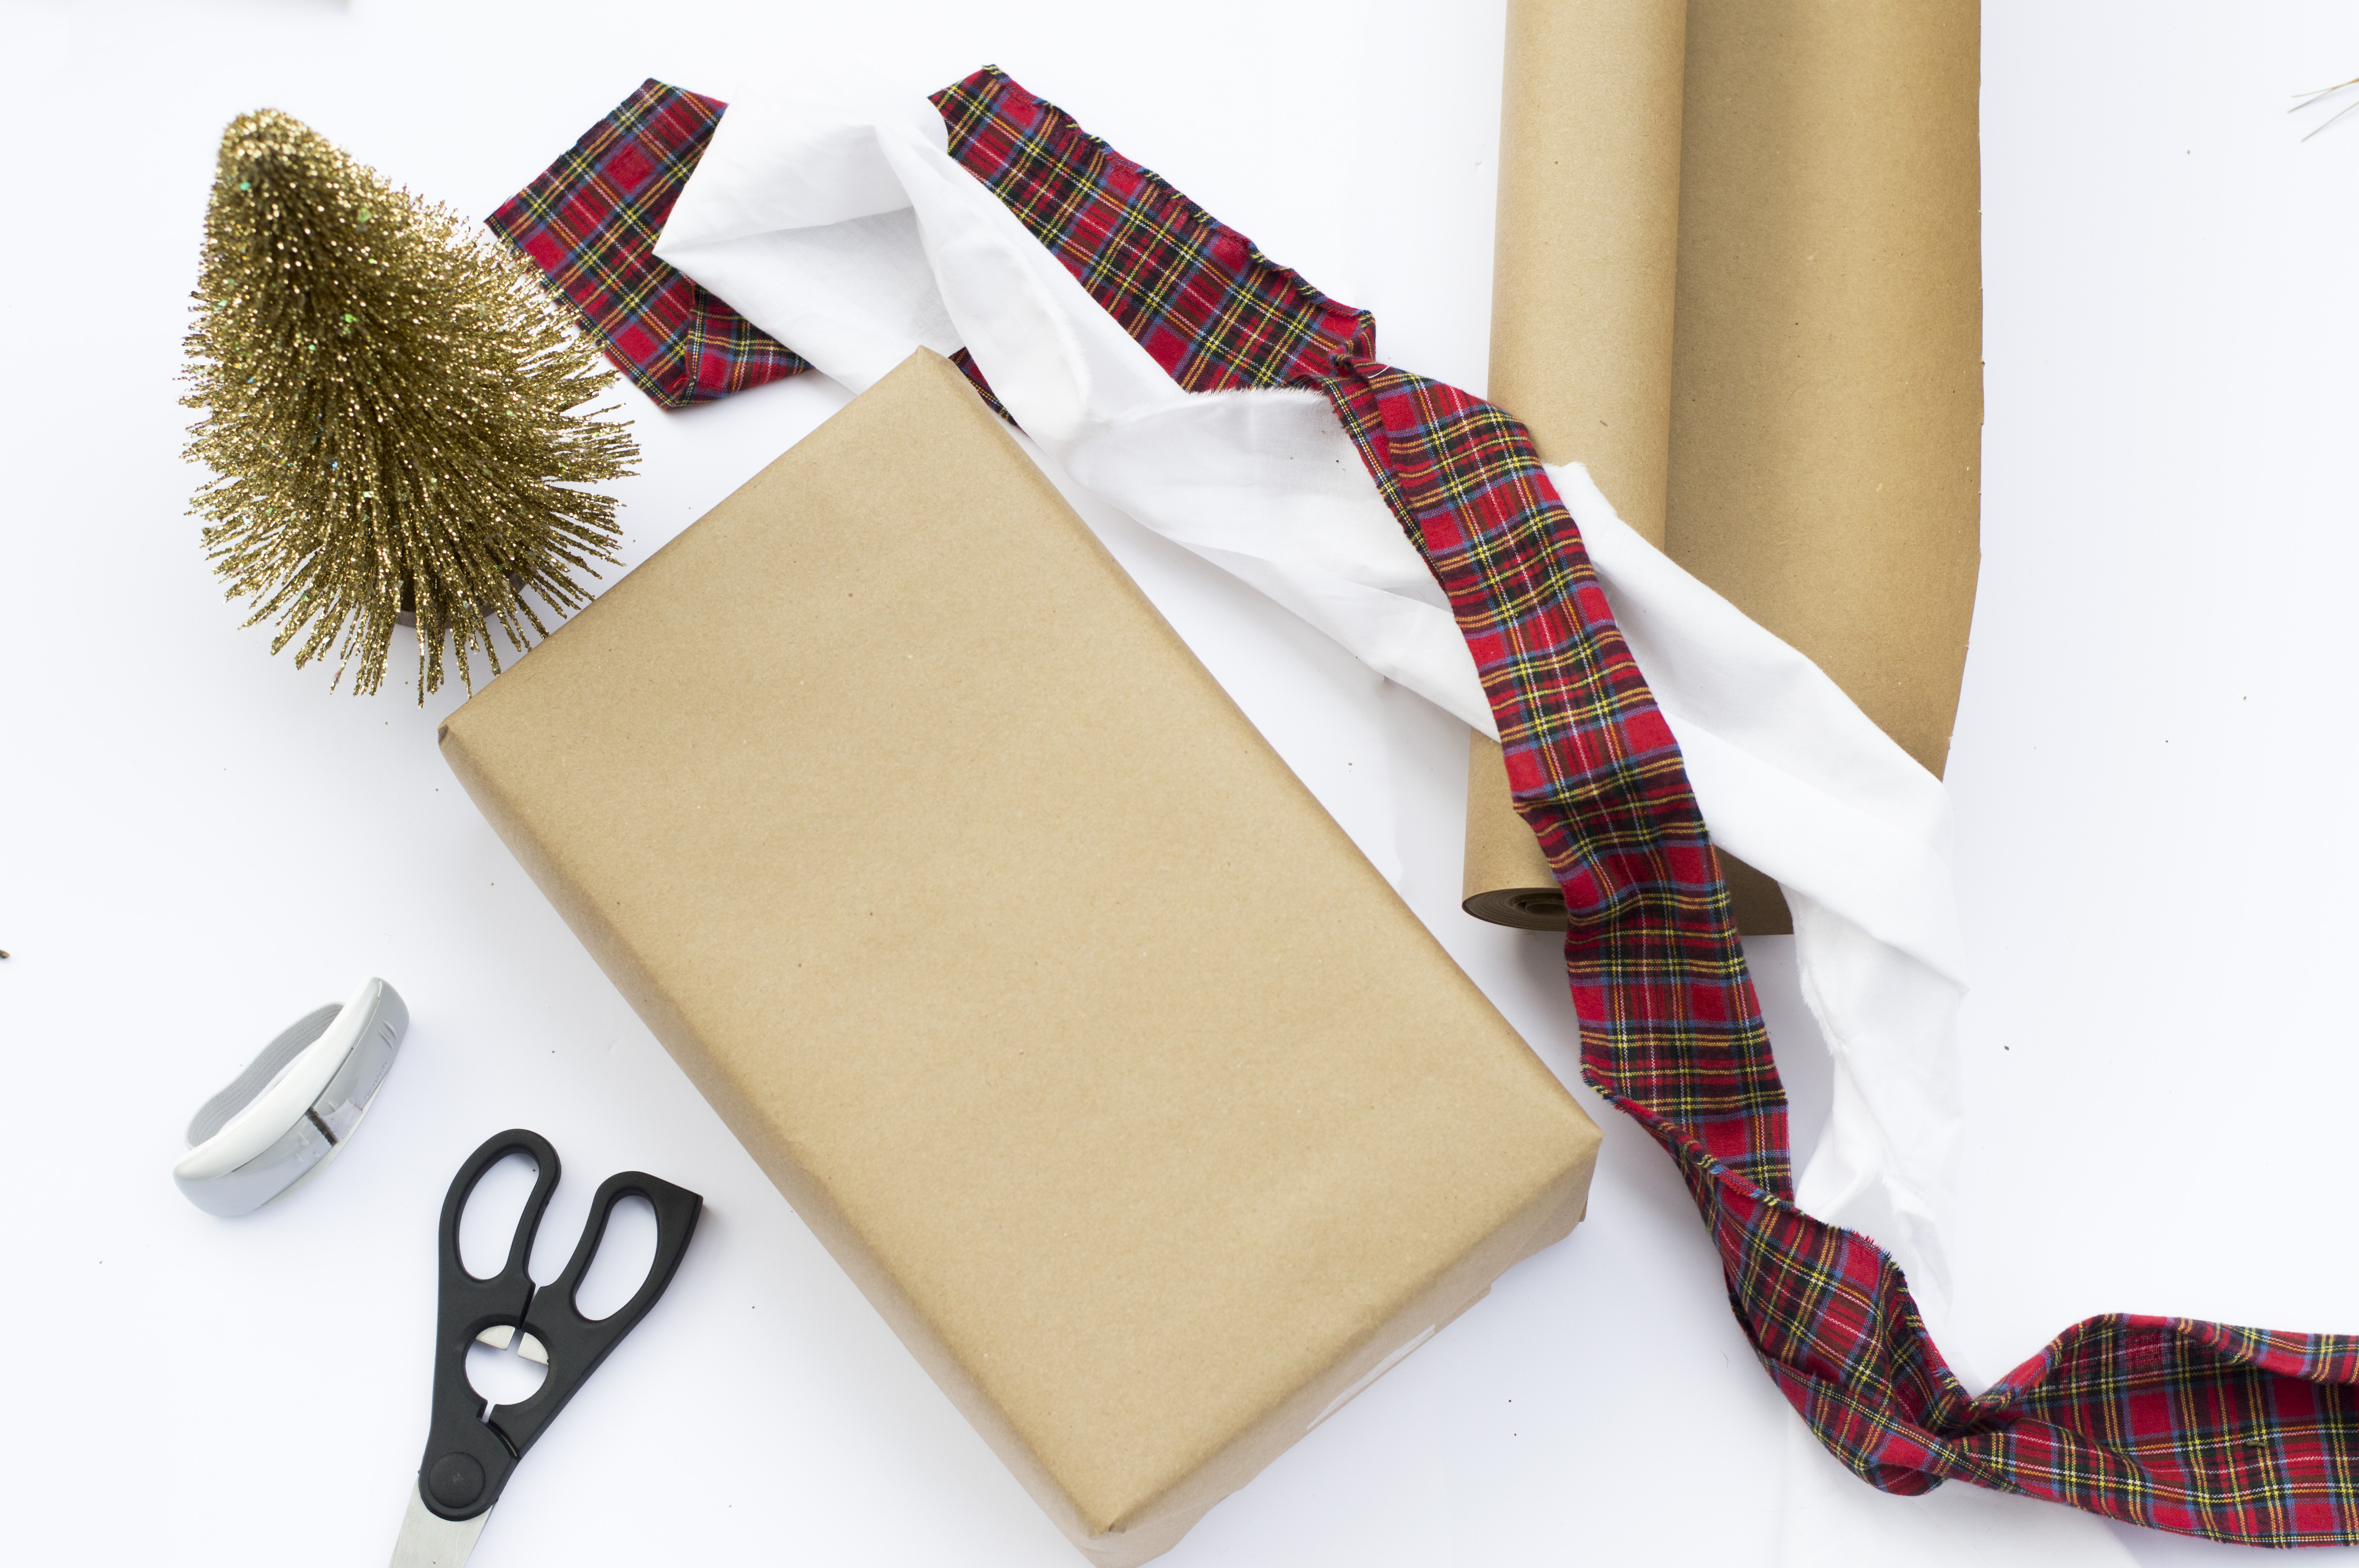
So your gift is wrapped. Now it’s time to pick your fabric and get your fabric strips cut. Here’s where the trick comes in. Cotton does the most amazing thing… it rips in a straight line! First your going to want to decide how wide you want your strips. Whichever one you want on top should be smaller. So I cut my plaid wider than my gold this time (the lame’ won’t rip. So you’ll have to manually cut that one). Make a small cut in the fabric with your scissors at the width that you want.
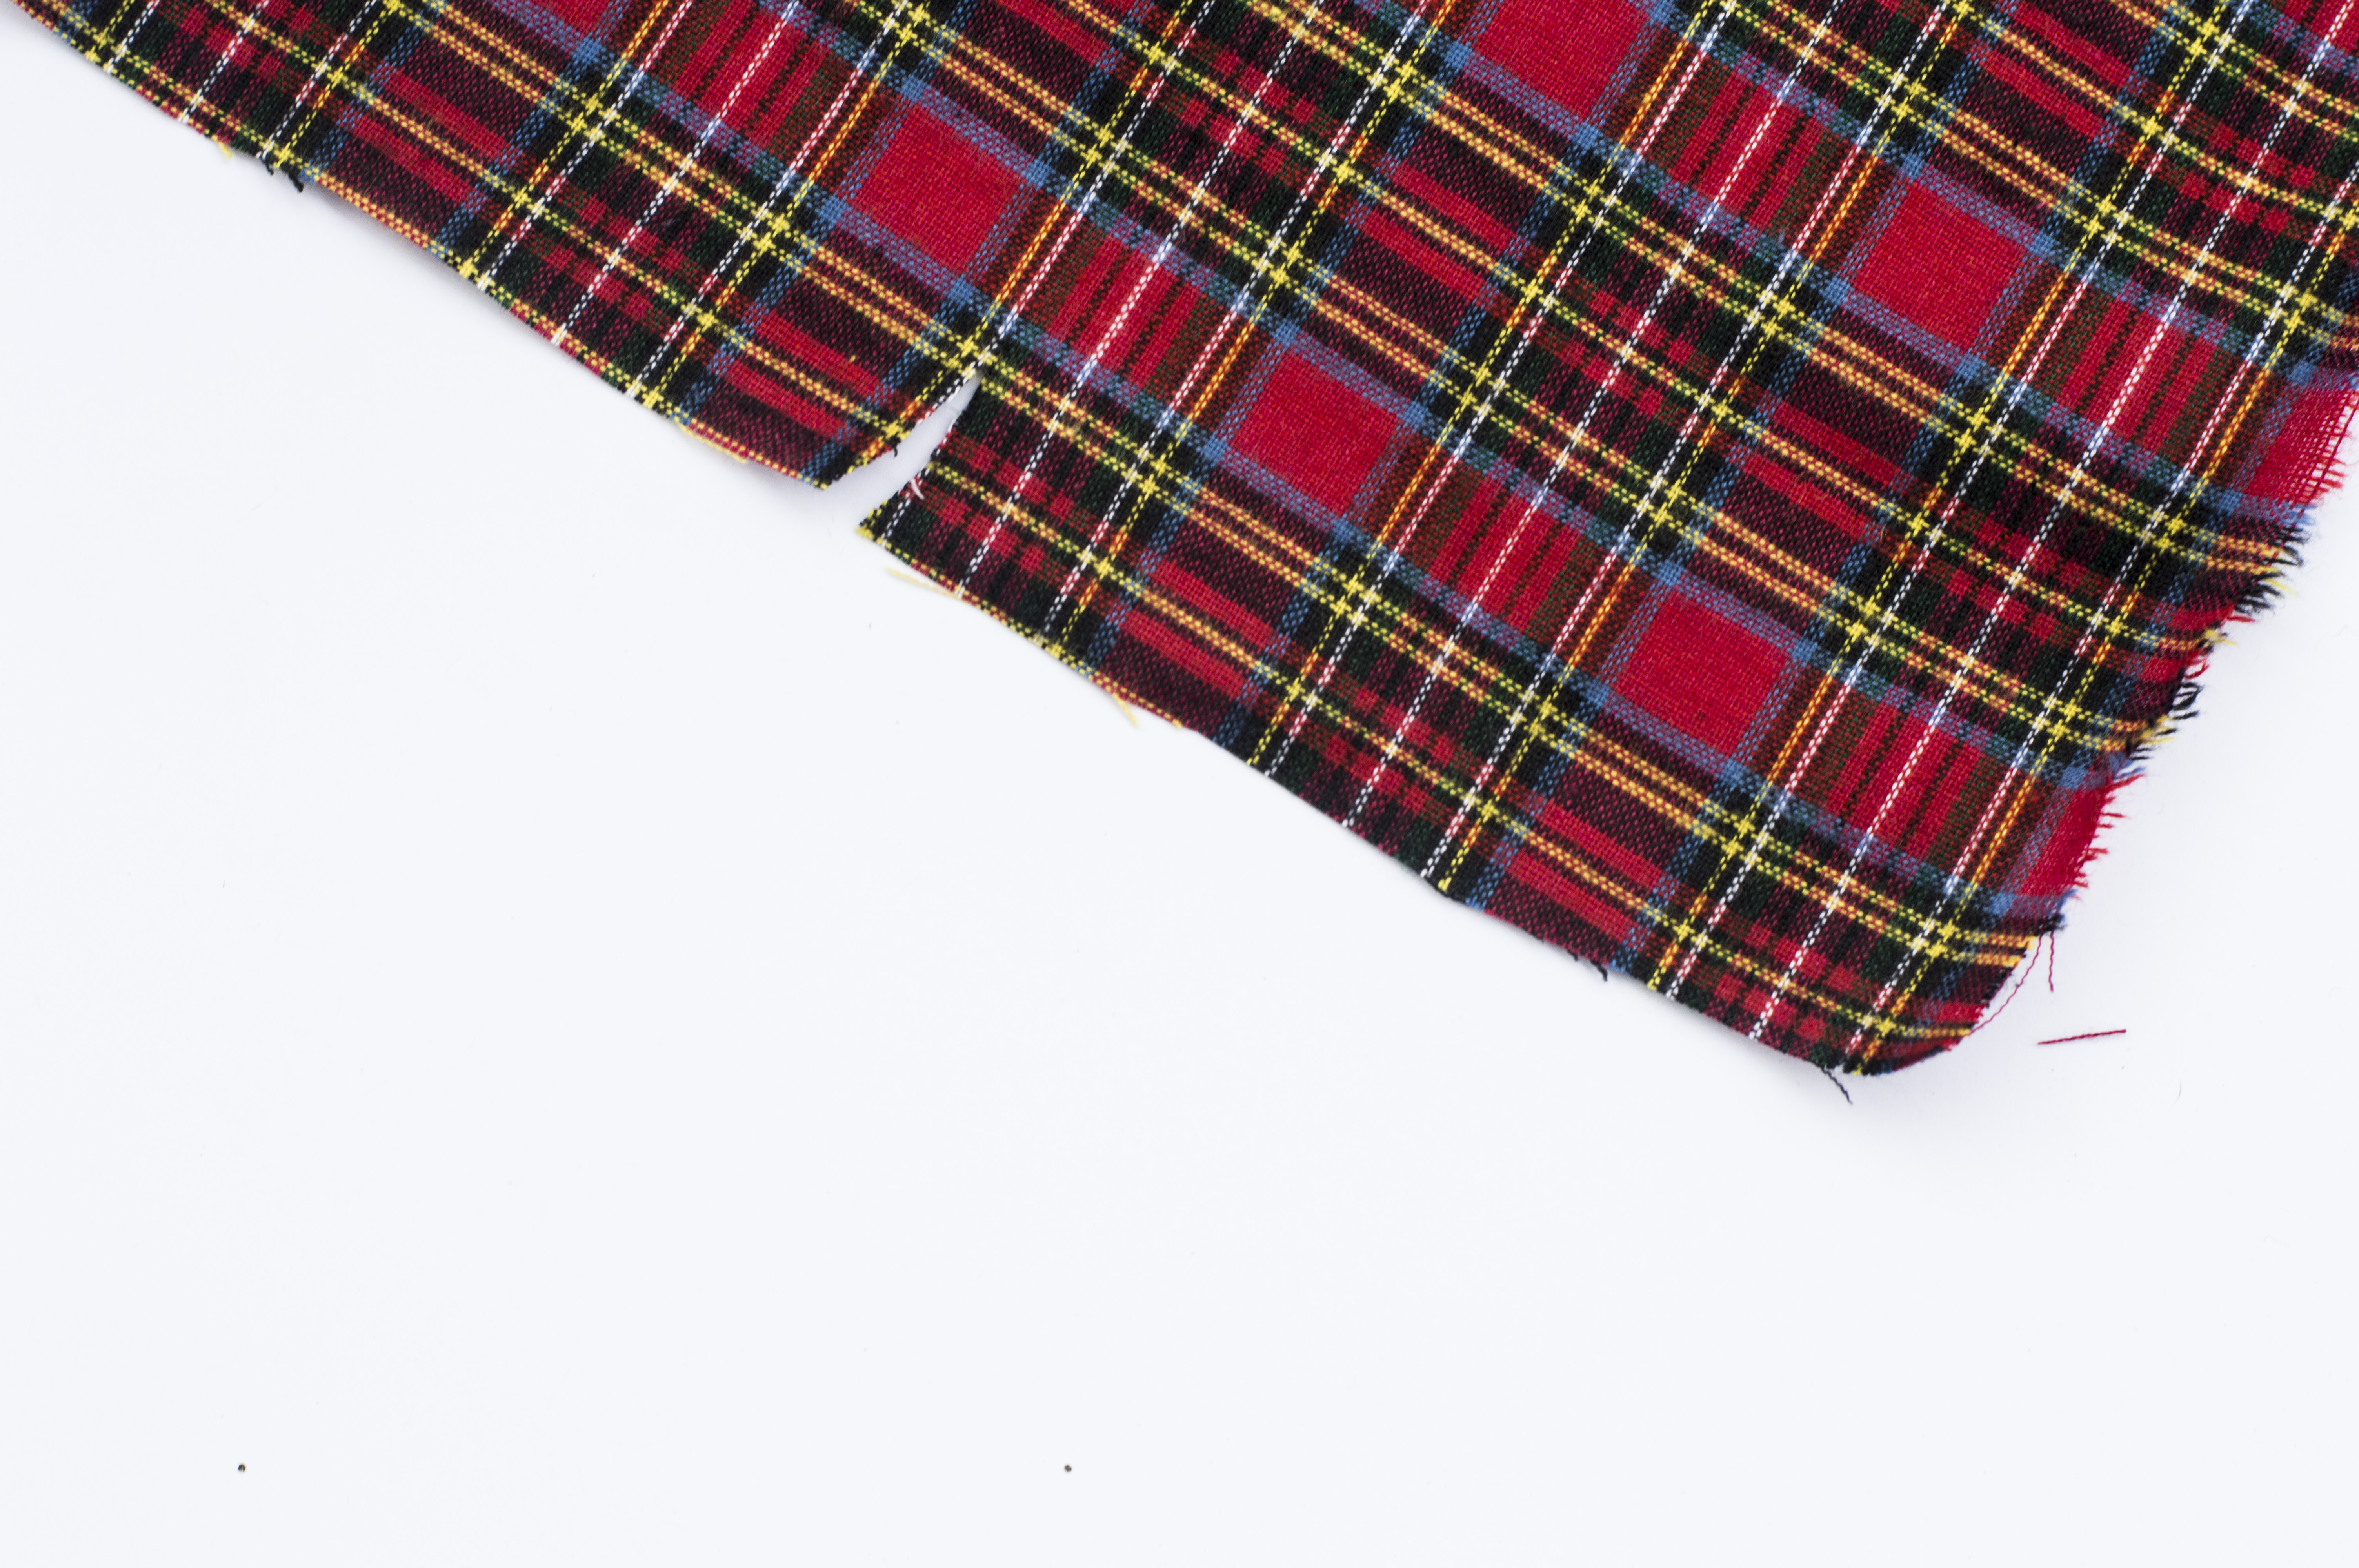
Now just grab on each side of the slit and pull. The fabric should rip in a nice straight line. AWESOME! You’re going to want to rip it so that it’s 2 yards long so that it will fit around most boxes.
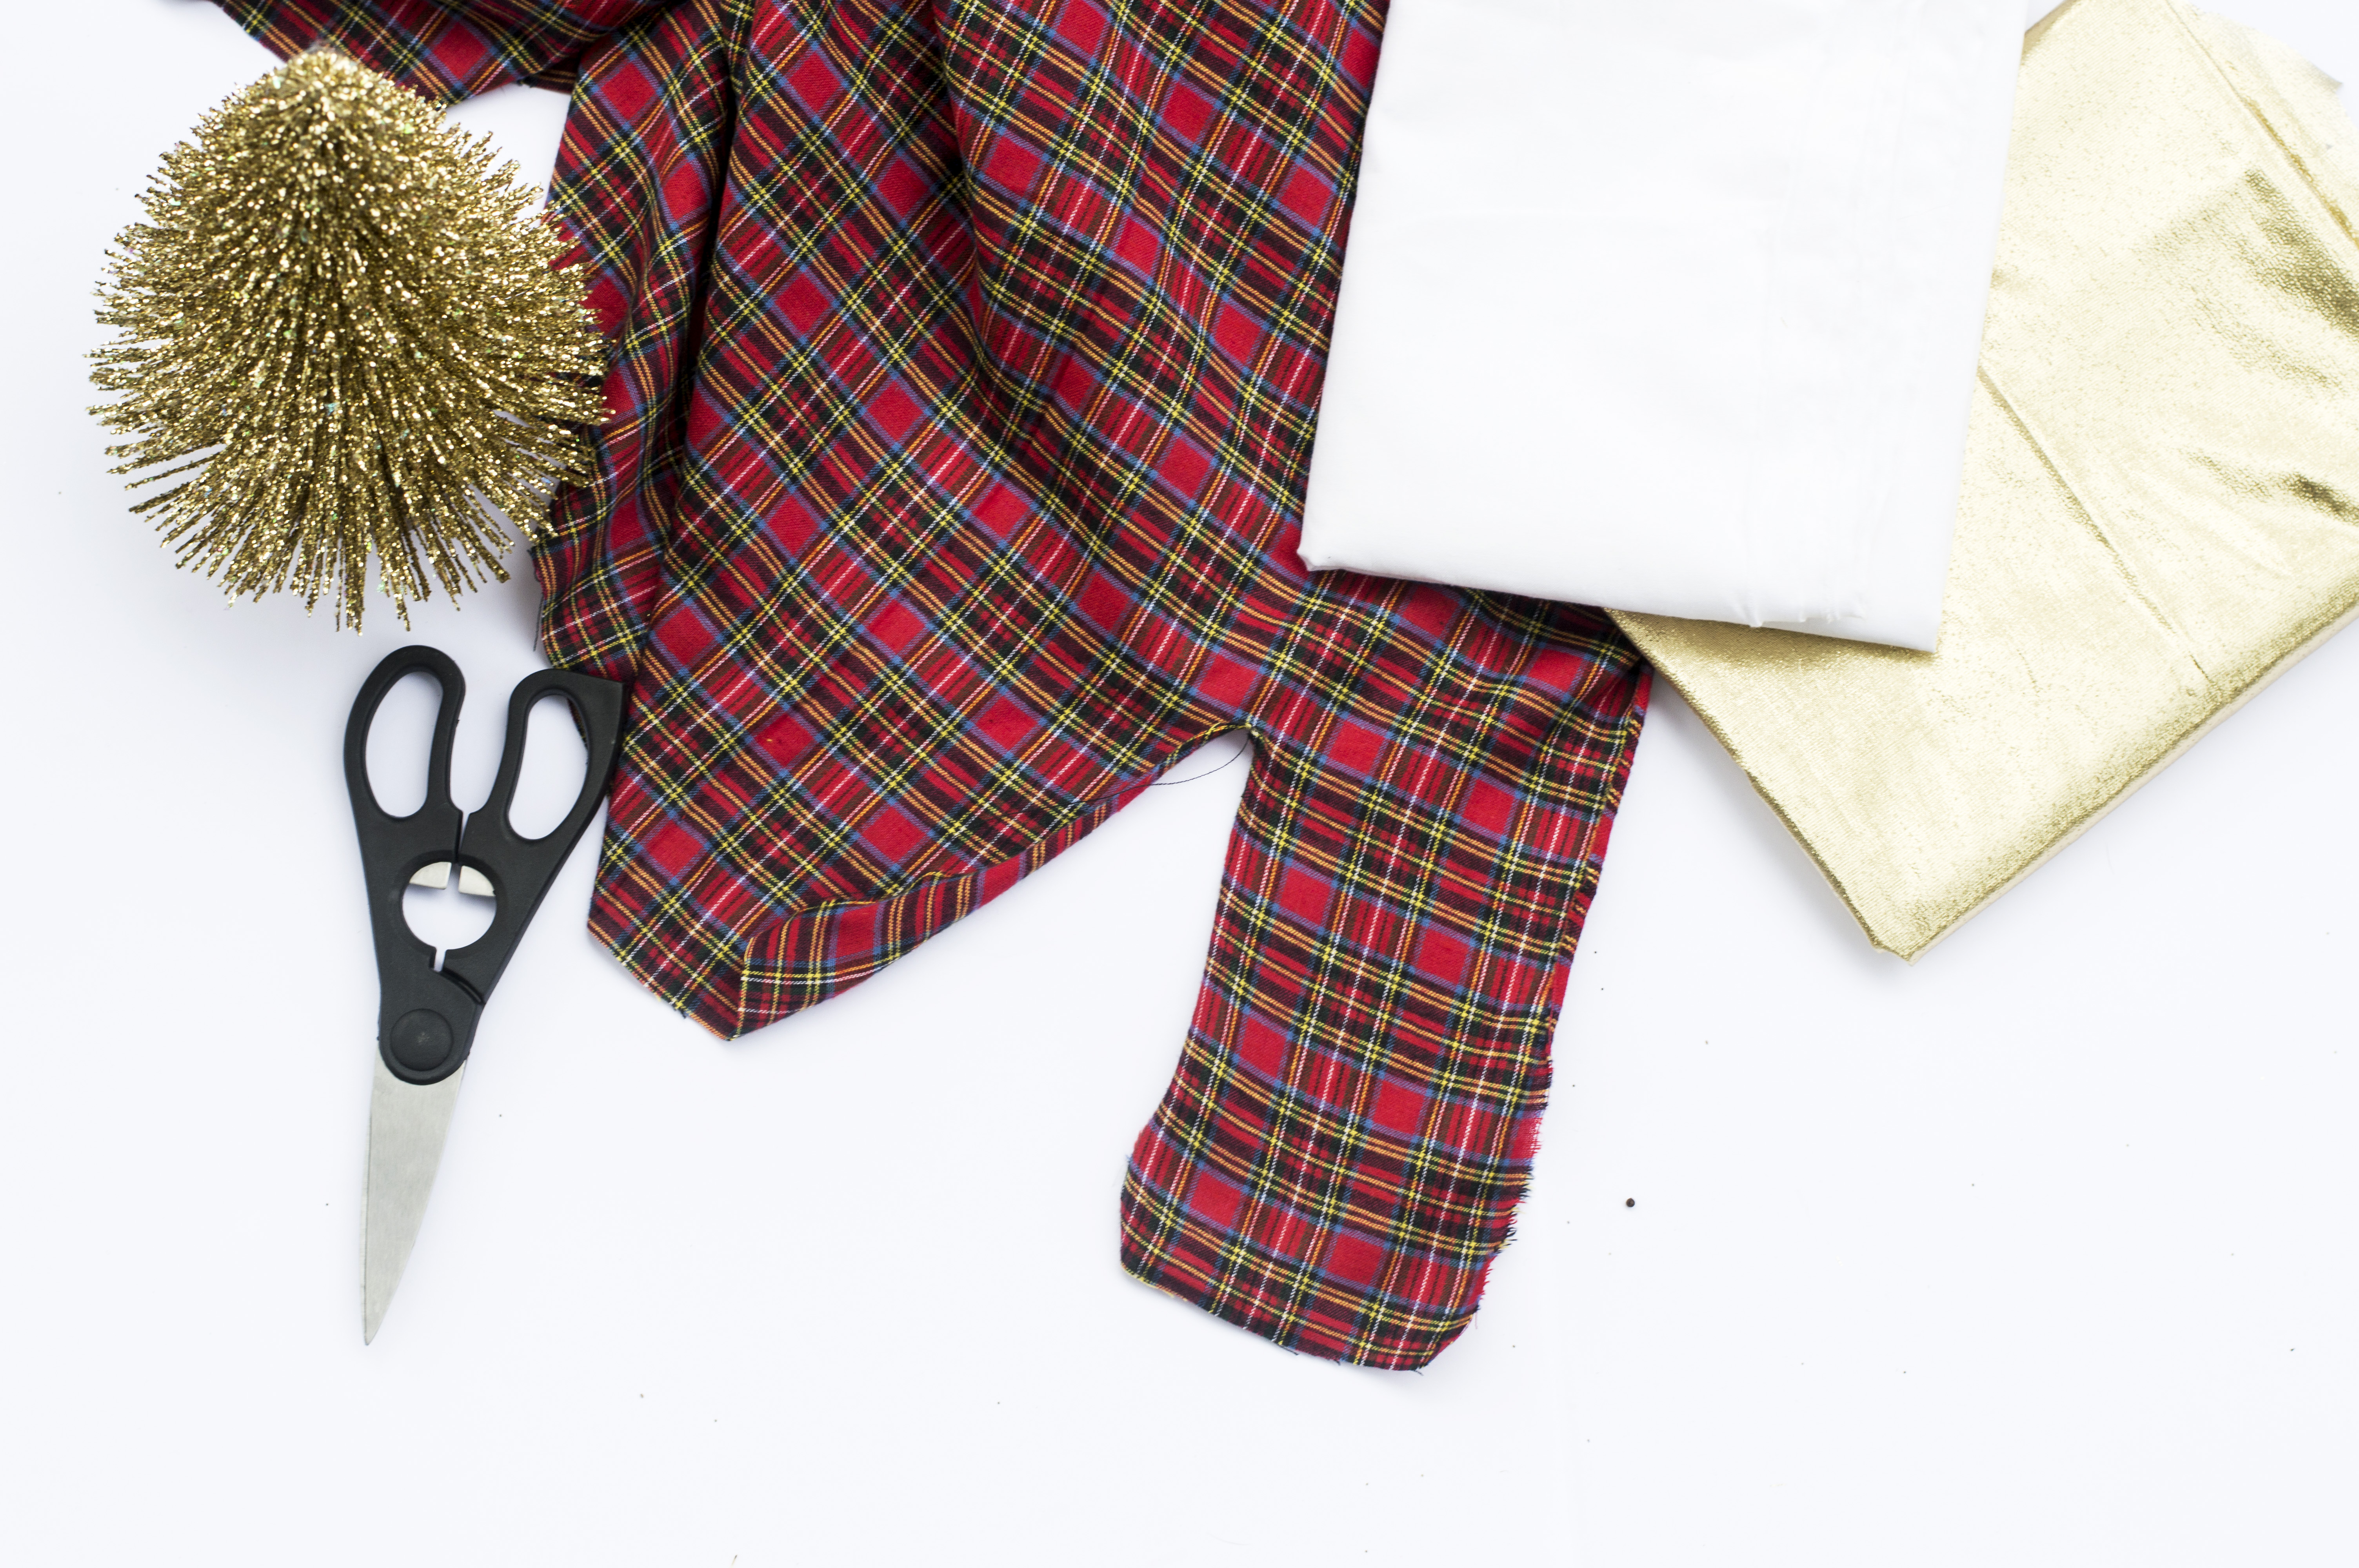
Now that you’ve ripped both of your strips, lay the smaller strip out and put the wider strip on top of it. Line them up to be sure that they are even.

Tie a nice little know on the top of the box. Be sure it’s tight so that the ribbon will stay put on the box. 
Tie that knot into a pretty bow.
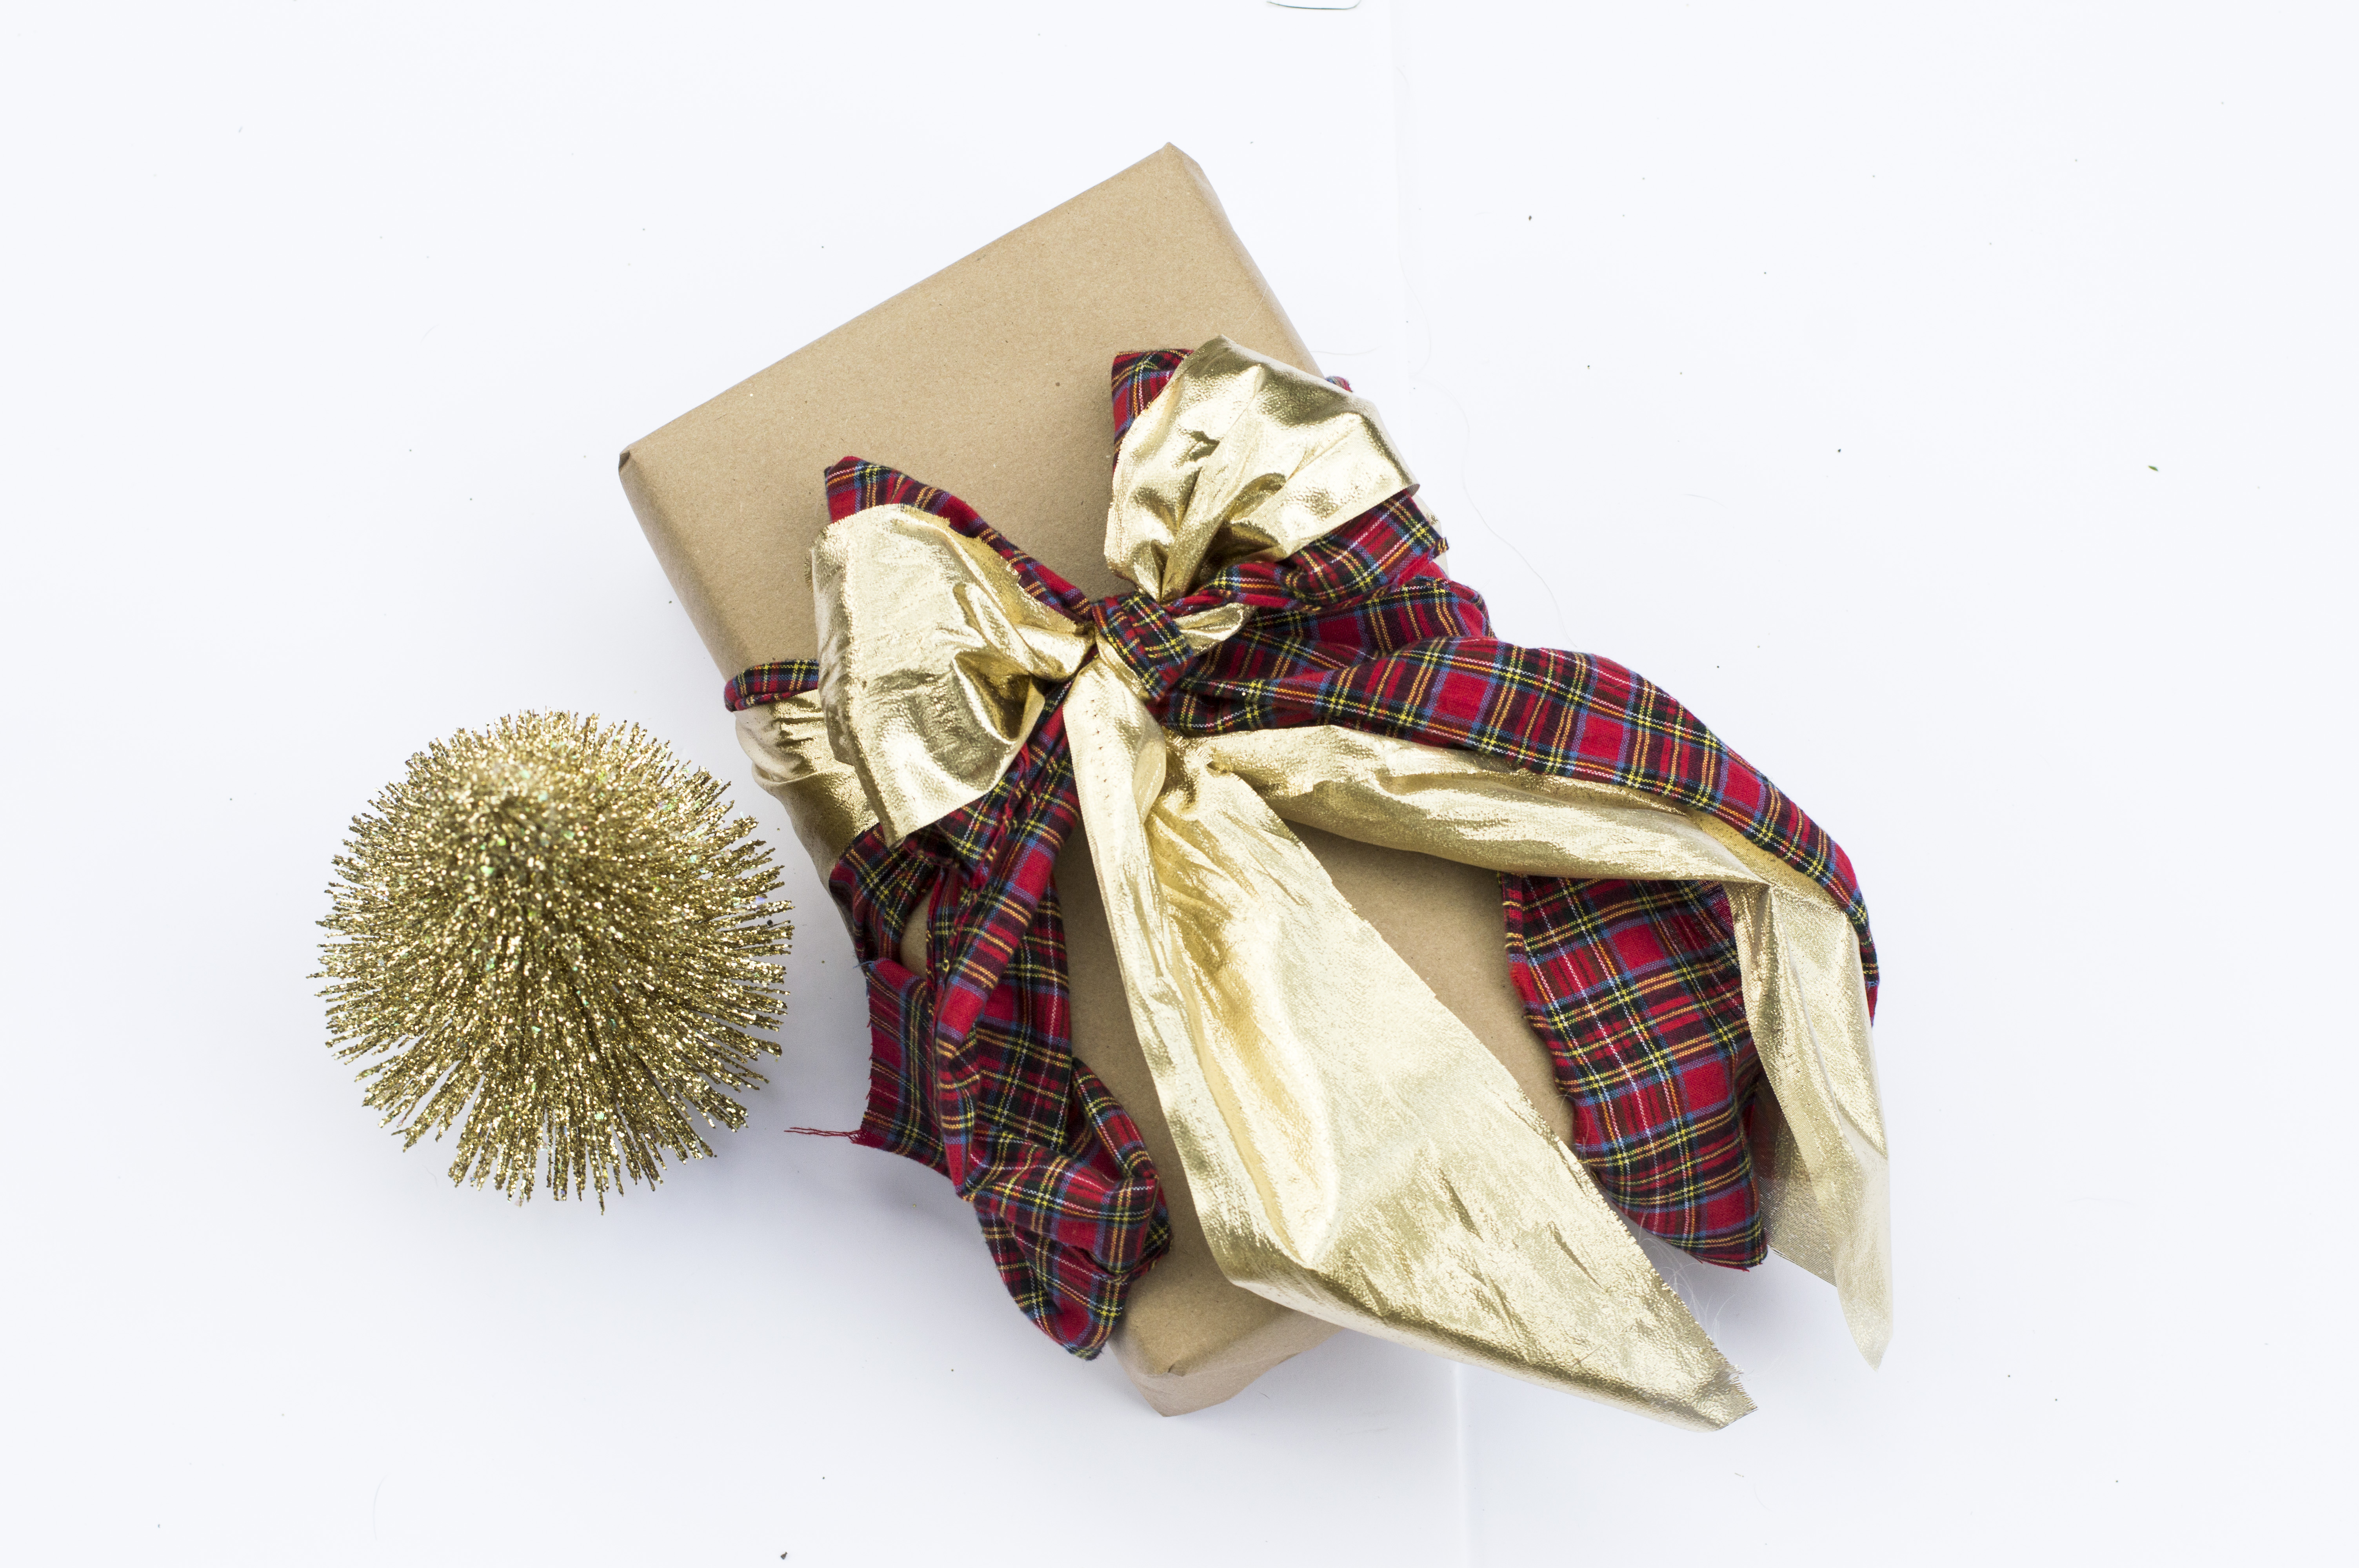
Now trim the excess from the ribbons and fluff the bow so that it stands up nice and pretty.
And… DONE! Easy peezy, right? And they make for adorable gifts. I always get tons and tons of compliments on my gift wrapping. Now it’s your turn to try. I can’t wait to see what fabrics you choose!
Go Forth and WRAP (or RAP)!
Let me know if you have any more questions in the comments below.