I’ve FINALLY gotten the time to put together this little gem for you guys! I know it’s be long anticipated and I’m sorry it took me so long. Back in September, I started what I’m calling my room by room makeover on a major budget. Keith and I have been in our house for a little over a year and basically just used the items that we already had when we moved from our little rental in Baton Rouge. It was time to show our house a little TLC. Since our budget it tight, it’s been a slow road trying to get things done around here, but it’s so worth the wait!
The first project I tackled was our Guest Room. You guys got a sneak peak in the video about the new mattress that we got in the post. This room was a mess. I had this gorgeous bed already (I’ll link something similar but it was designed by me and custom made by my uncle) but the other pieces were leftover from college apartments and things we desperately needed to get rid of. I knew I wanted to create a FUN space with little cute details that was super comfortable and hotel-like for our guests! Here is the final product. I couldn’t be more pleased!
Shop My Room:


 Photos by Kylie Stinson
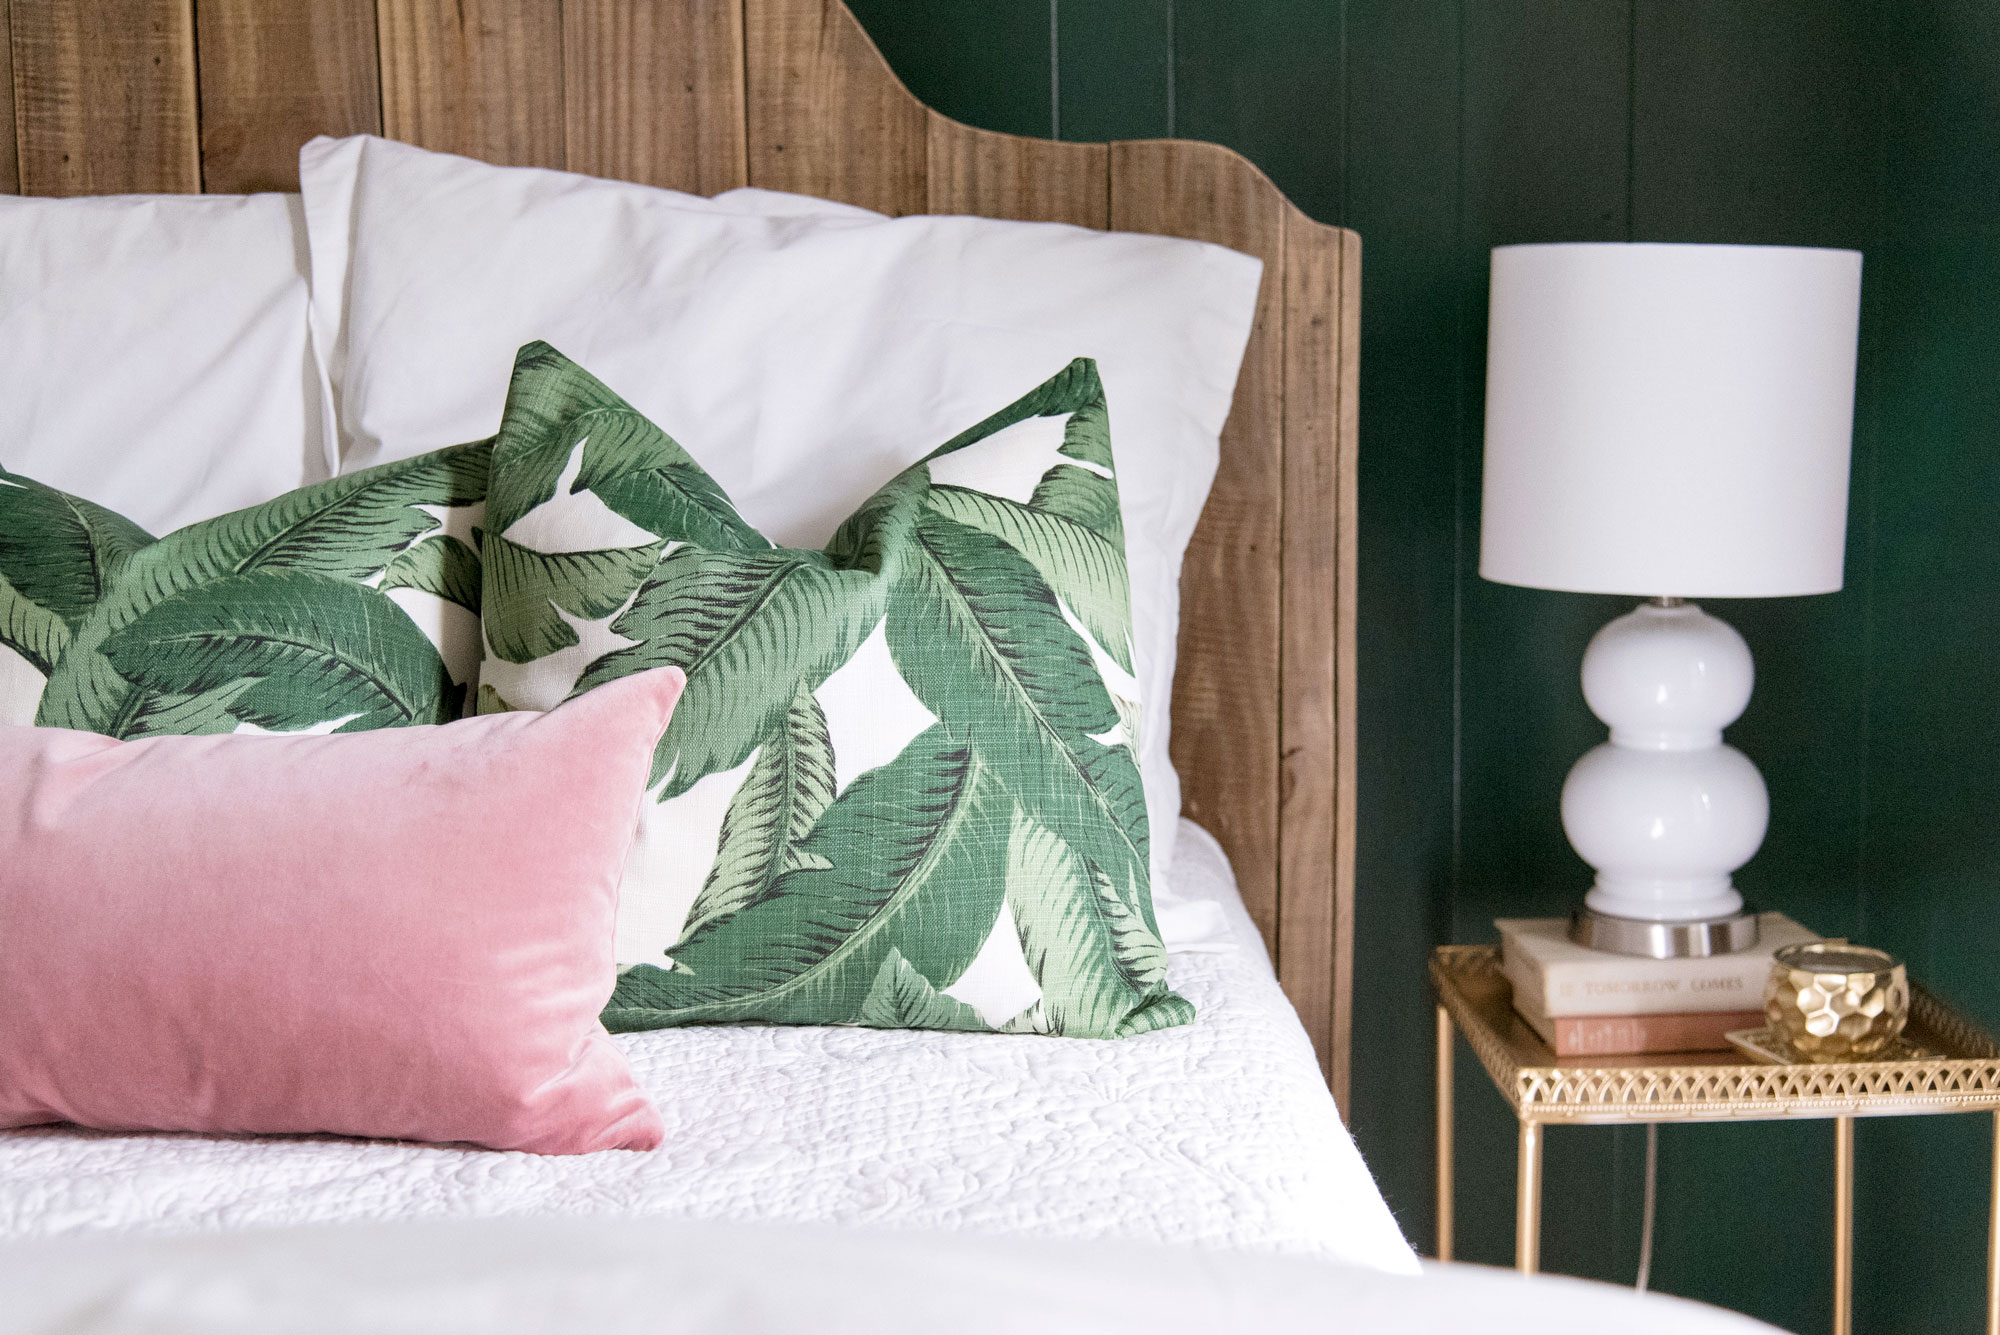
If you follow along with me on Instagram, you know that I had quite a time picking a color for the accent wall. I’m SO PLEASED with my choice this time. I went with Benjamin Moore’s Hunter Green and it’s THE BEST shade of deep green ever. It does take several coats to get good coverage on this one but it’s 100% worth the time and effort spent to achieve this look.
Like I said earlier, the bed was mine from before Keith and I got married. It’s my baby and I LOVE it. I designed it with the help of my uncle and he went above and beyond to create this piece for me. If you love it, please email me or comment below because I’m pretty sure he would still make them for people. I can give you his contact info and maybe he’ll make a ‘Kassy Bed’ for you too!
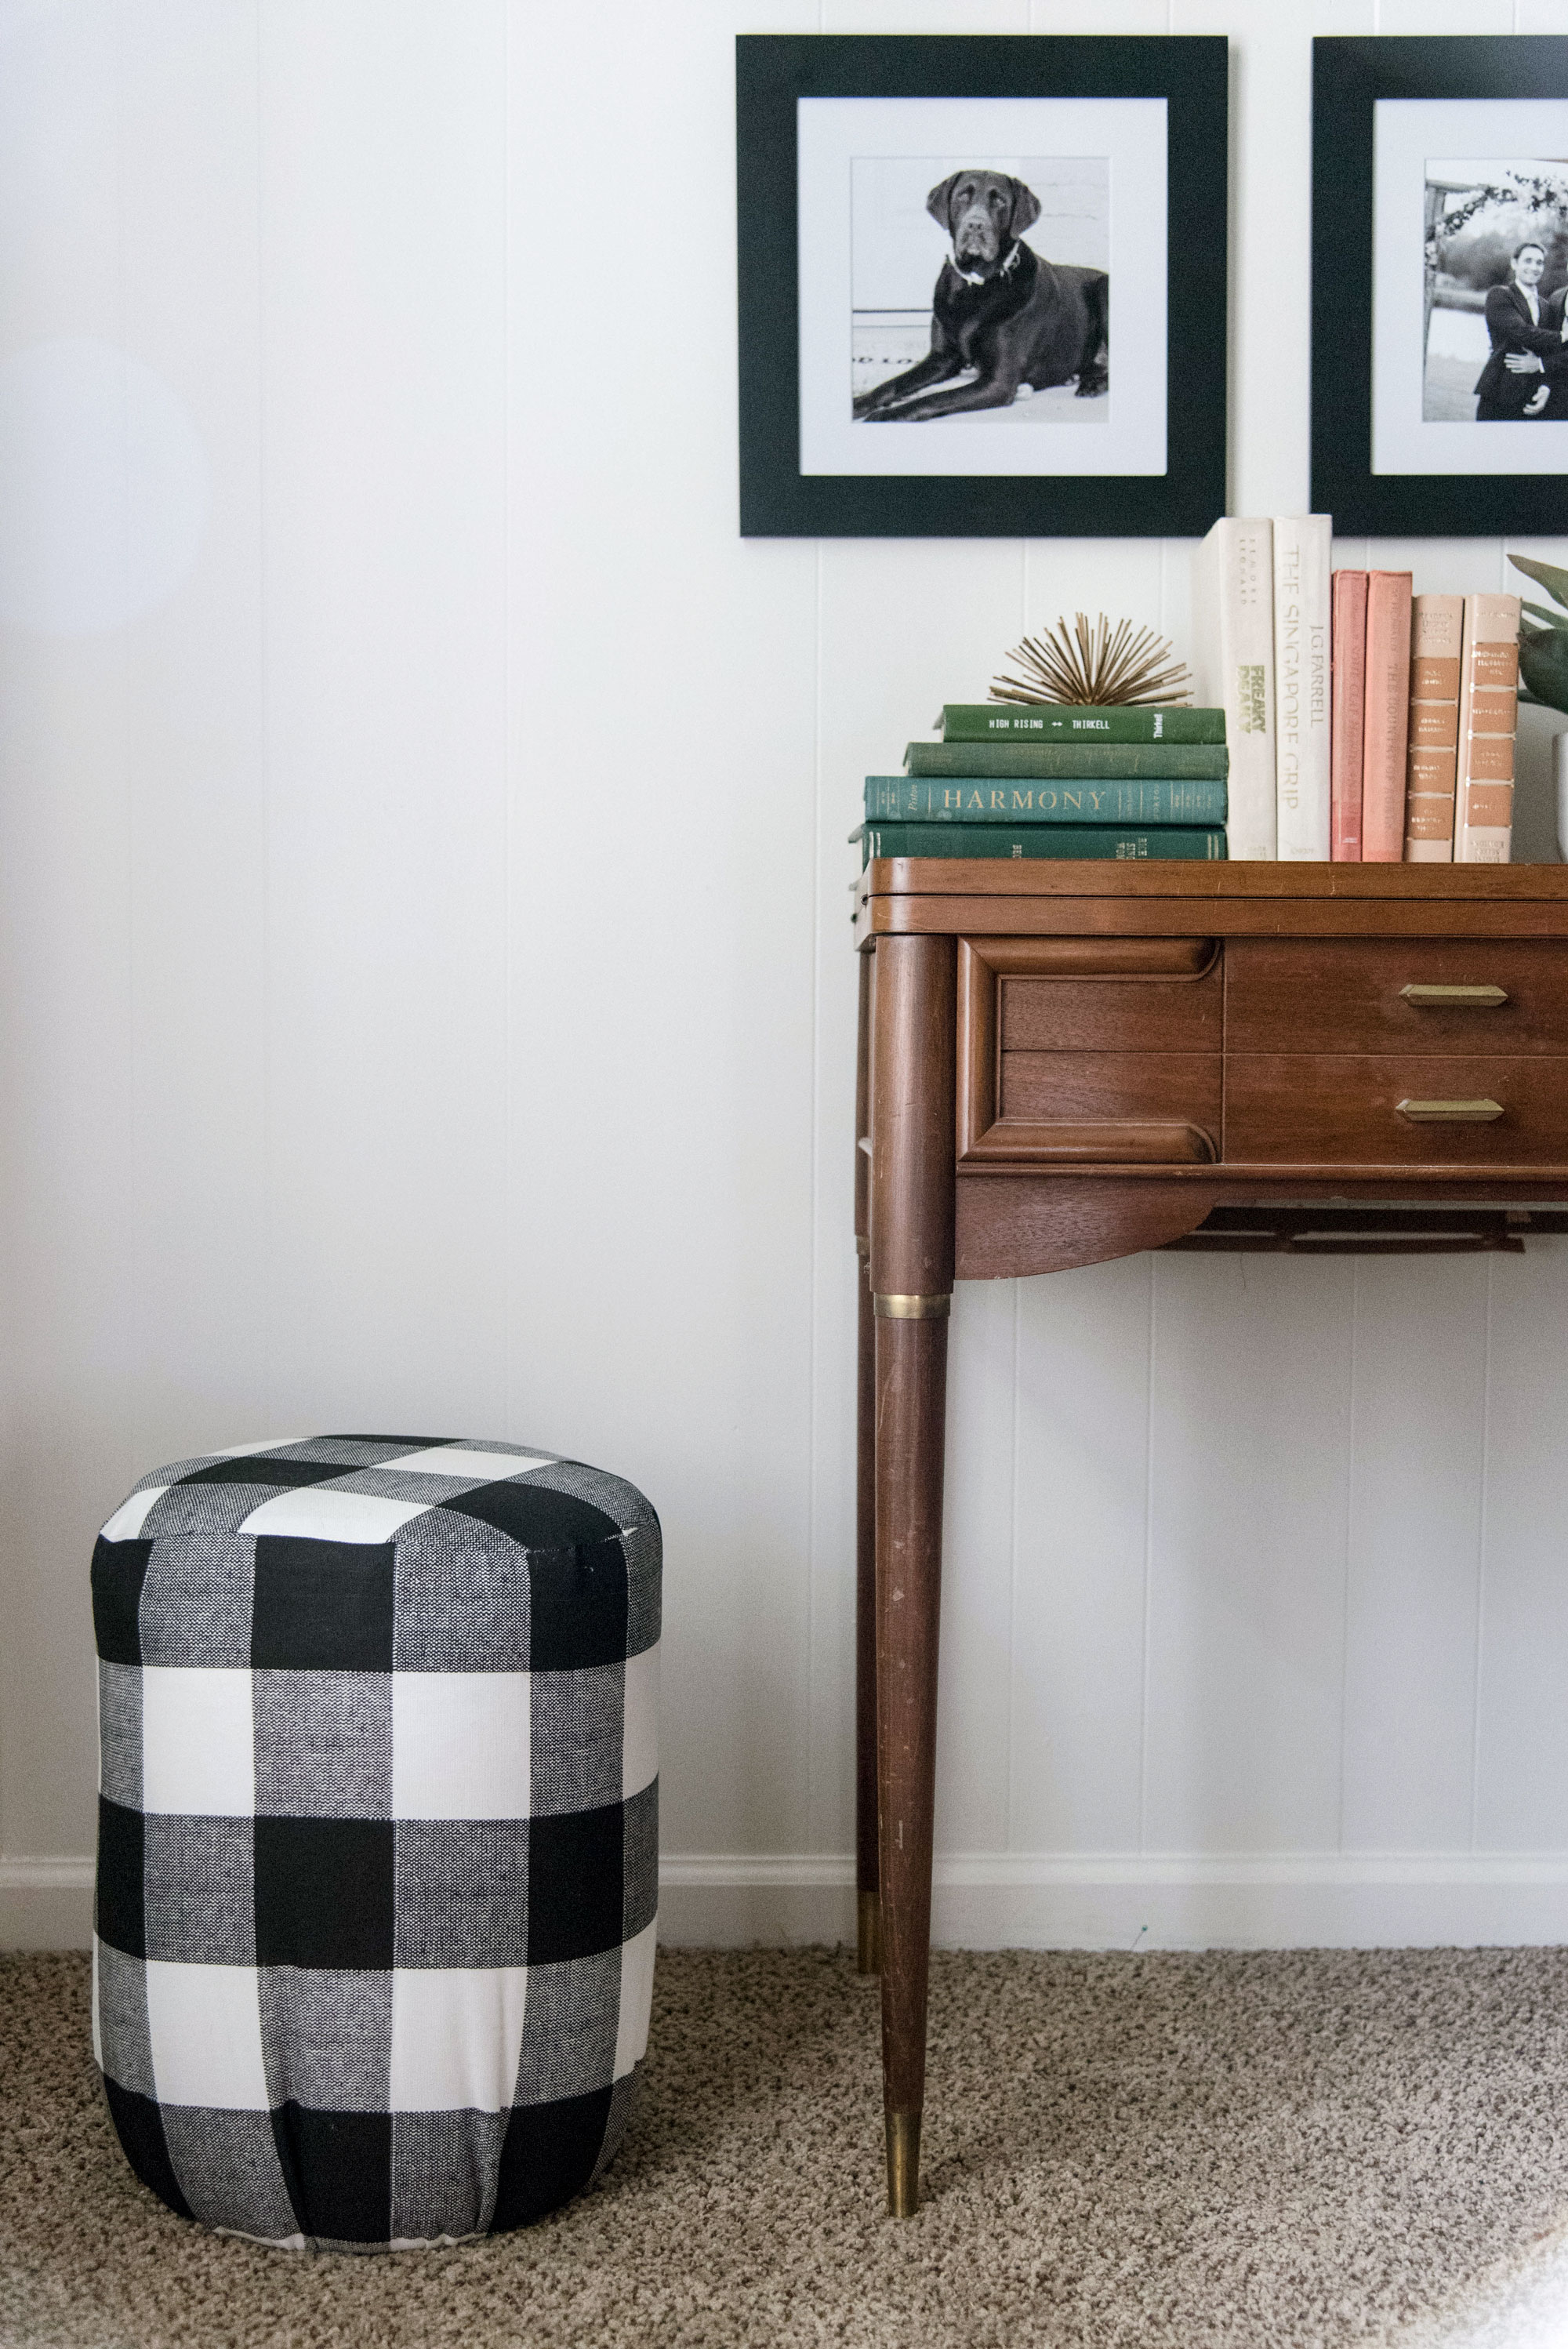
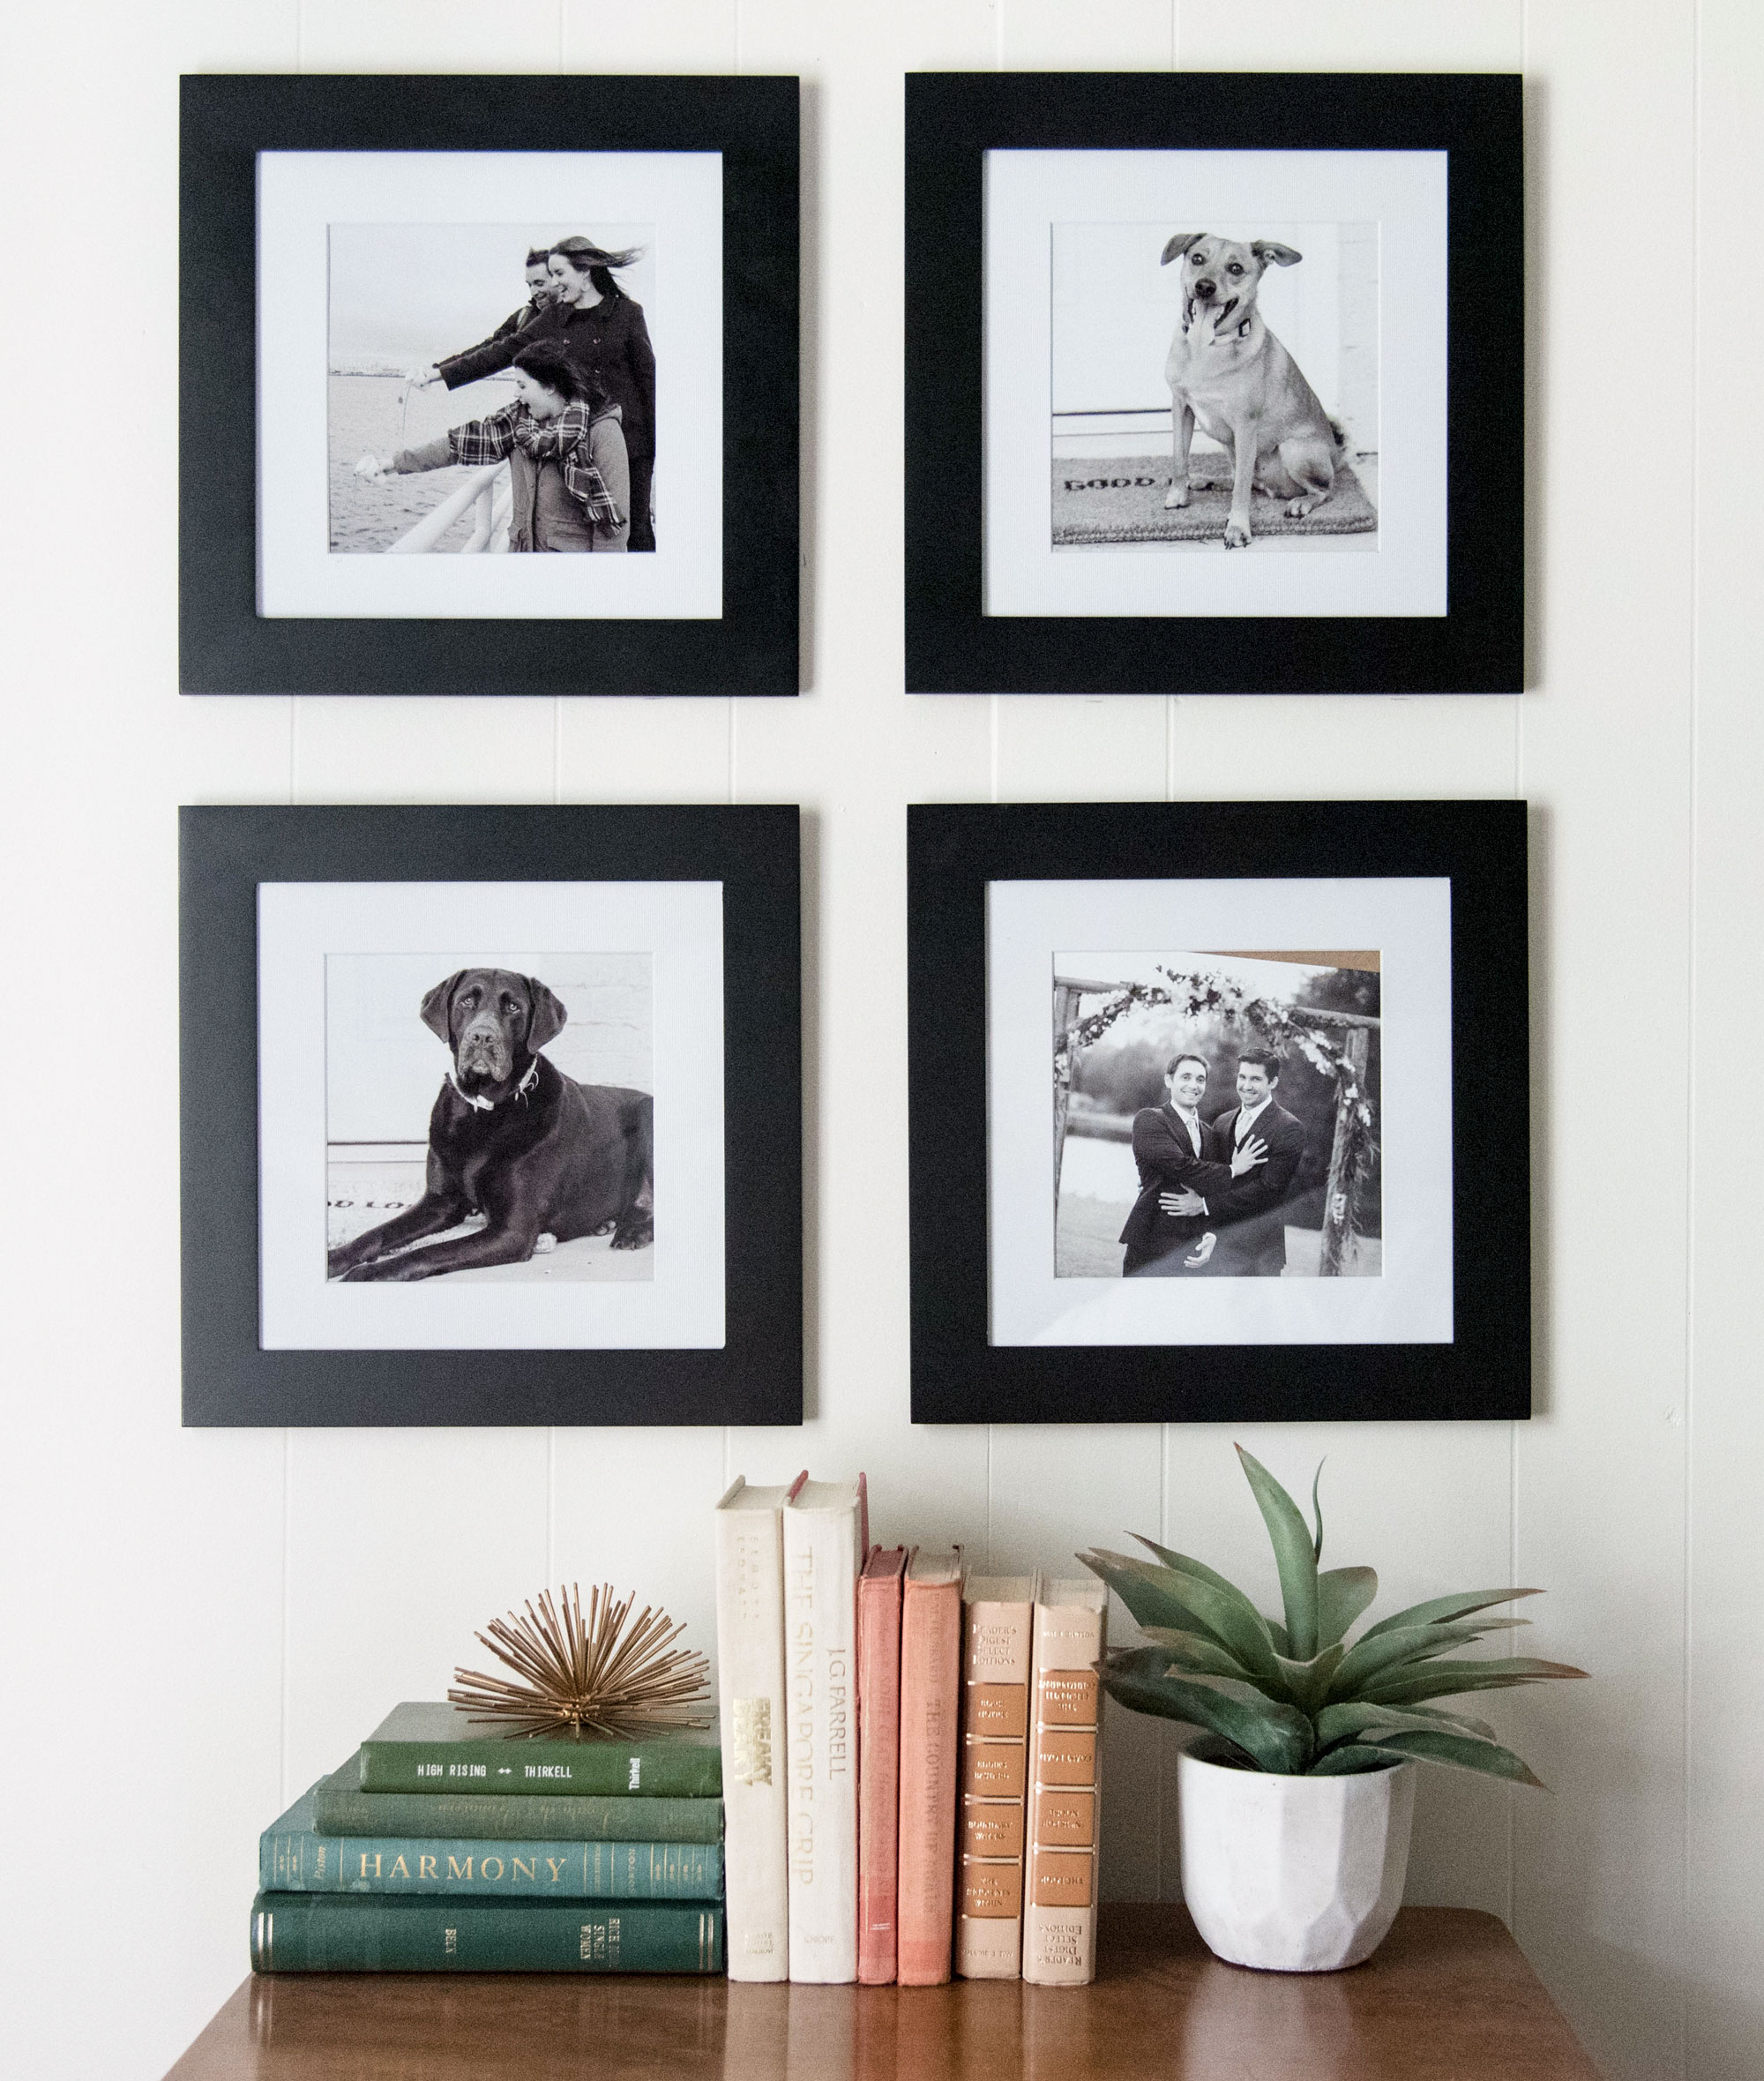
The cute little wooden table you see in the above photos is actually my grandmother’s mid-century sewing machine. It still works and I use it constantly. When not in use, it provides the cutest little catch-all table for my guests to store their stuff. I’m planning to get a little mirror on a stand for ladies to do their makeup since my guest bath doesn’t have much counter space. Above it, I chose to hang 4 12″ x 12″ frames with black and white images of some of our frequent visitors and our pups! We love looking at these fun pics of Keith, Elizabeth and I pouring tea into the Boston Harbor (basic, much?) and an awkward exchange between Keith and Tim (his bestie for the restie) at our wedding! It creates a little gallery wall without being too crowded. Plus, symmetry… I love symmetry.
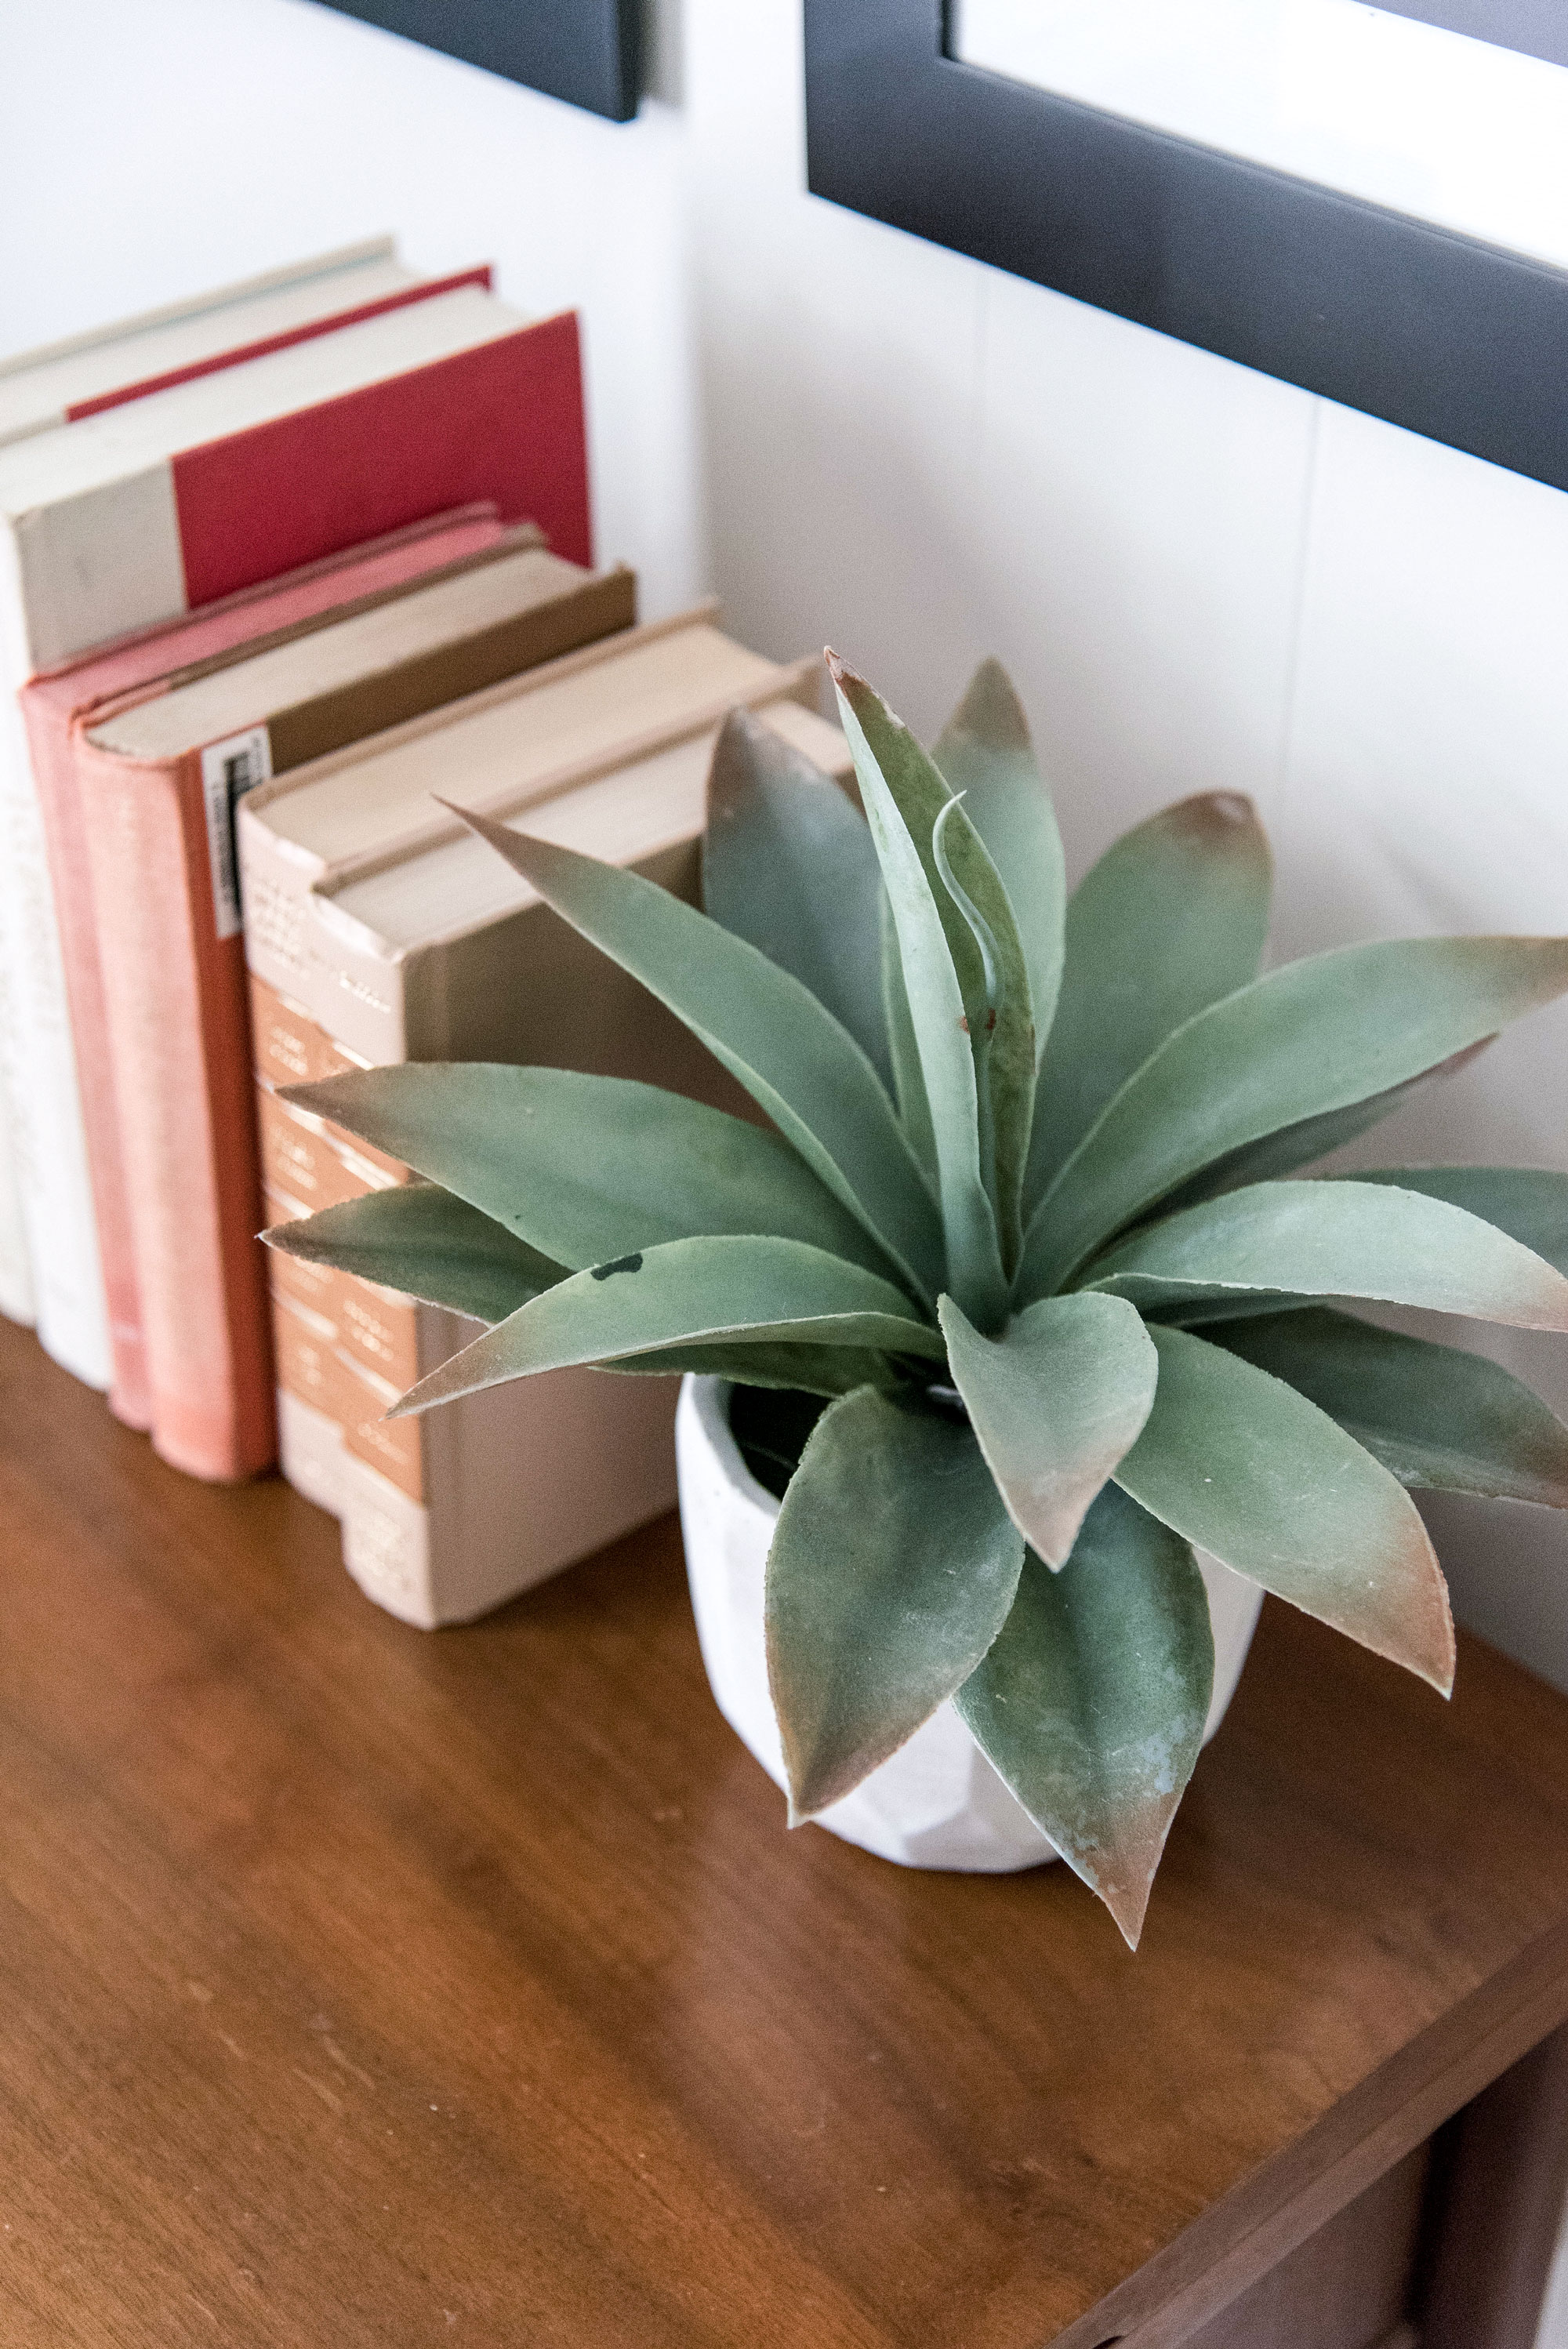
I also LOVE old books, which is why you’ll see TONS of them around my house. Hit up your local thrift stores and library sales and grab books in your favorite colors. HINT: red books turn pink over time – SCORE! I use them for everything. Here they are decorative and also functional. I use them to make my lamps a little taller as well.
Plants are an easy way to make your space feel bright and warm. I tend to kill every live plant in my house, so faux is the way to go for me. This little faux piece is something I grabbed from the HomeGoods clearance section. Also from HomeGoods are the nightstands. A little HG hack for you. Side tables and nightstands can get $$ but if you go to the back of the store in the bathroom section, you’ll find several metal tables and organizing carts that are the perfect height for bedside and will run you less than $50. These are great pieces for living room side tables and guest room nightstands where you can go smaller and you don’t need much storage. You’re welcome! I grabbed these FOREVER ago for $25 each and spray painted them gold for a little glam.
The little buffalo check stools you see are a DIY that I plan on posting next week. They cost me less than $30 each and are SO EASY. You’ll never guess what their made of!!! Stay tuned for that post next week.
BEDDING! The key feature in any bedroom. Don’t every ignore this part because it will make or break your space in a heartbeat. I do bedding two ways. I either use a quilt or coverlet as the base with a duvet folded on the end or I reverse them! Here I chose to do the former by using a white quilt as the base, and a larger fluffy white duvet folded on the end. Layers are the key to cozy bedding. I can pretty much say with 99% certainty that you should ALWAYS have an extra blanket, duvet, quite, etc. folded on the end of your bed. It ‘finishes’ the look.
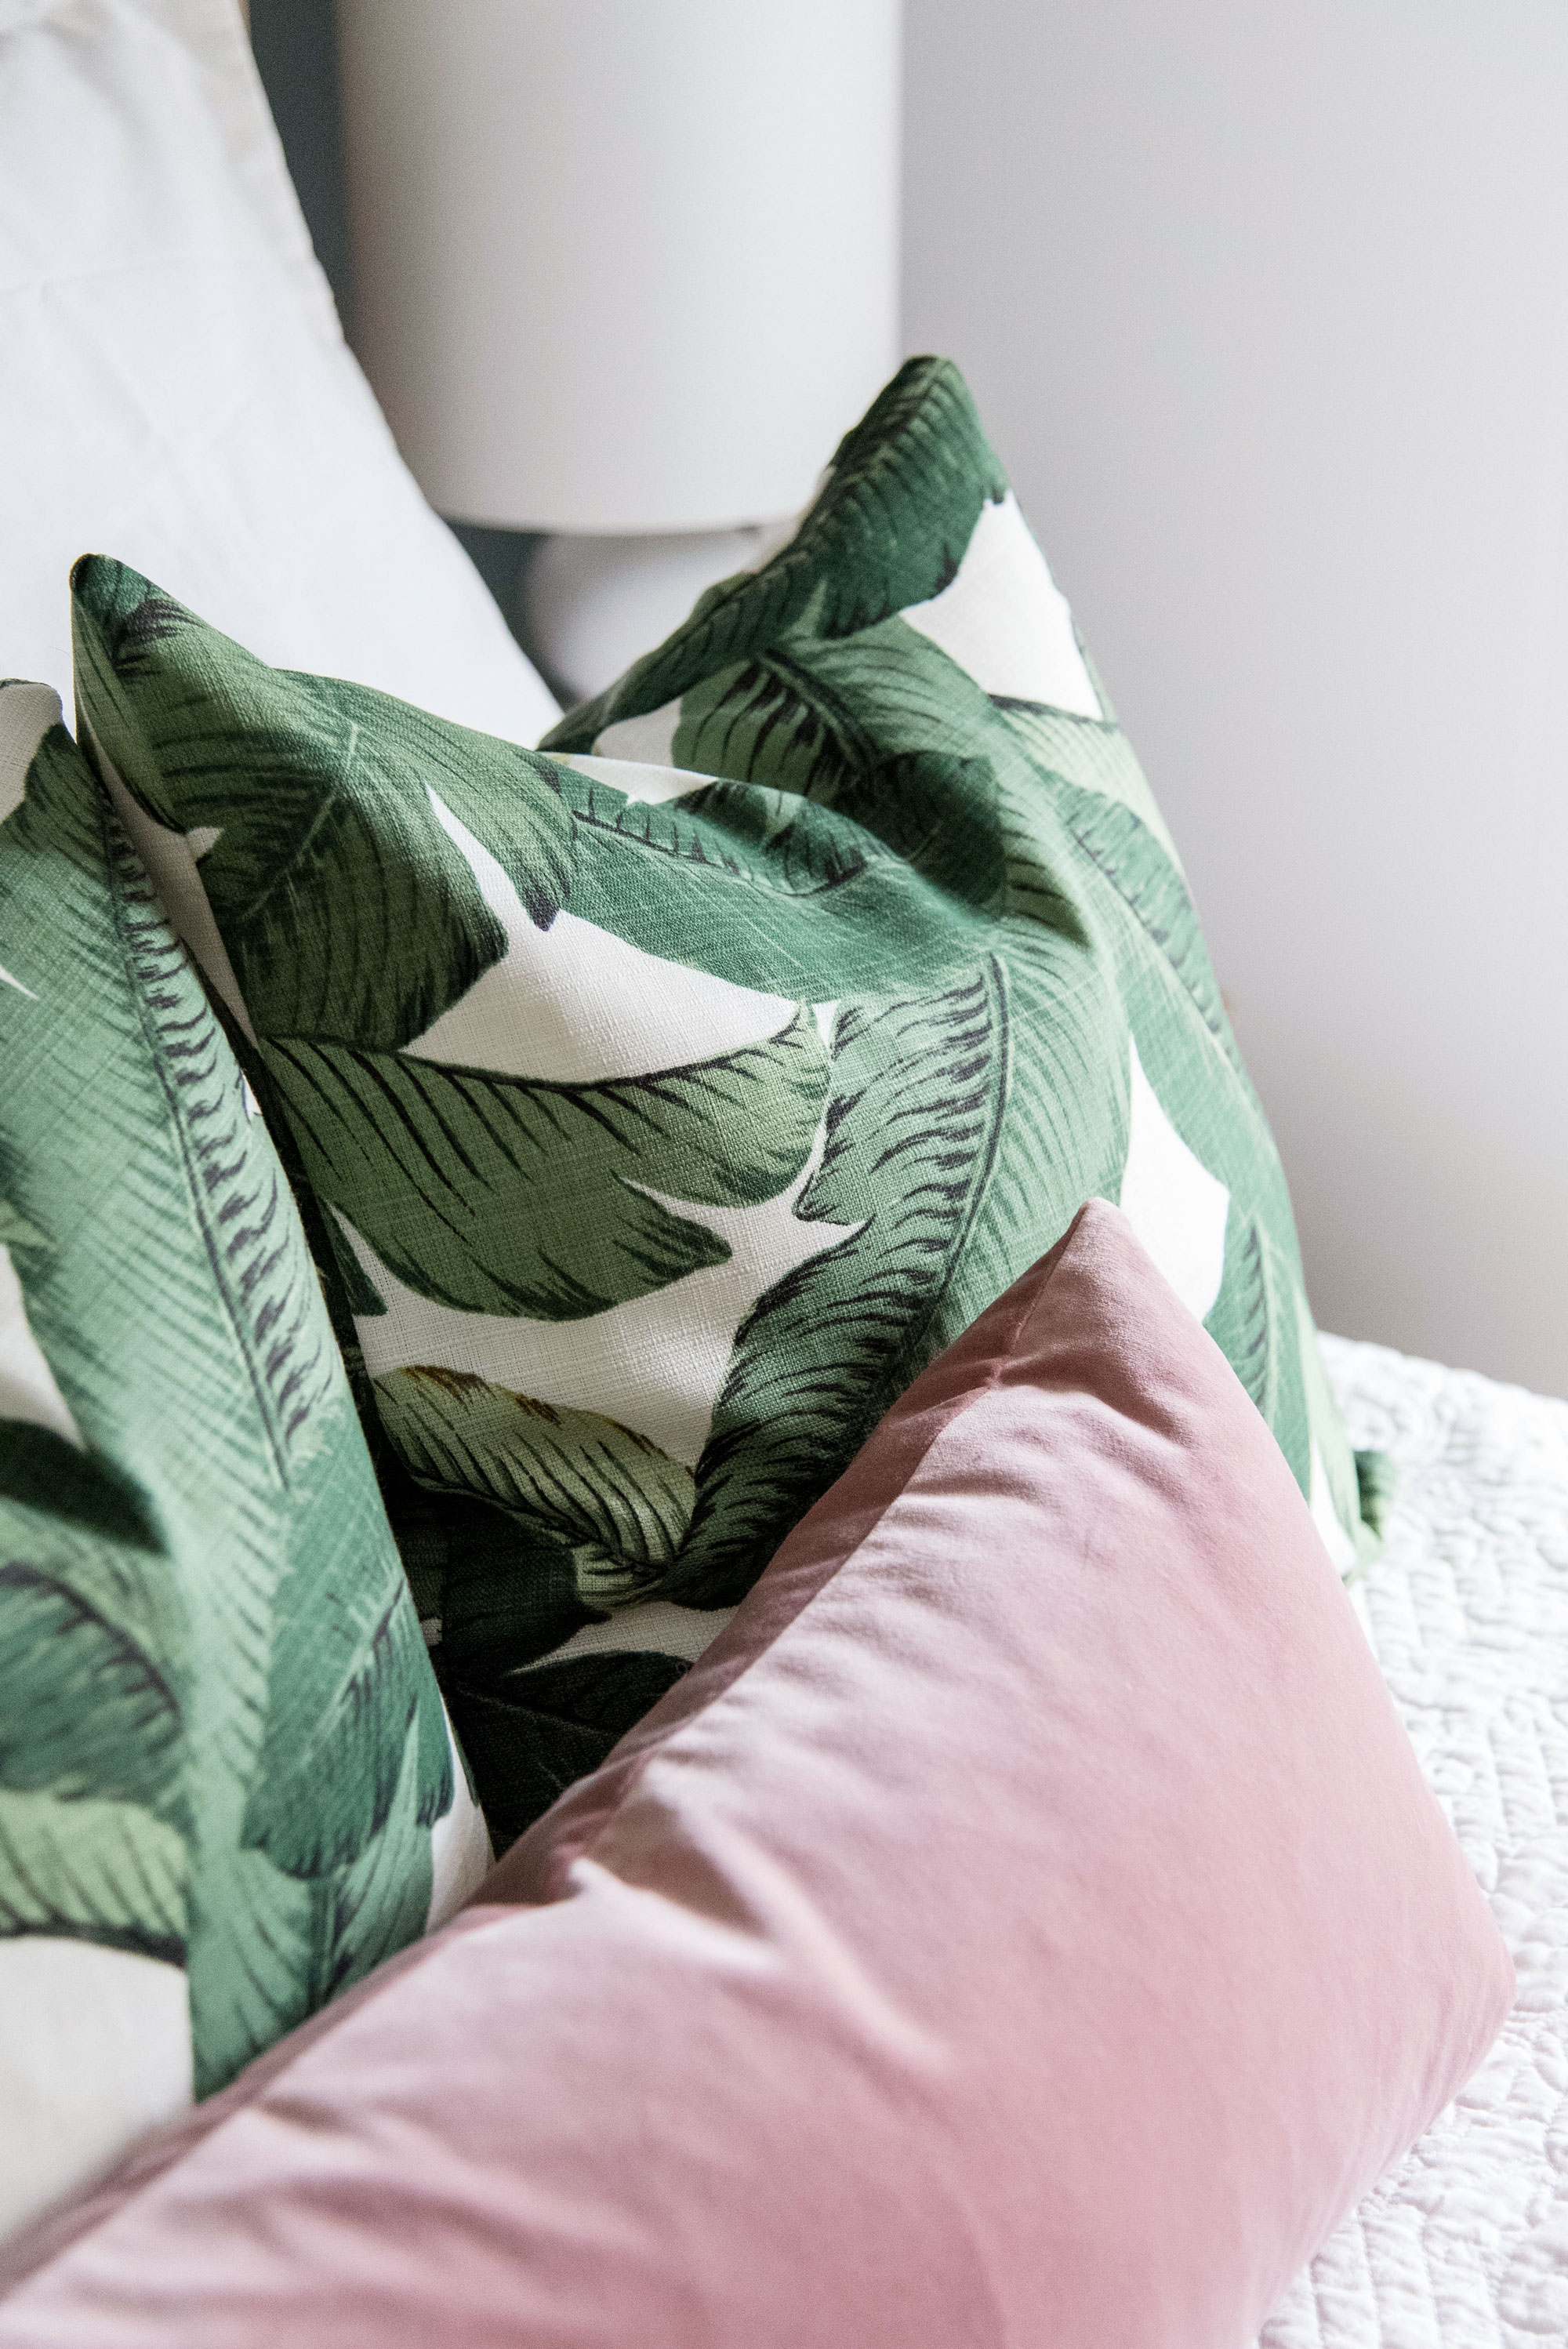
There are so many ways to arrange pillows on your bed but I’m a sucker for symmetry and odd numbers. I chose two euro shams that match the duvet (this is a full sized bed) and 3 18″ throw pillows in this super fun palm print from Live Love Smile on Etsy. I love to switch up my throw pillows so I always suggest that people buy covers for their pillow fillers instead of plain filled pillows. That way you can change the look of your space whenever you want. I finished the look with this blush pink lumbar pillow also from Live Love Smile on Etsy. Her quality is impeccable and her prices are FANTASTIC!!! She has TONS of colors and patterns. Go check her out here.
Overall, I’m in LOVE with the finished product. Keith and I decided a while ago that we were going to have FUN with our interiors while we were still young. Lots of fun patterns, colors, and funky little accents! We’ll get serious when were older, maybe (probably not). I just got our run in for the living room and it’s HOT PINK! Here’s to living in a space you love and expressing who you are around every corner!
Shop My Room: