I know you guys knew this one was coming but I’m so excited to be delivering it sooner than expected. Tropical Storm/Hurricane Sally was supposed to be giving Jackson a good bit of rain over the next few days and so I rushed to finish the porch before the rain only to find out that the rain isn’t coming. Goodbye, Sally.
So here is the whole 411 on how I did it and what I used to do it! Let’s dive in.

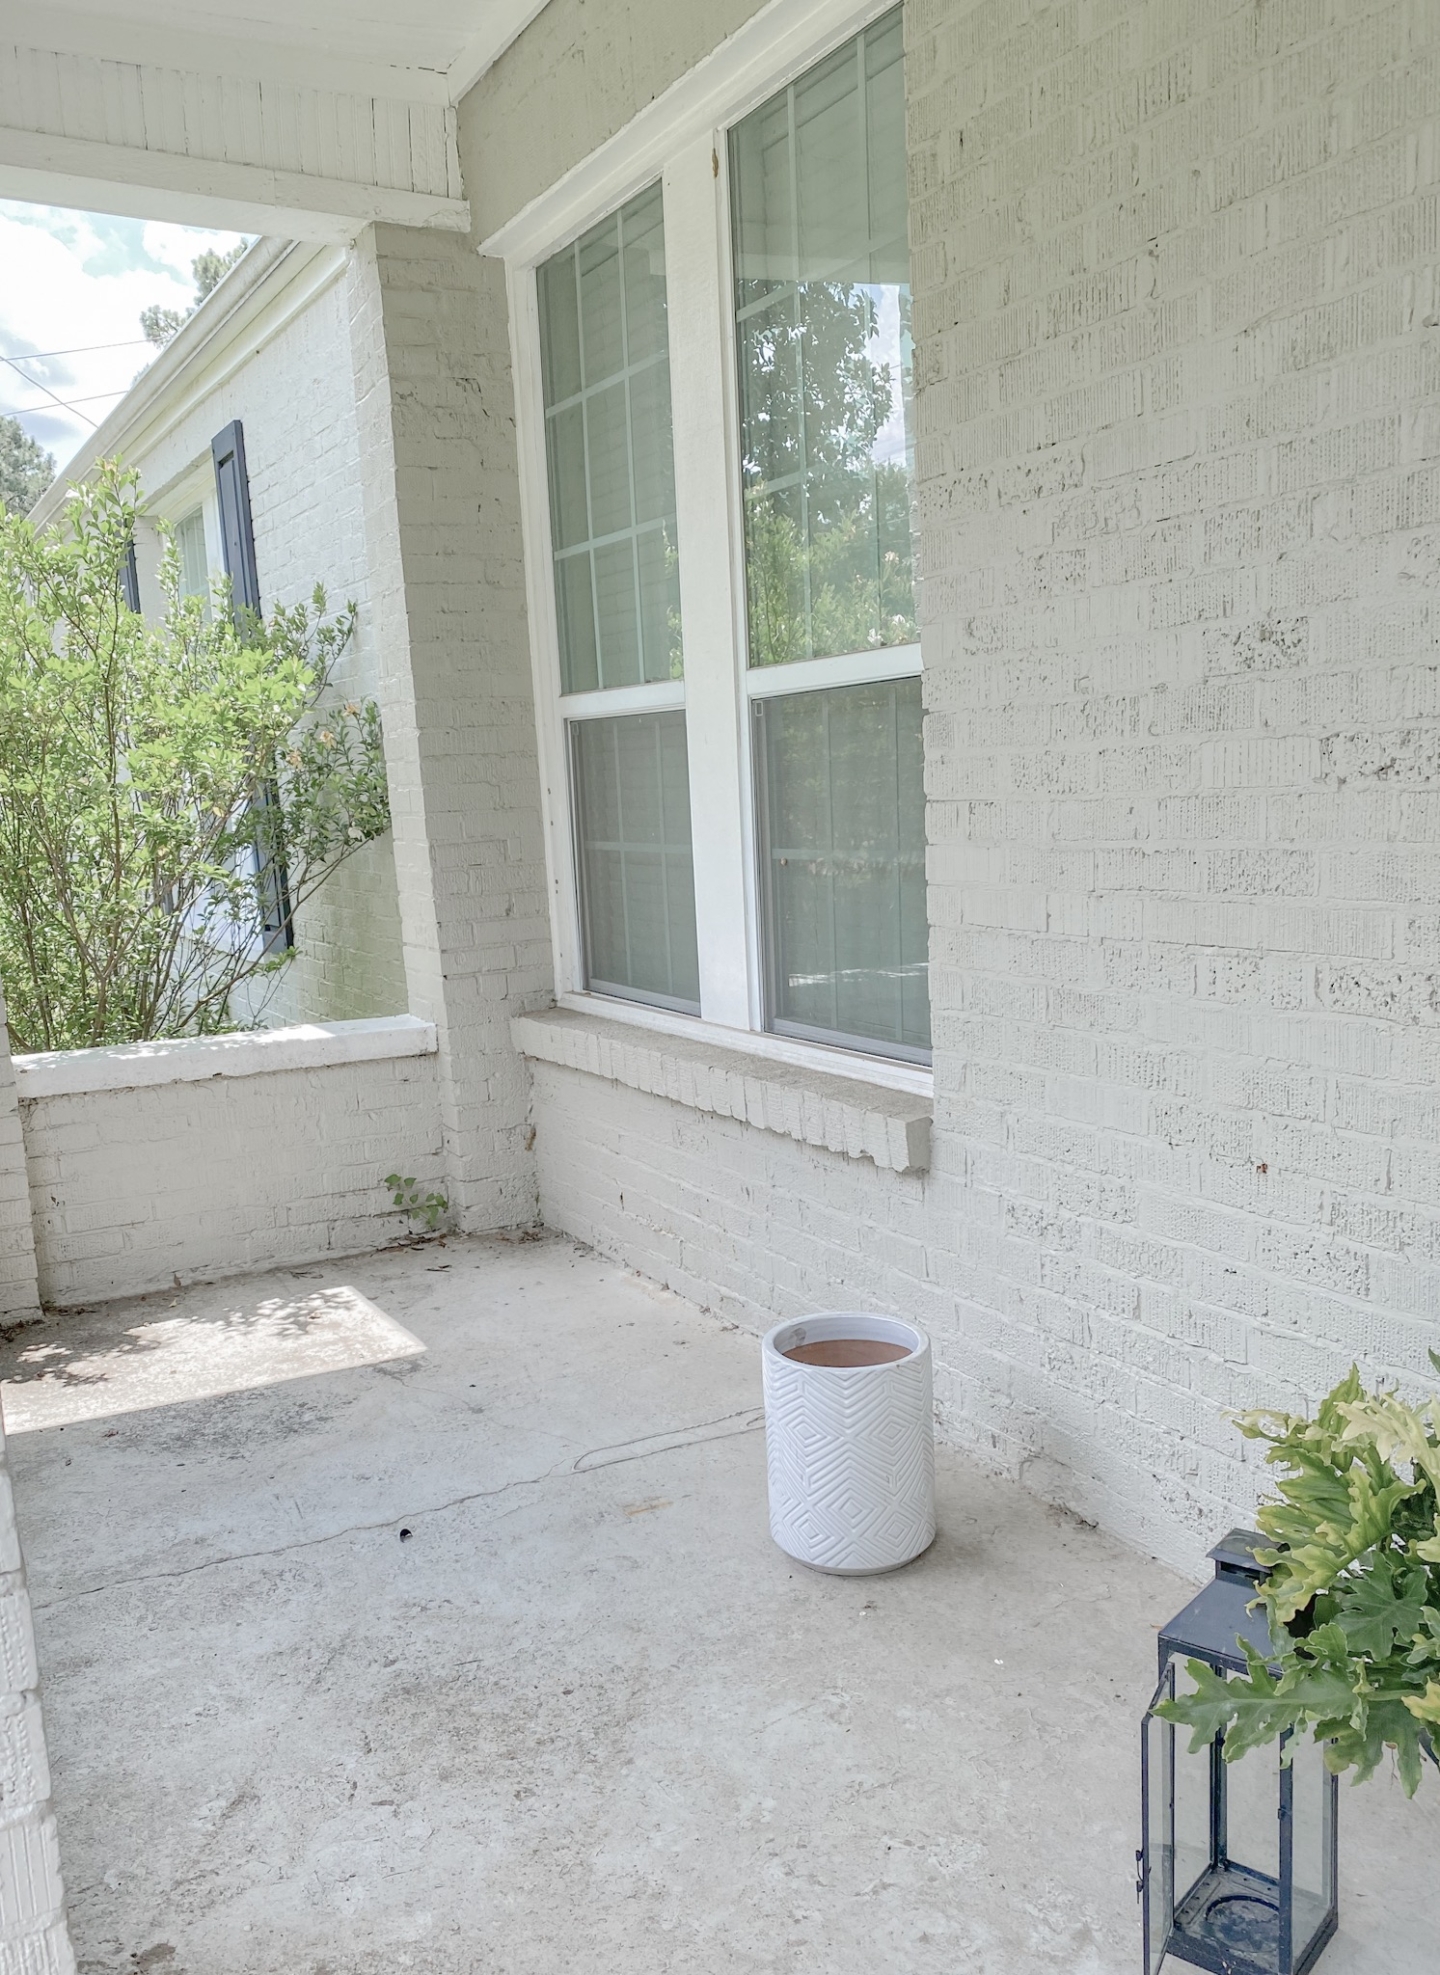
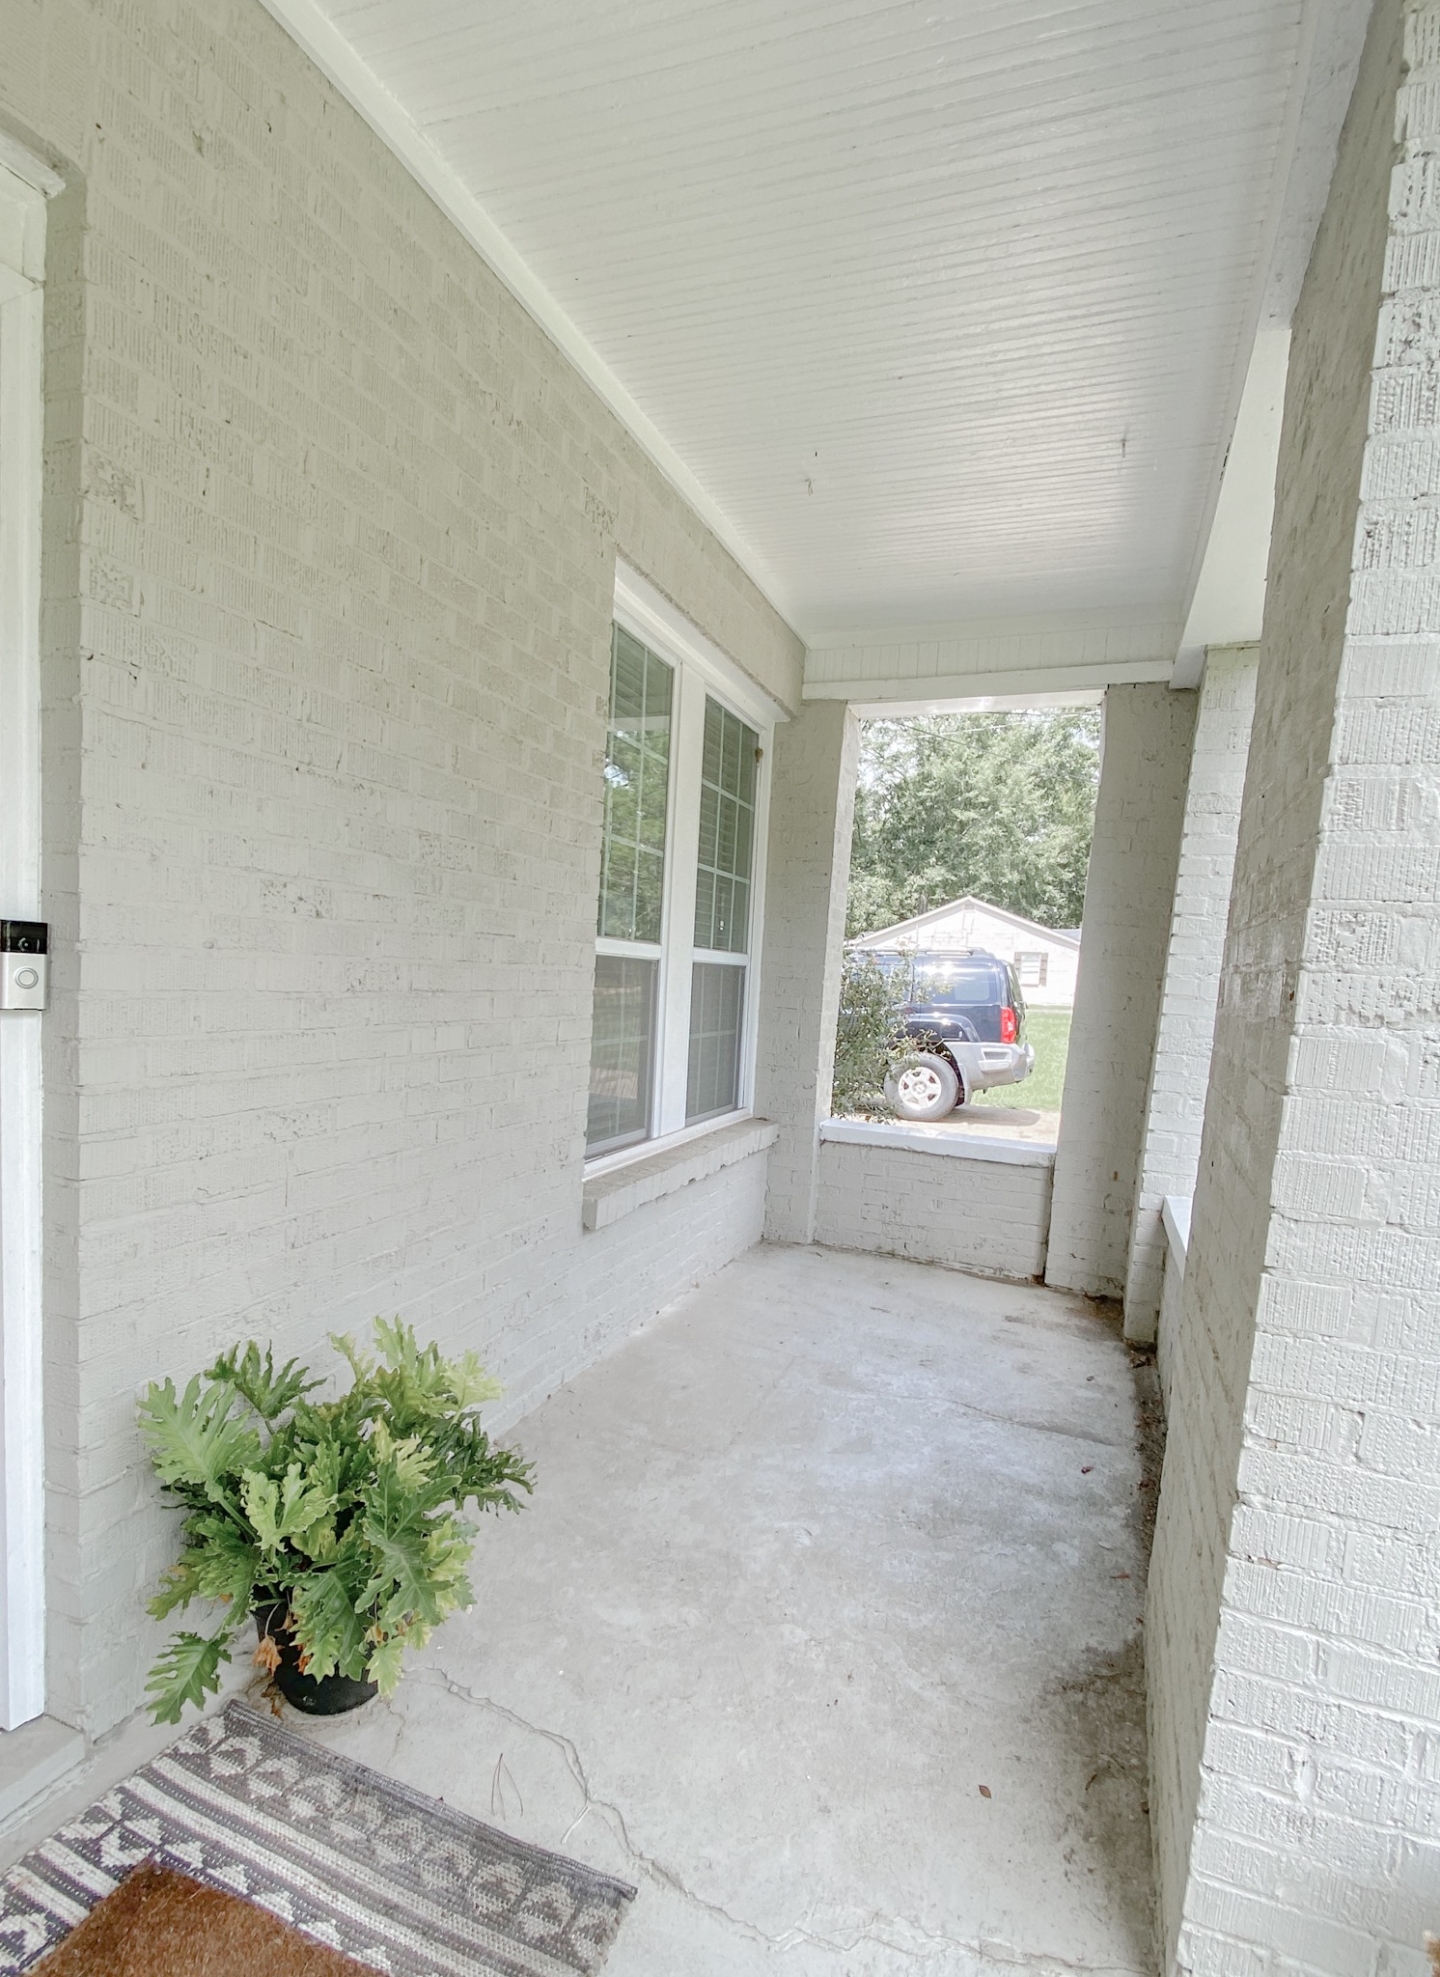
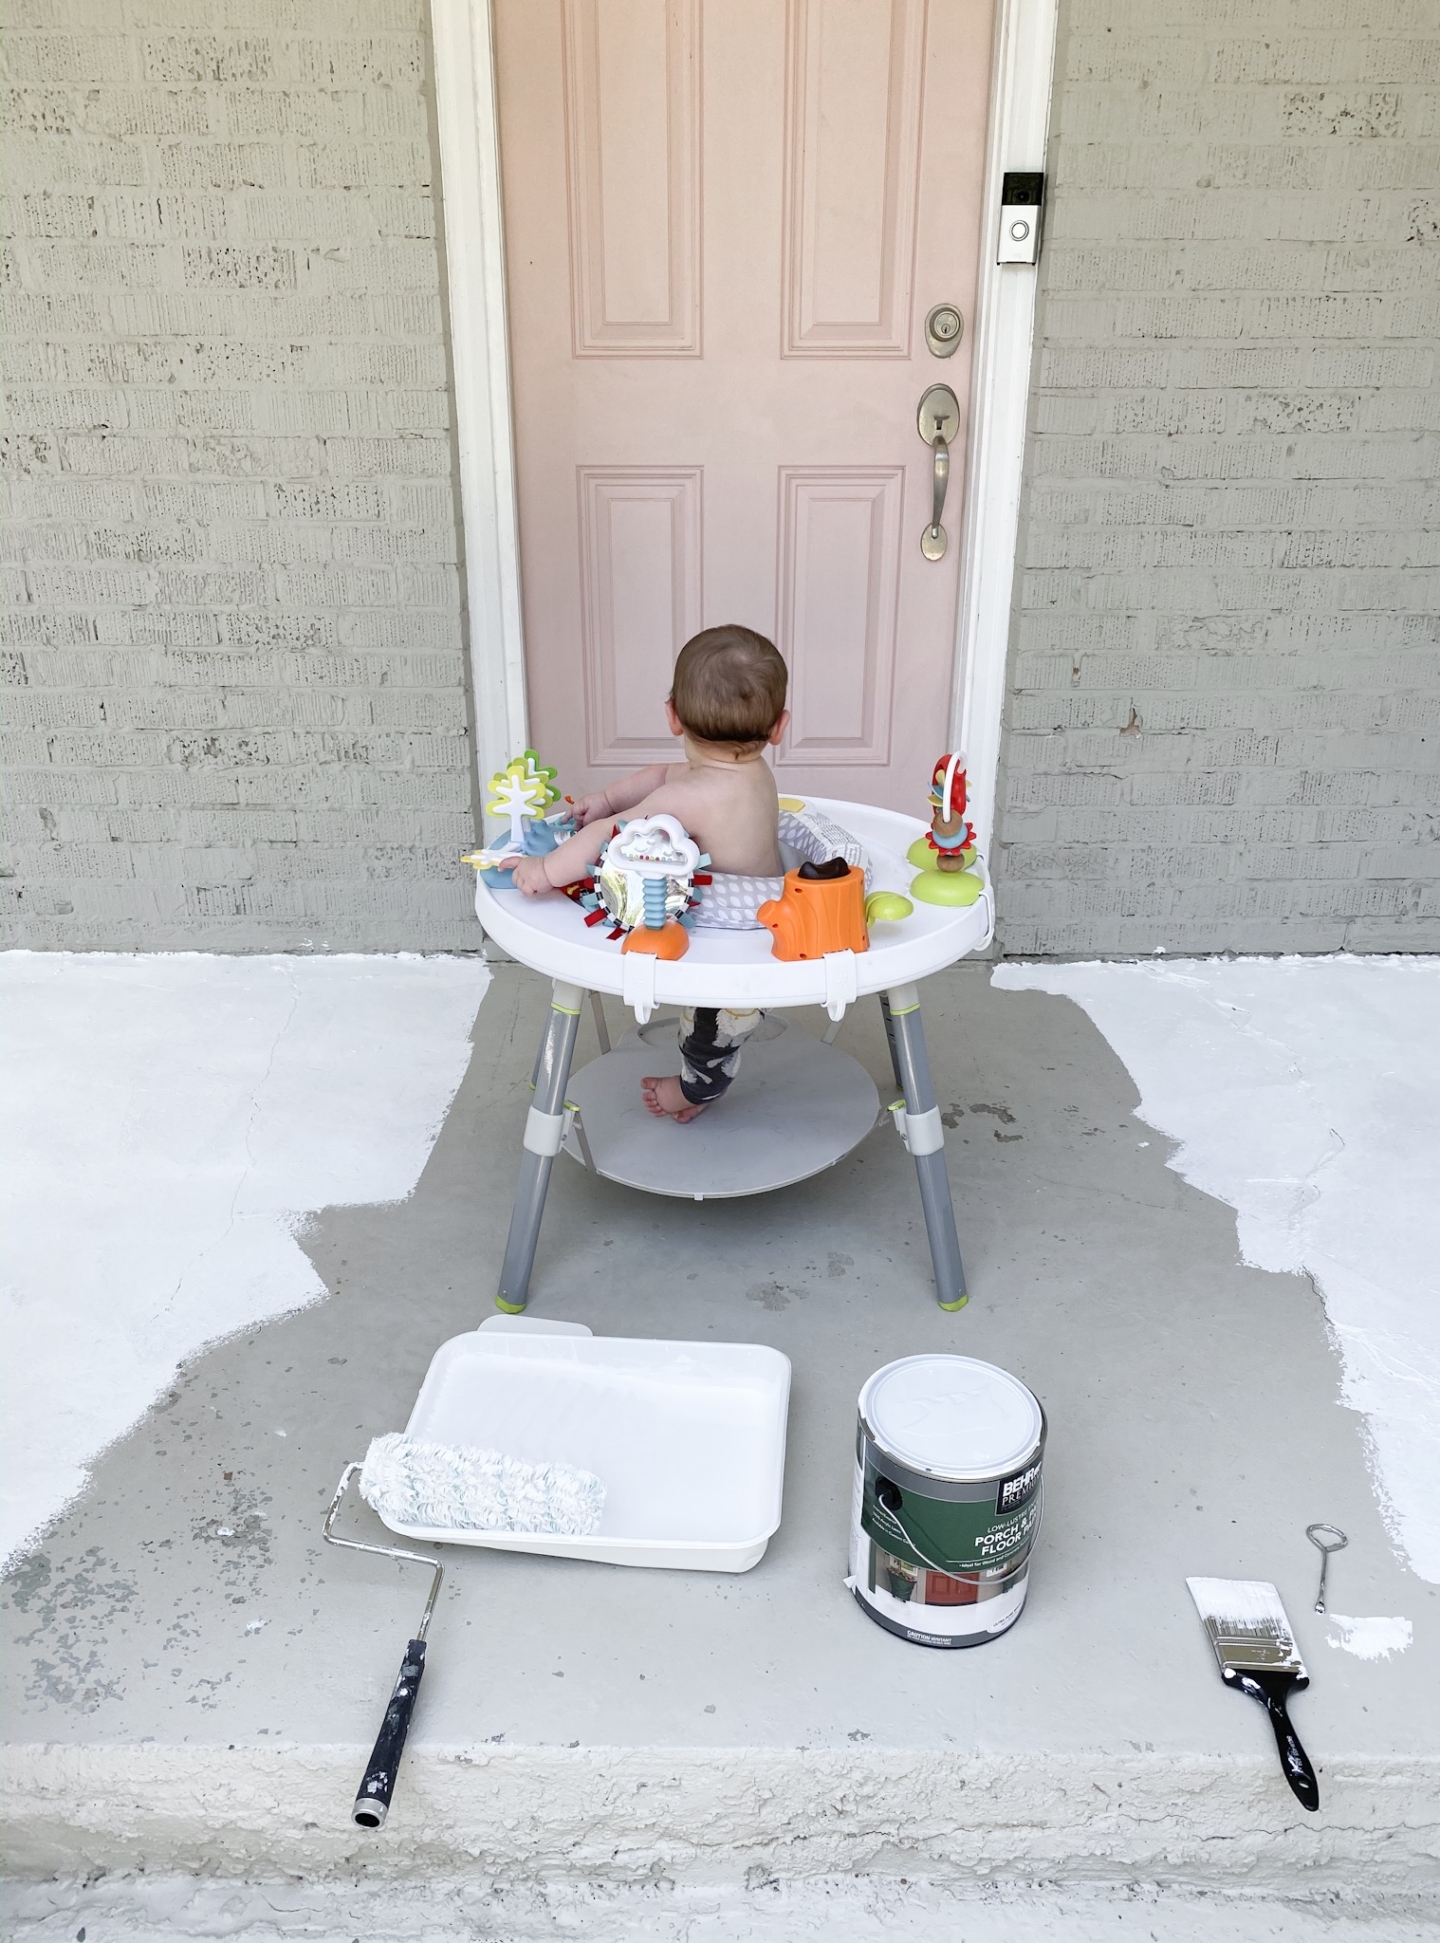
First things first, this porch was dirty. My house is over 100 year old and though it’s been updated and painted many times, it definitely hasn’t been cleaned in a while. Since we moved here for SURE. So we called Mr. Mom Power Wash to help us out. Matt was so helpful in not only giving our porch a good clean, but explaining what he was doing along the way. Thank goodness for him or else I wouldn’t been Cinderella scrubbing for days and days. Click the link above to follow him on facebook and hire him if you’re local to the JXN area!!
The outcome was fantastic! It was so dang clean! and ready for a bit of work and then some painting!
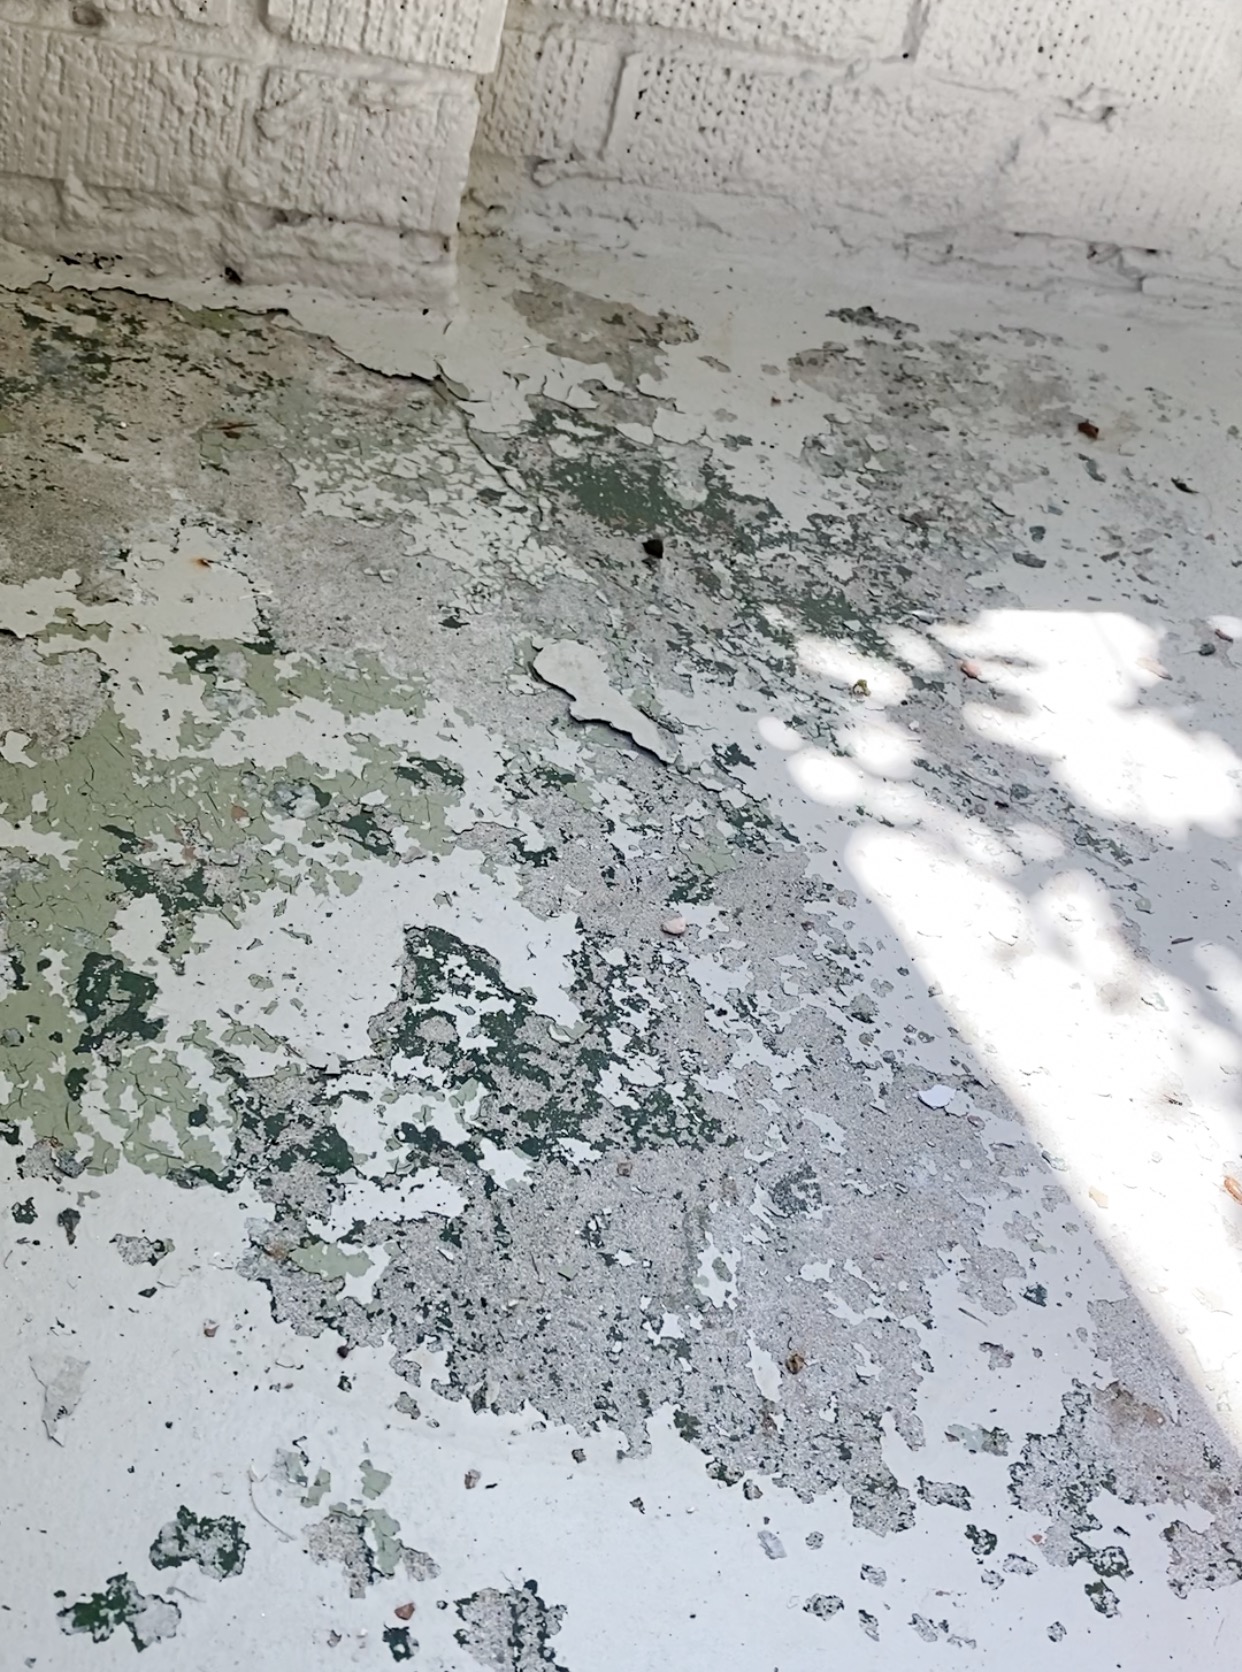
I ended up having to take some steel wool and scrub the areas where the old paint was coming up. I tried to get as much of the old paint up as I could and then used my sander to smooth things out a bit.
It was never going to be perfect and I knew that. As a perfectionist, I find the need to constantly remind myself that perfection is not the goal. In a project like this one with an old, uneven, rough concrete porch, it’s more true than ever.
After a little elbow grease, I was ready to paint. I put 2 coats of Behr’s Porch and Patio Paint in the premixed white. This was so easy. I used a brush for the edges and then rolled (with a roller rated for rough surgaces) the rest. Each coat took me about 30 minutes.
Now it’s time to stencil. I let the base coat cure for 24 hours before starting and then it was work work work. Laborious, tedious, exhausting. All words I would use to describe stenciling. Not hard, though. Anyone can do it, for sure!
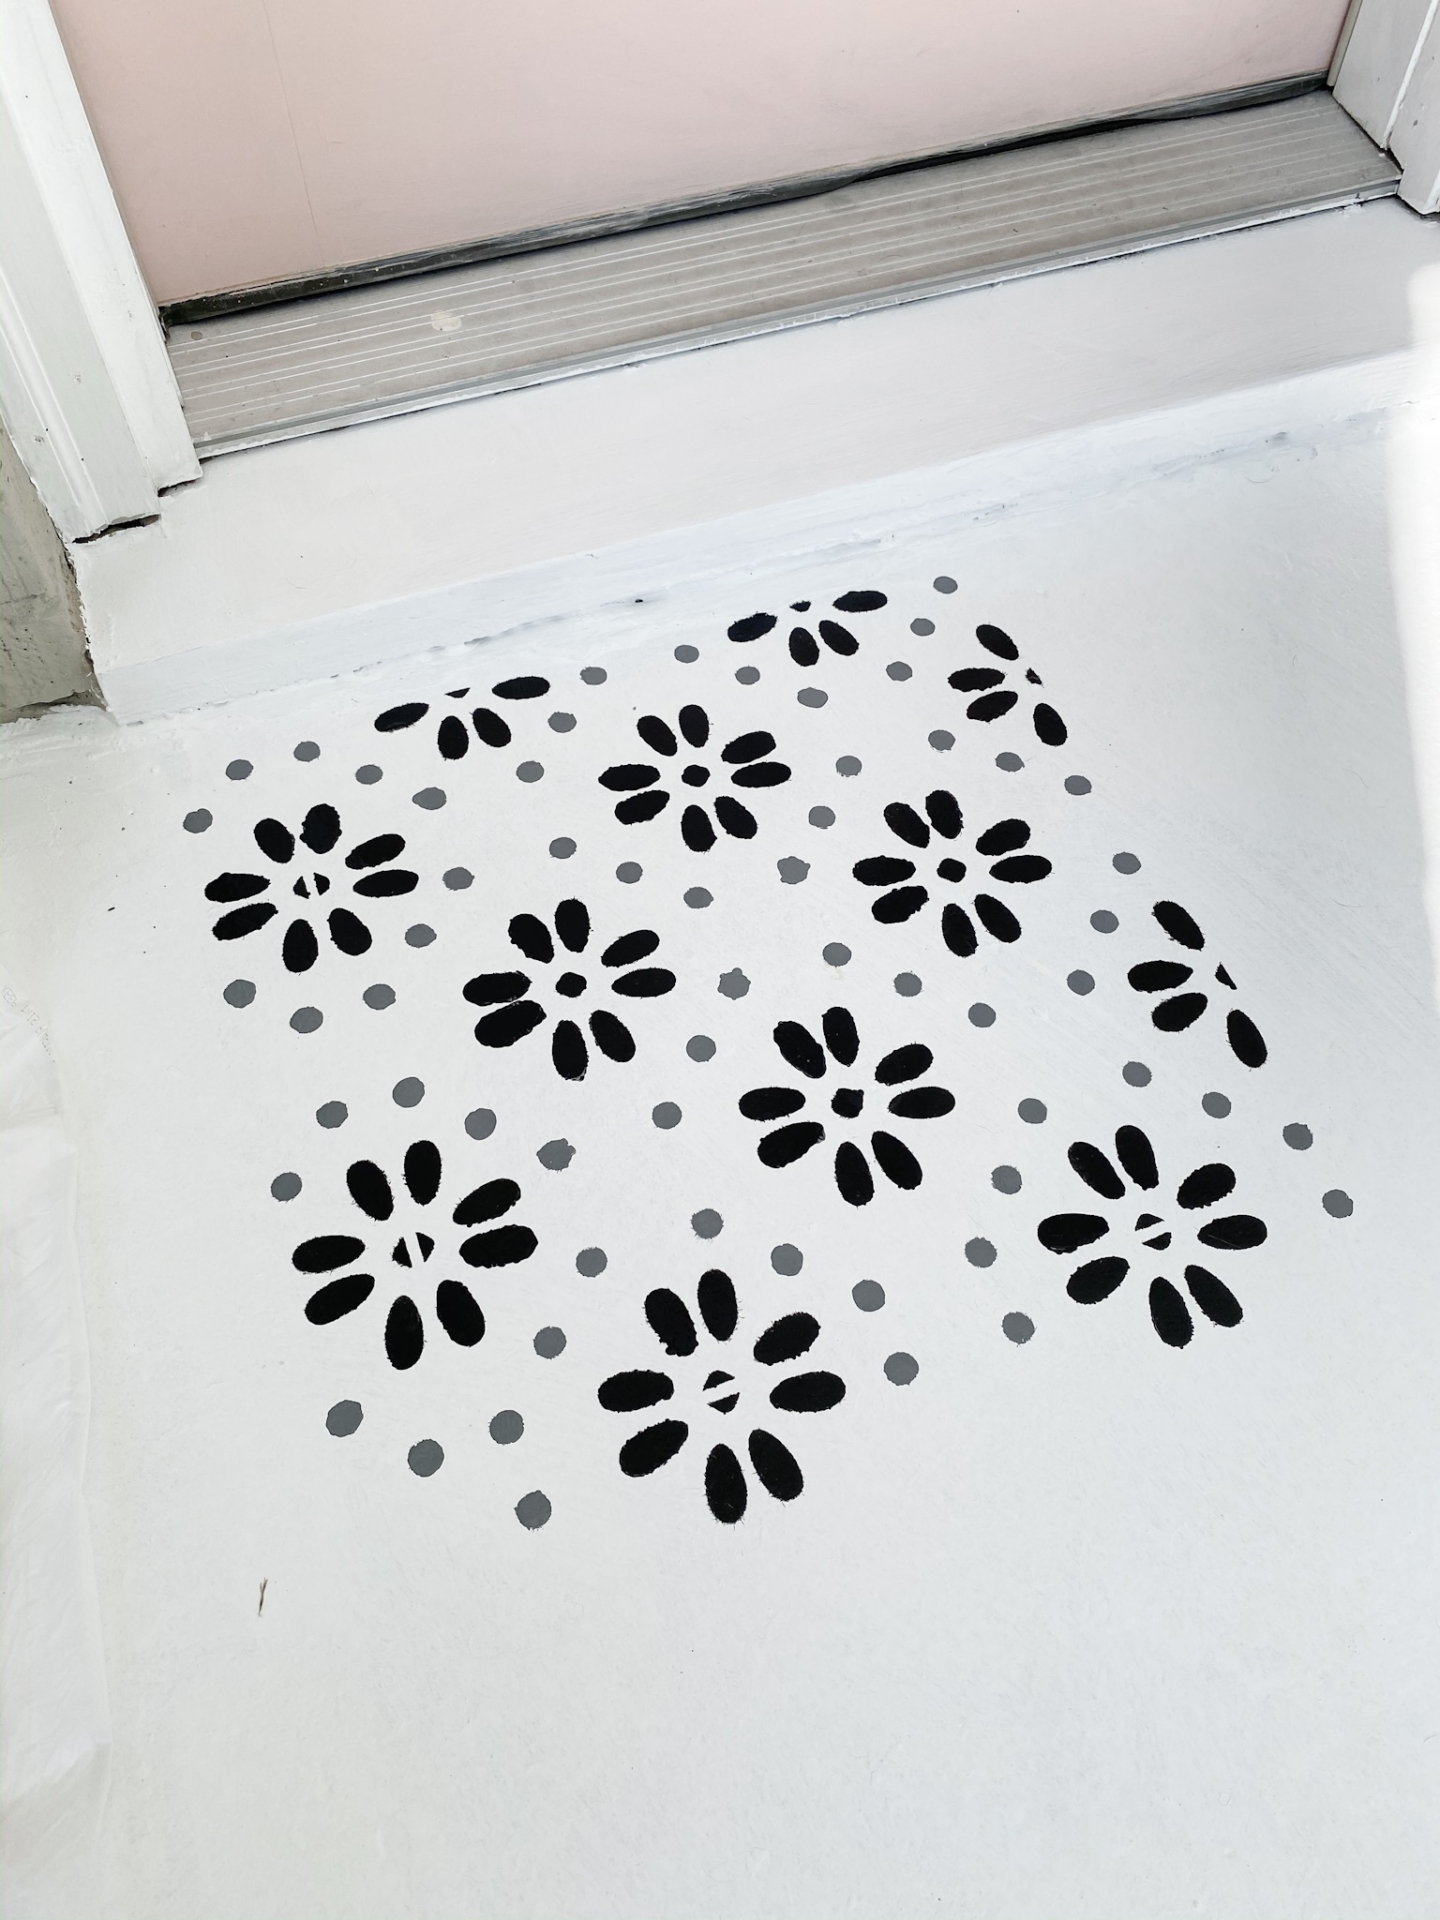
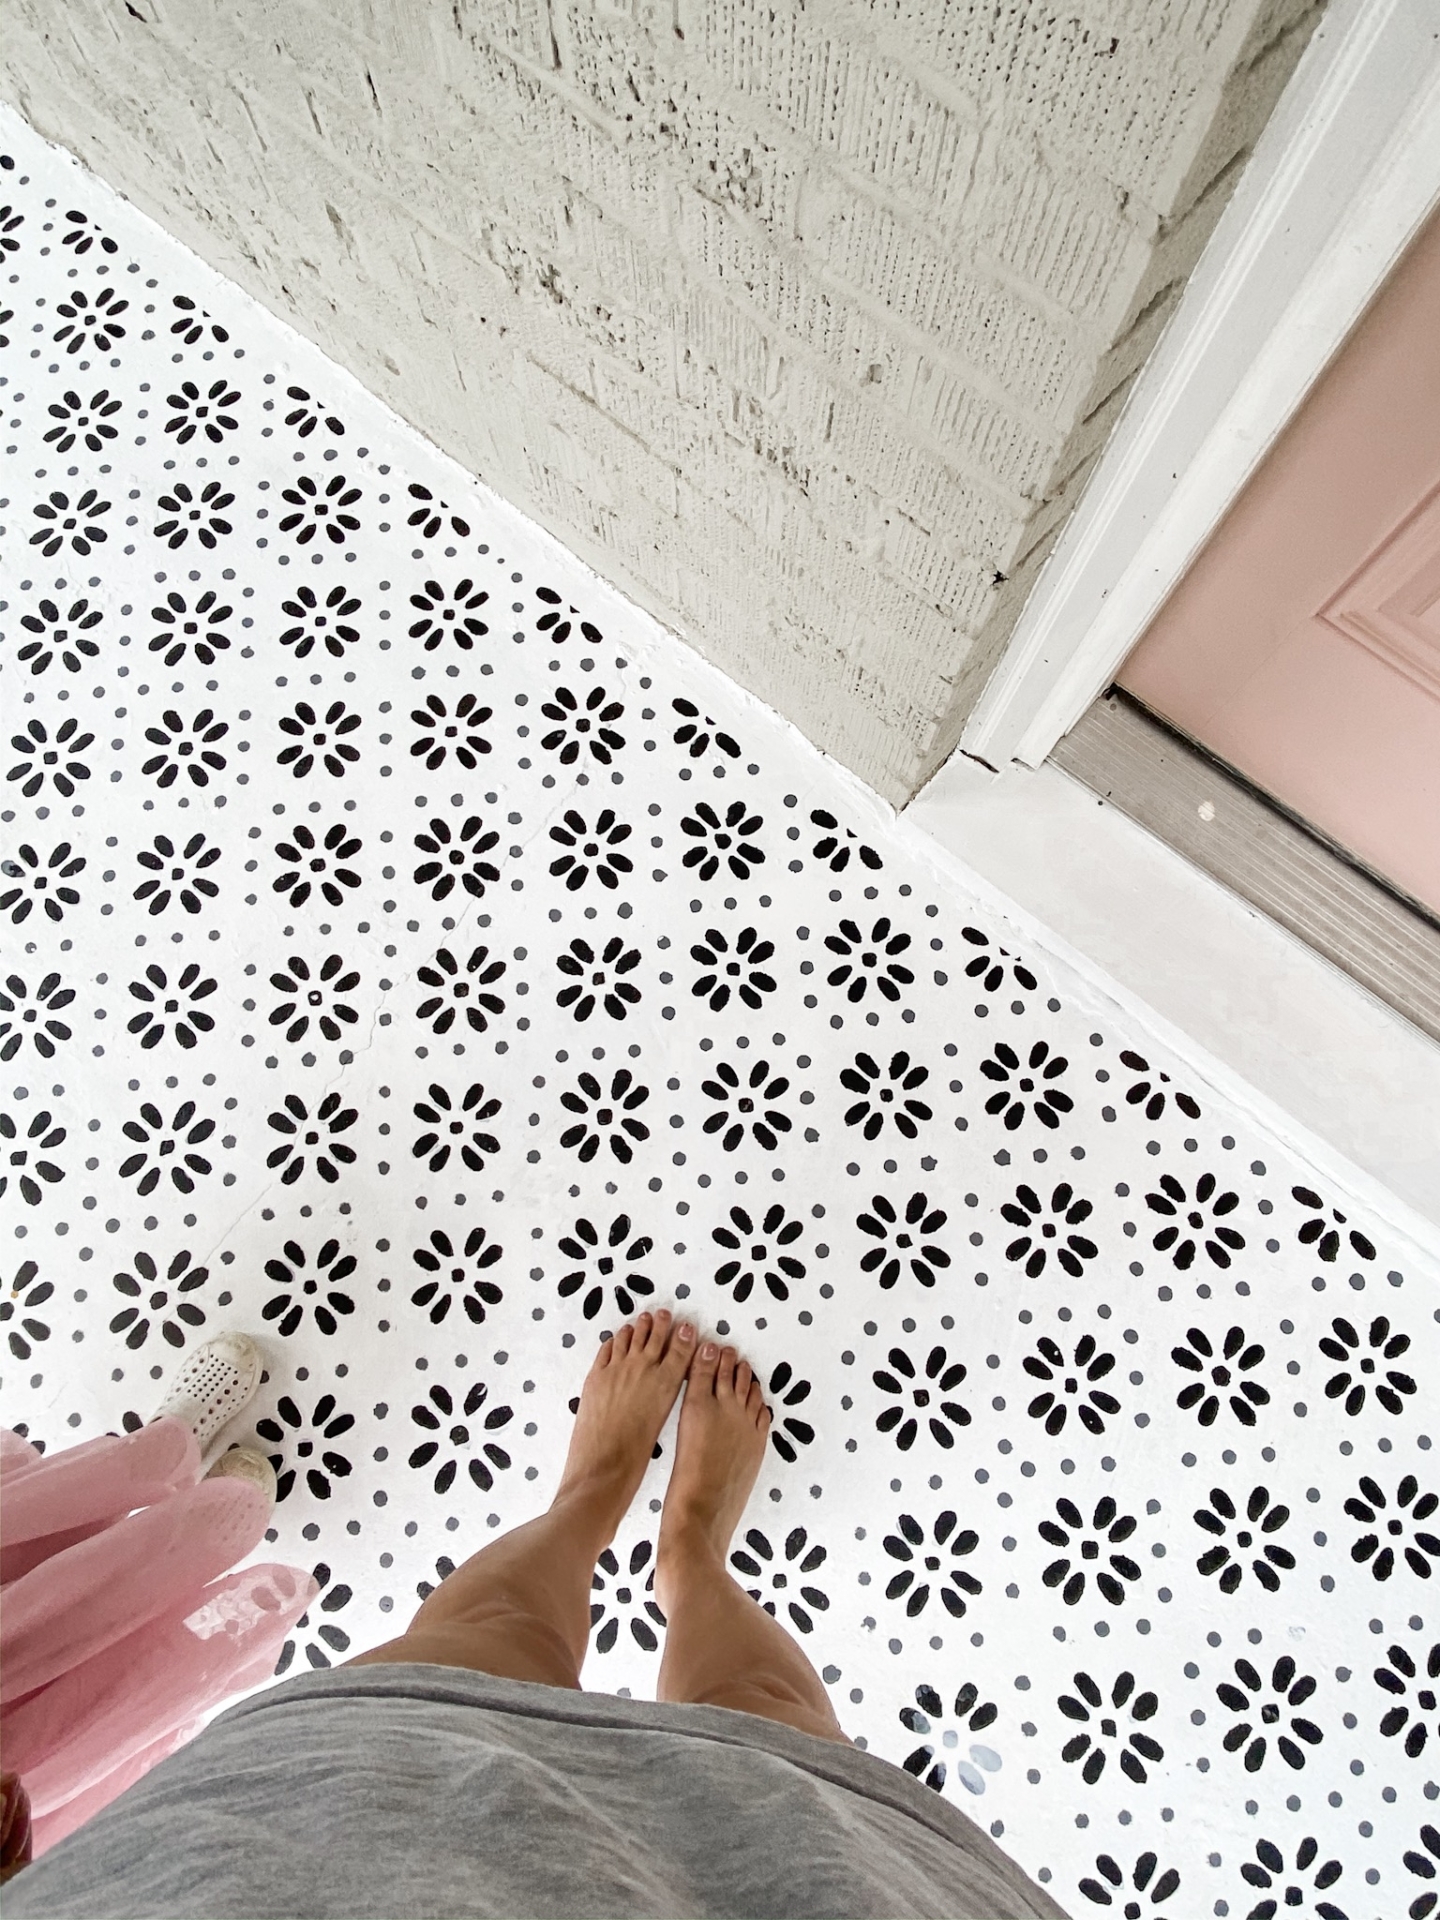
I started in the middle of my porch so that as the areas dried I could work in two directions and hopefully make things go a little faster.
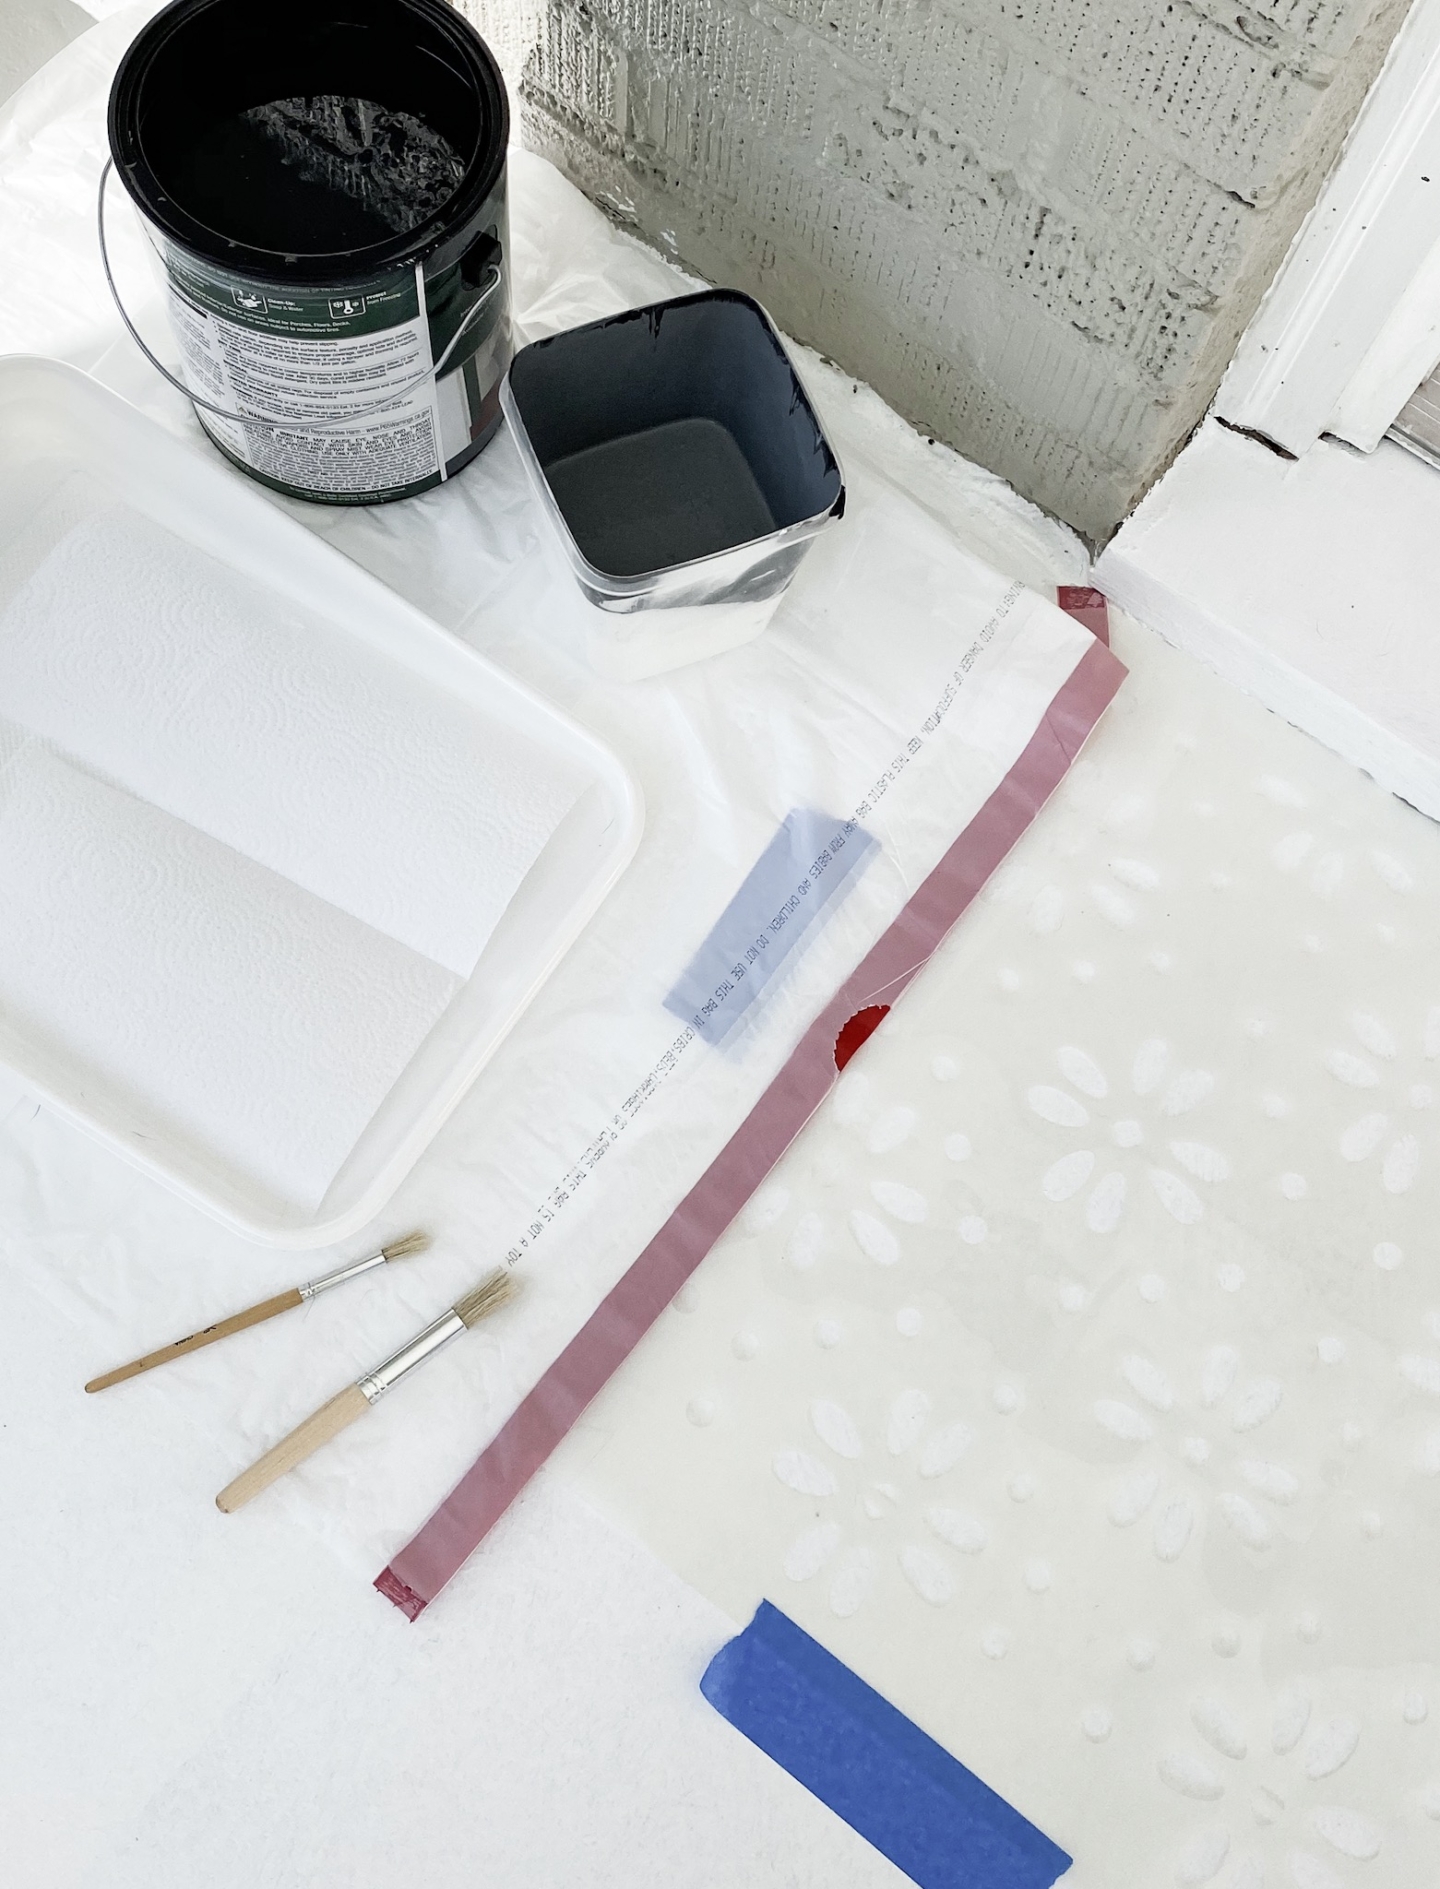
This is the stencil that I bought! It was super affordable and reusable and worked very well. I ended up getting the largest size they had so that I could cover more surface area at a time. If you’re doing a tiled floor, though, you would choose the size of the tile.
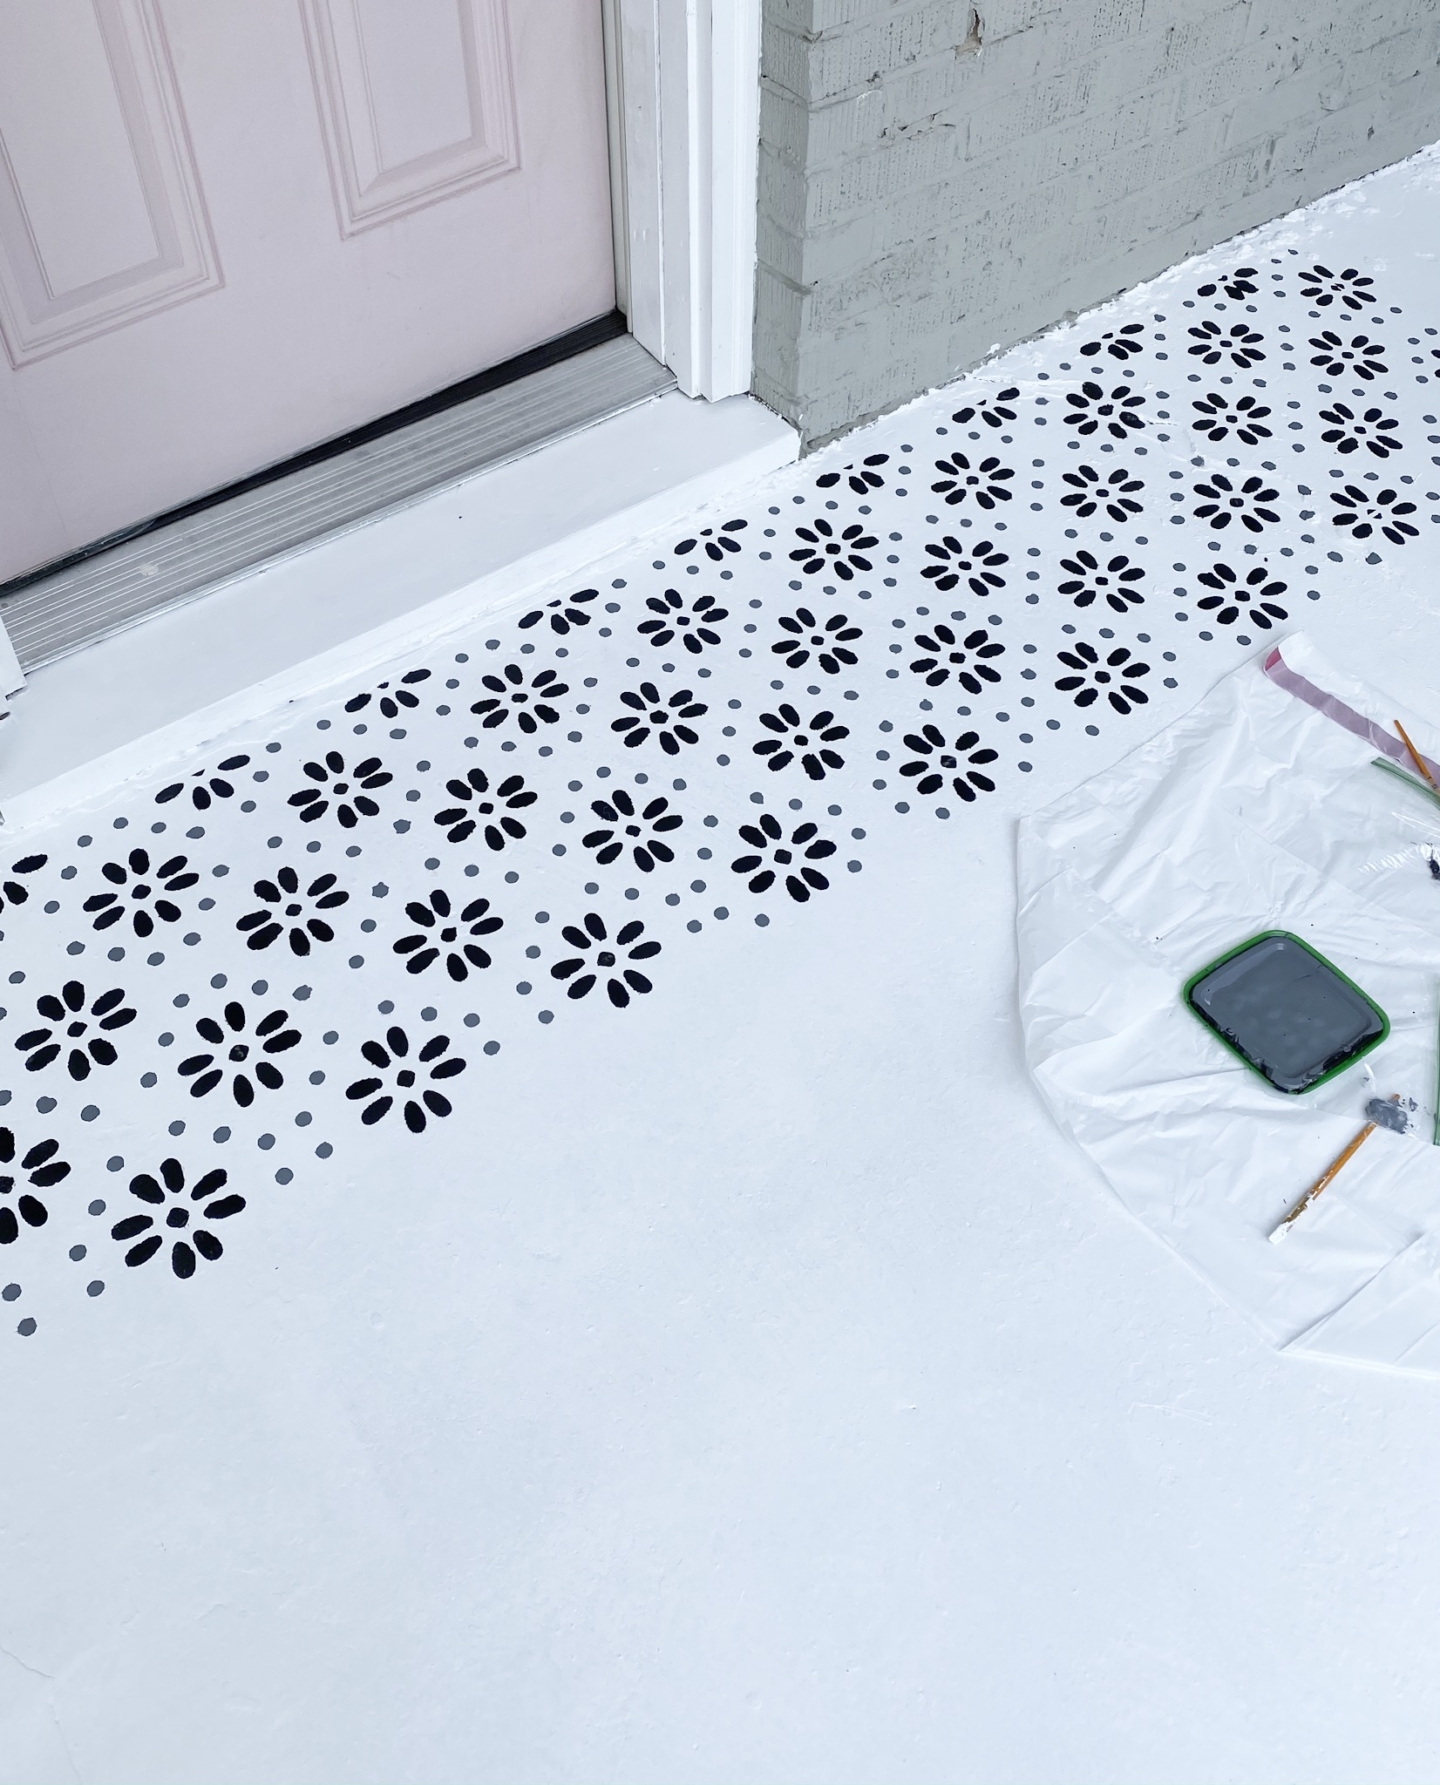
I also grabbed a pack of stencil brushes. I tried using a foam brushes at one point and it was NOT GOOD. Stick to the stencil brushes and dab the paint on instead of brushing it. PRO TIP: Offload your brush every time you dip. You don’t want the paint to glob. It needs to go on in thin coats.
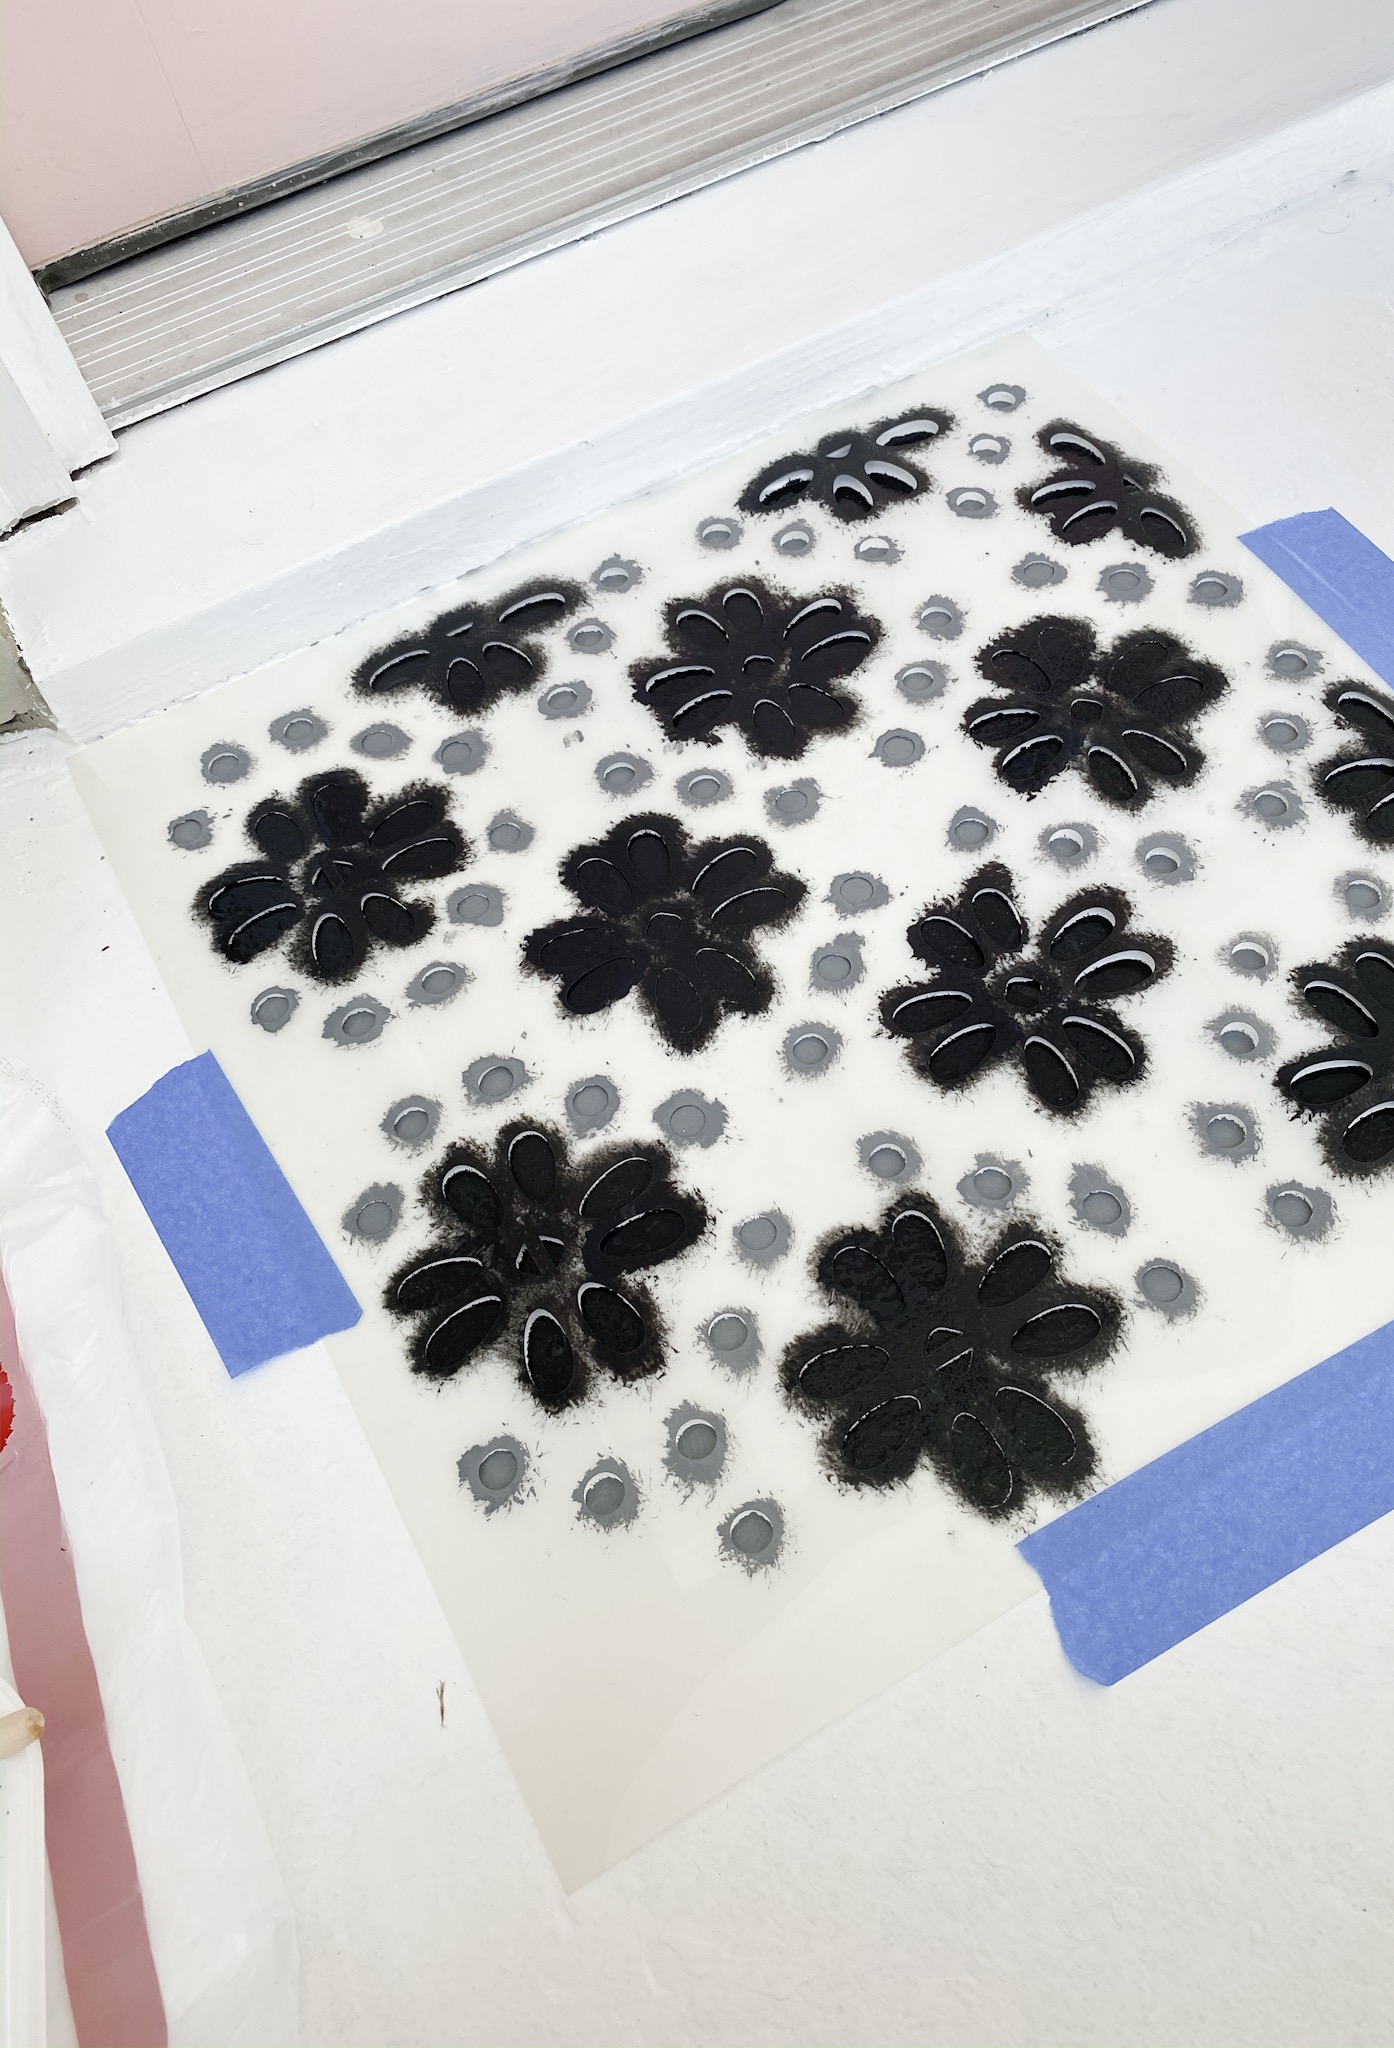
Here is my method:
1. Paint thin coat on stencil and leave it
2. While that coat is drying, touch up the previous stencil with the base color paint.
3. Second coat on the stencil and then pull it up.
4. Wipe down front and back of stencil with wet cloth and the dry with dry cloth.
5. Move to other side or new location and start over.
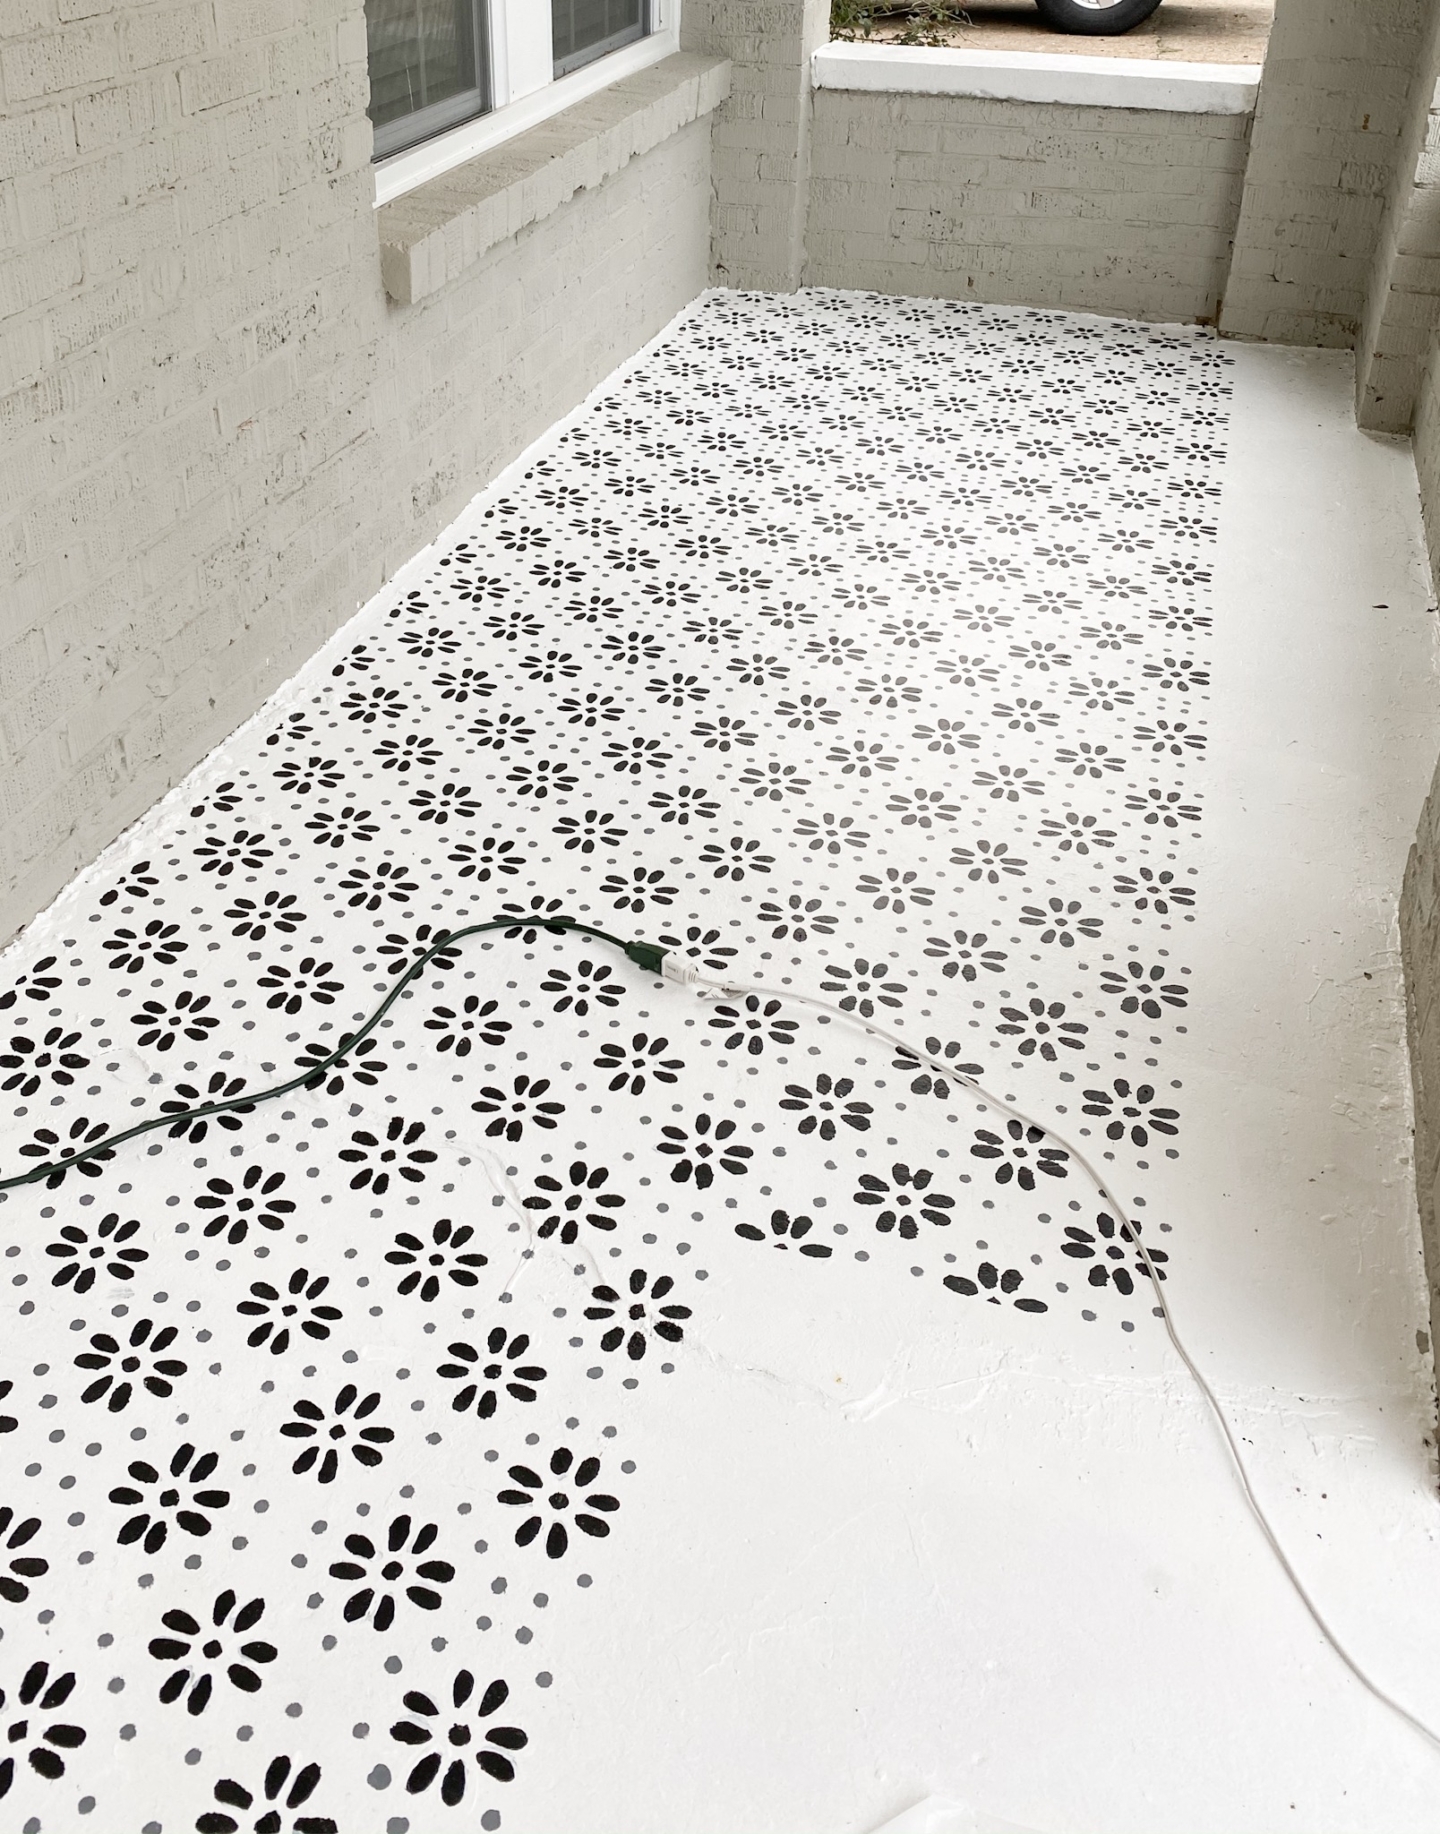
The further I got, the messier I got and the more I ended up having to touch up. But it’s alright. I managed!
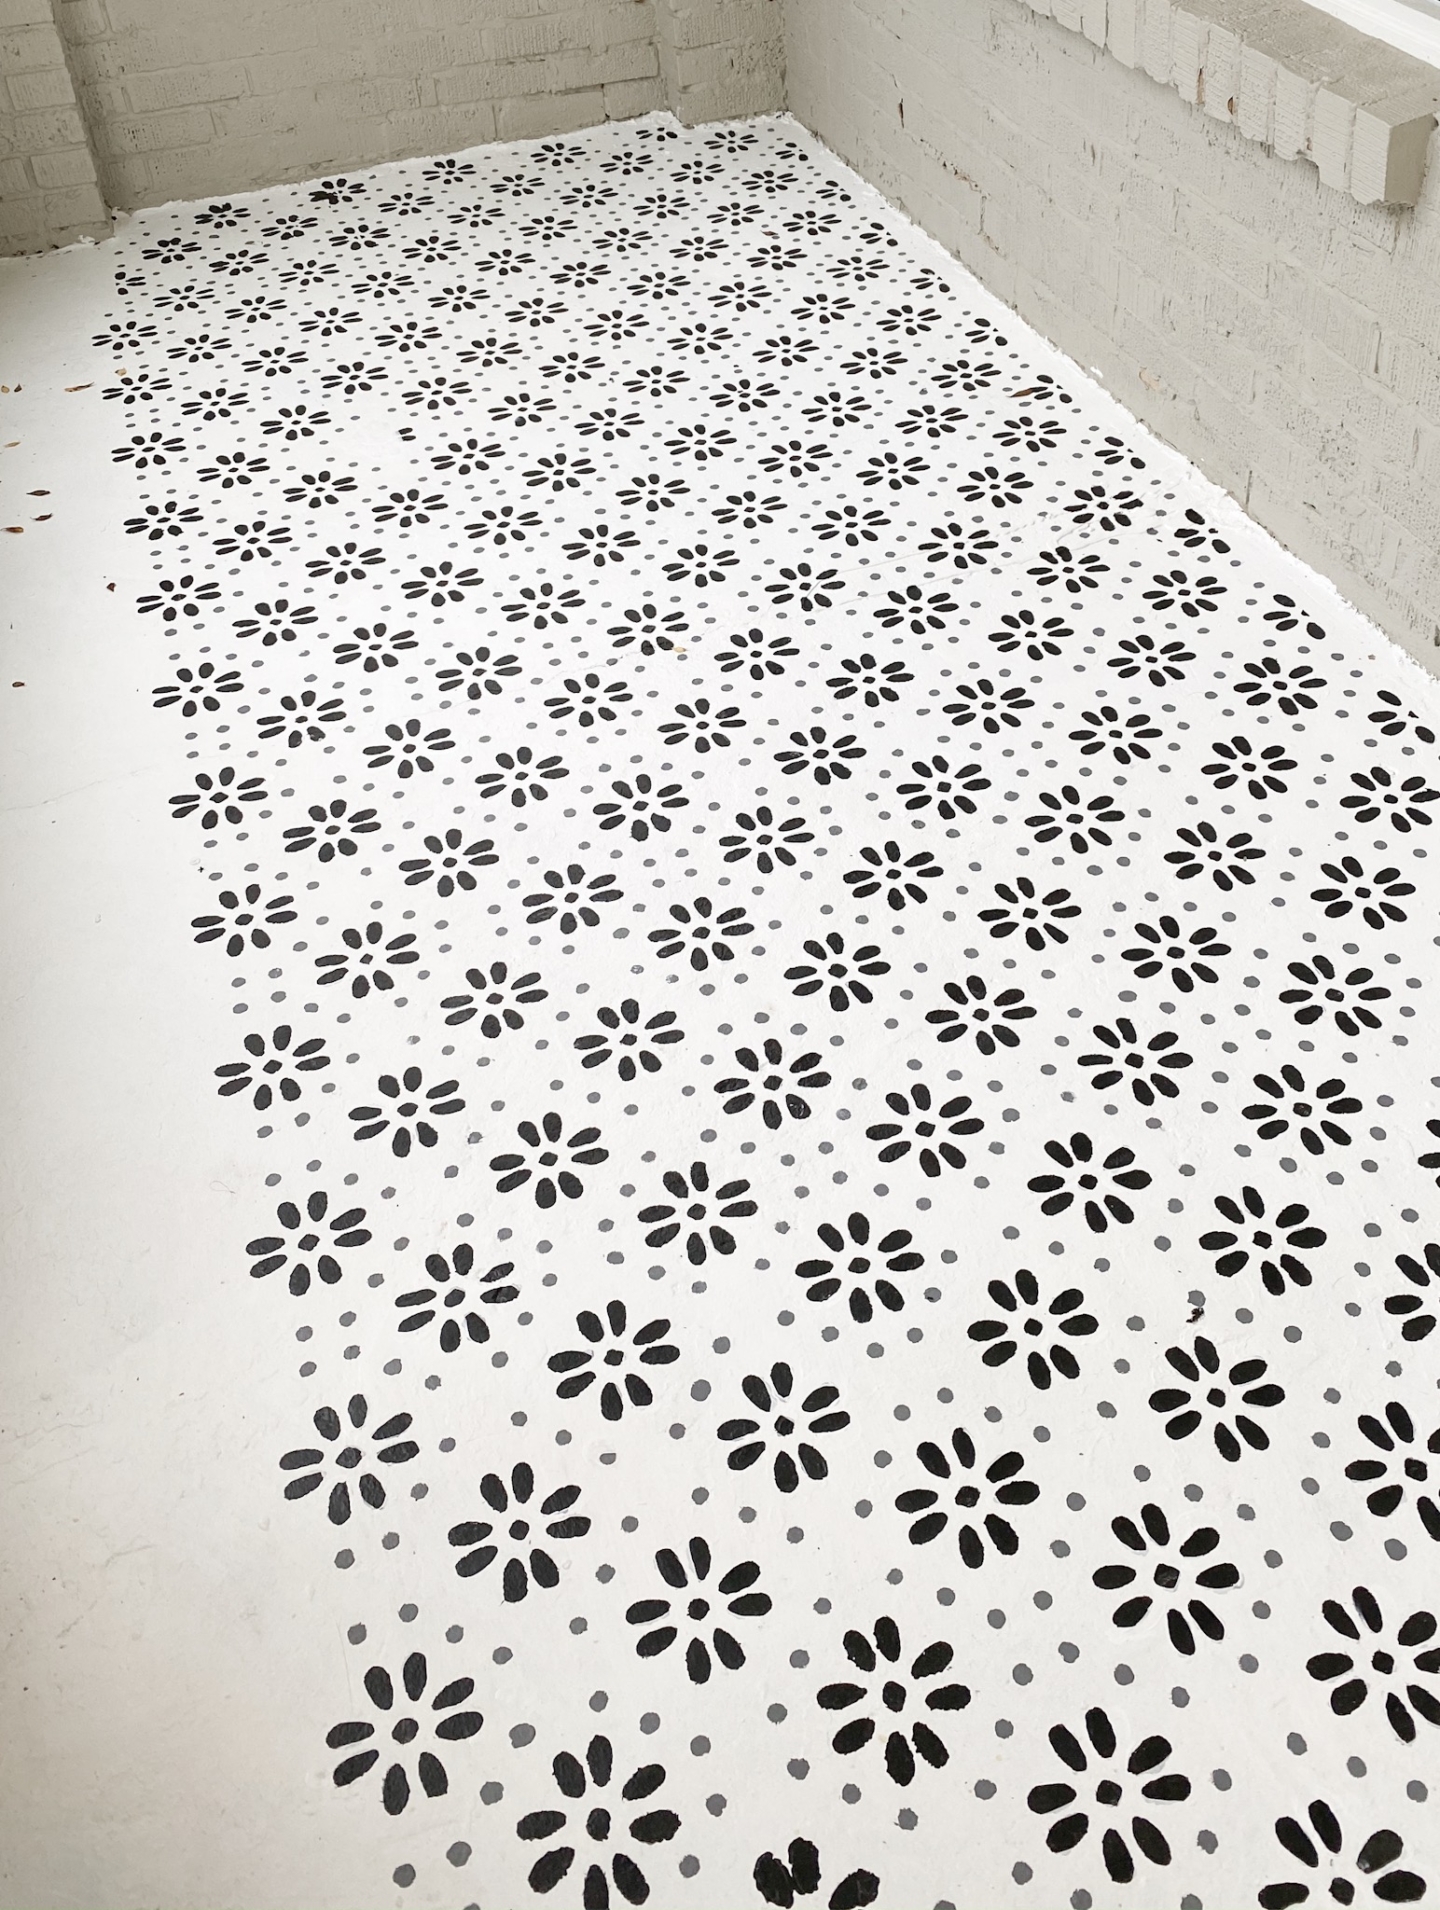
After several days… yes days, it was finished! But I still had to seal/waterproof it. So after reading many blogs, I chose to go with this waterproofing and protecting stuff from Behr. I literally just poured in onto the porch and spread it out with a roller (again made for rough surfaces). This was messier than I imagined. It’s super thin and so every roll sent sprays of waterproofer all over. It dries clear so no worries. But my legs are likely completely waterproof at this point.
I let it dry over night (an will likely leave it for several days before I put anything back onto it! I just want to give the paint time to cure and all that jazz!
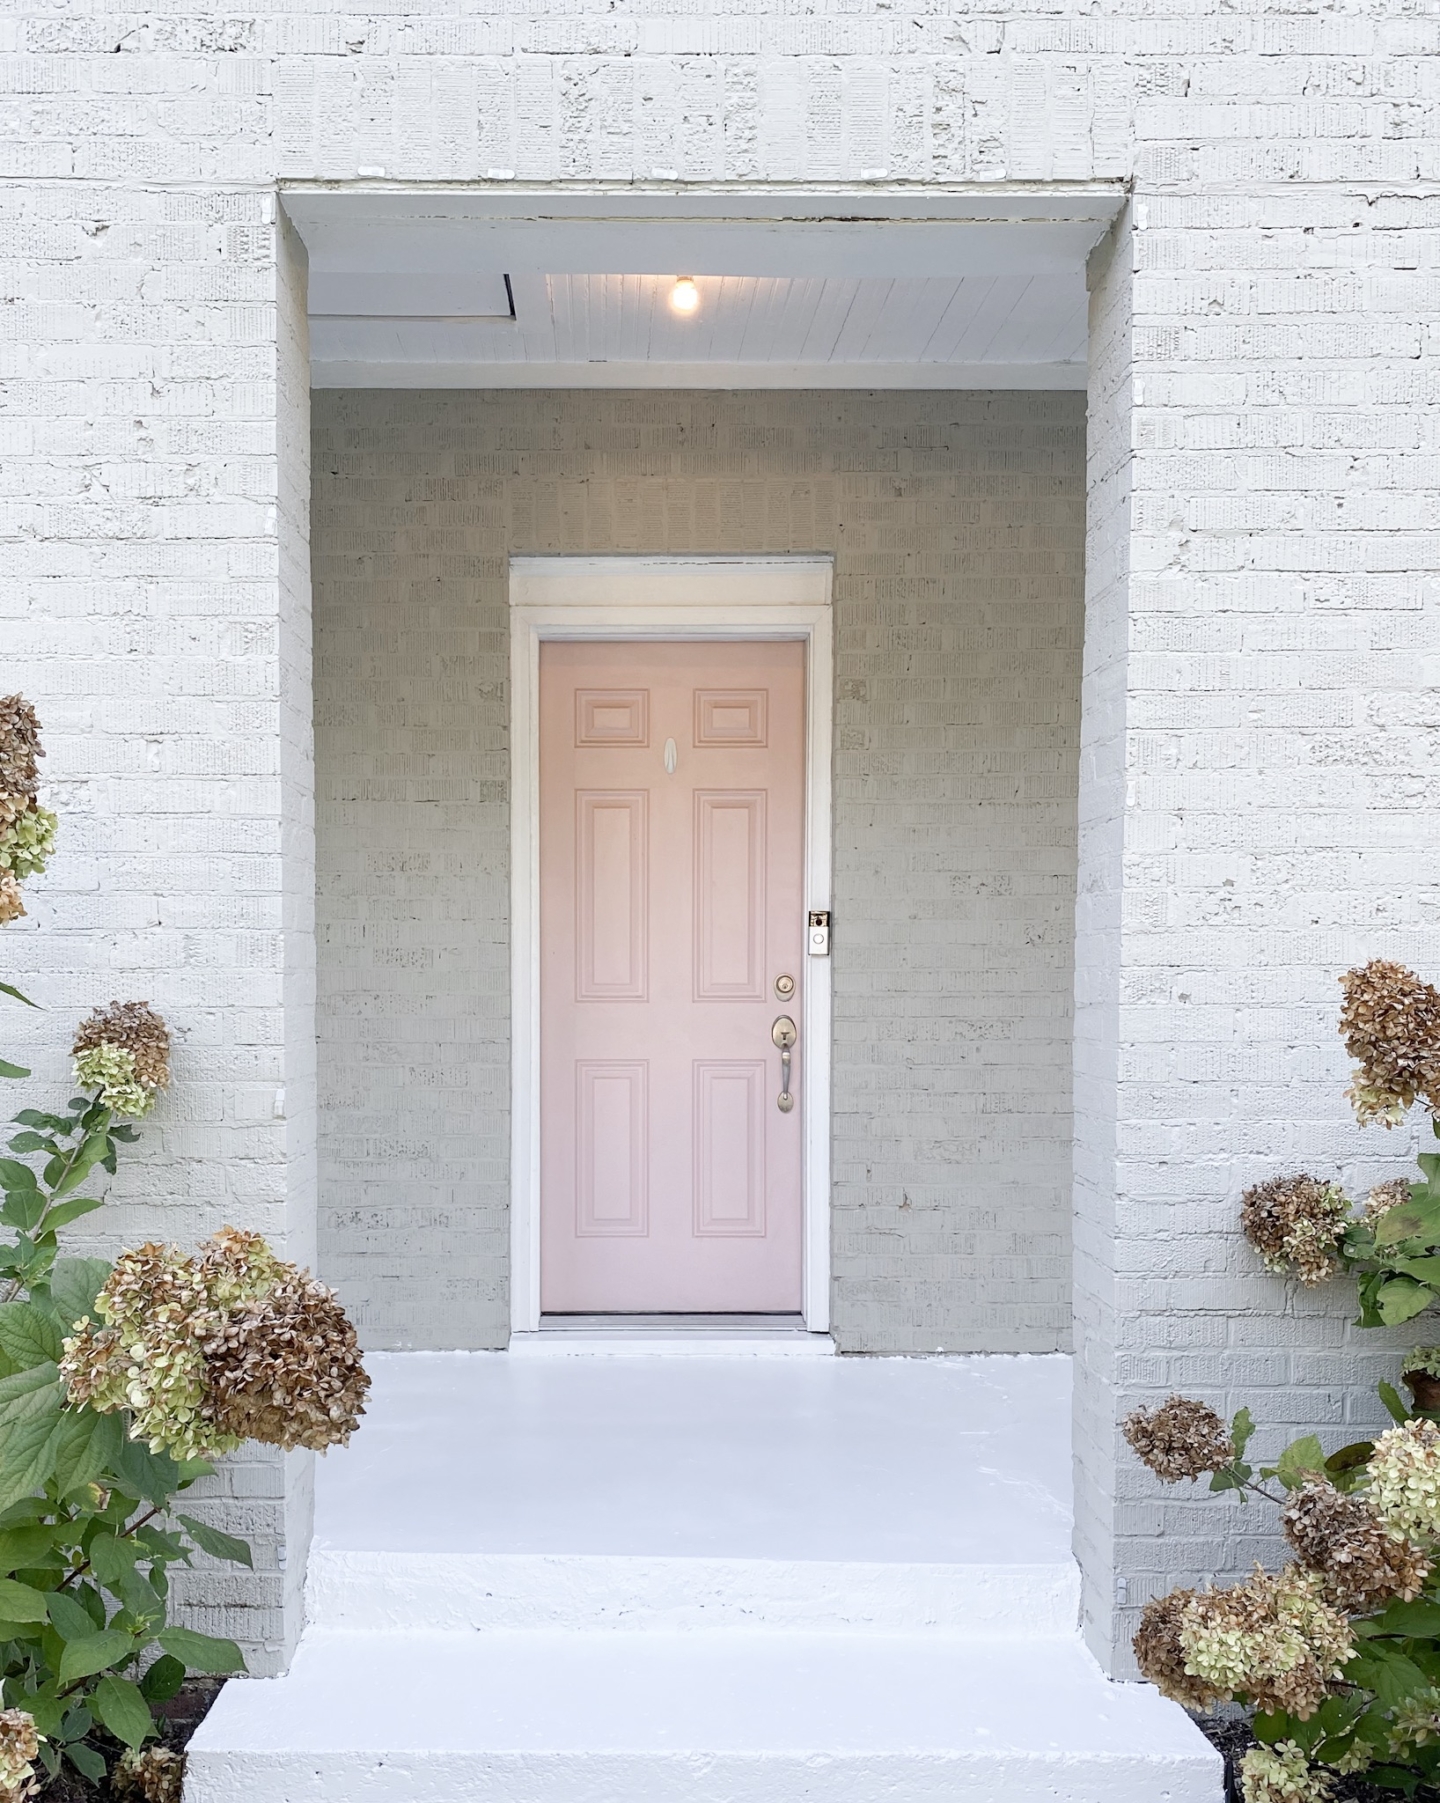
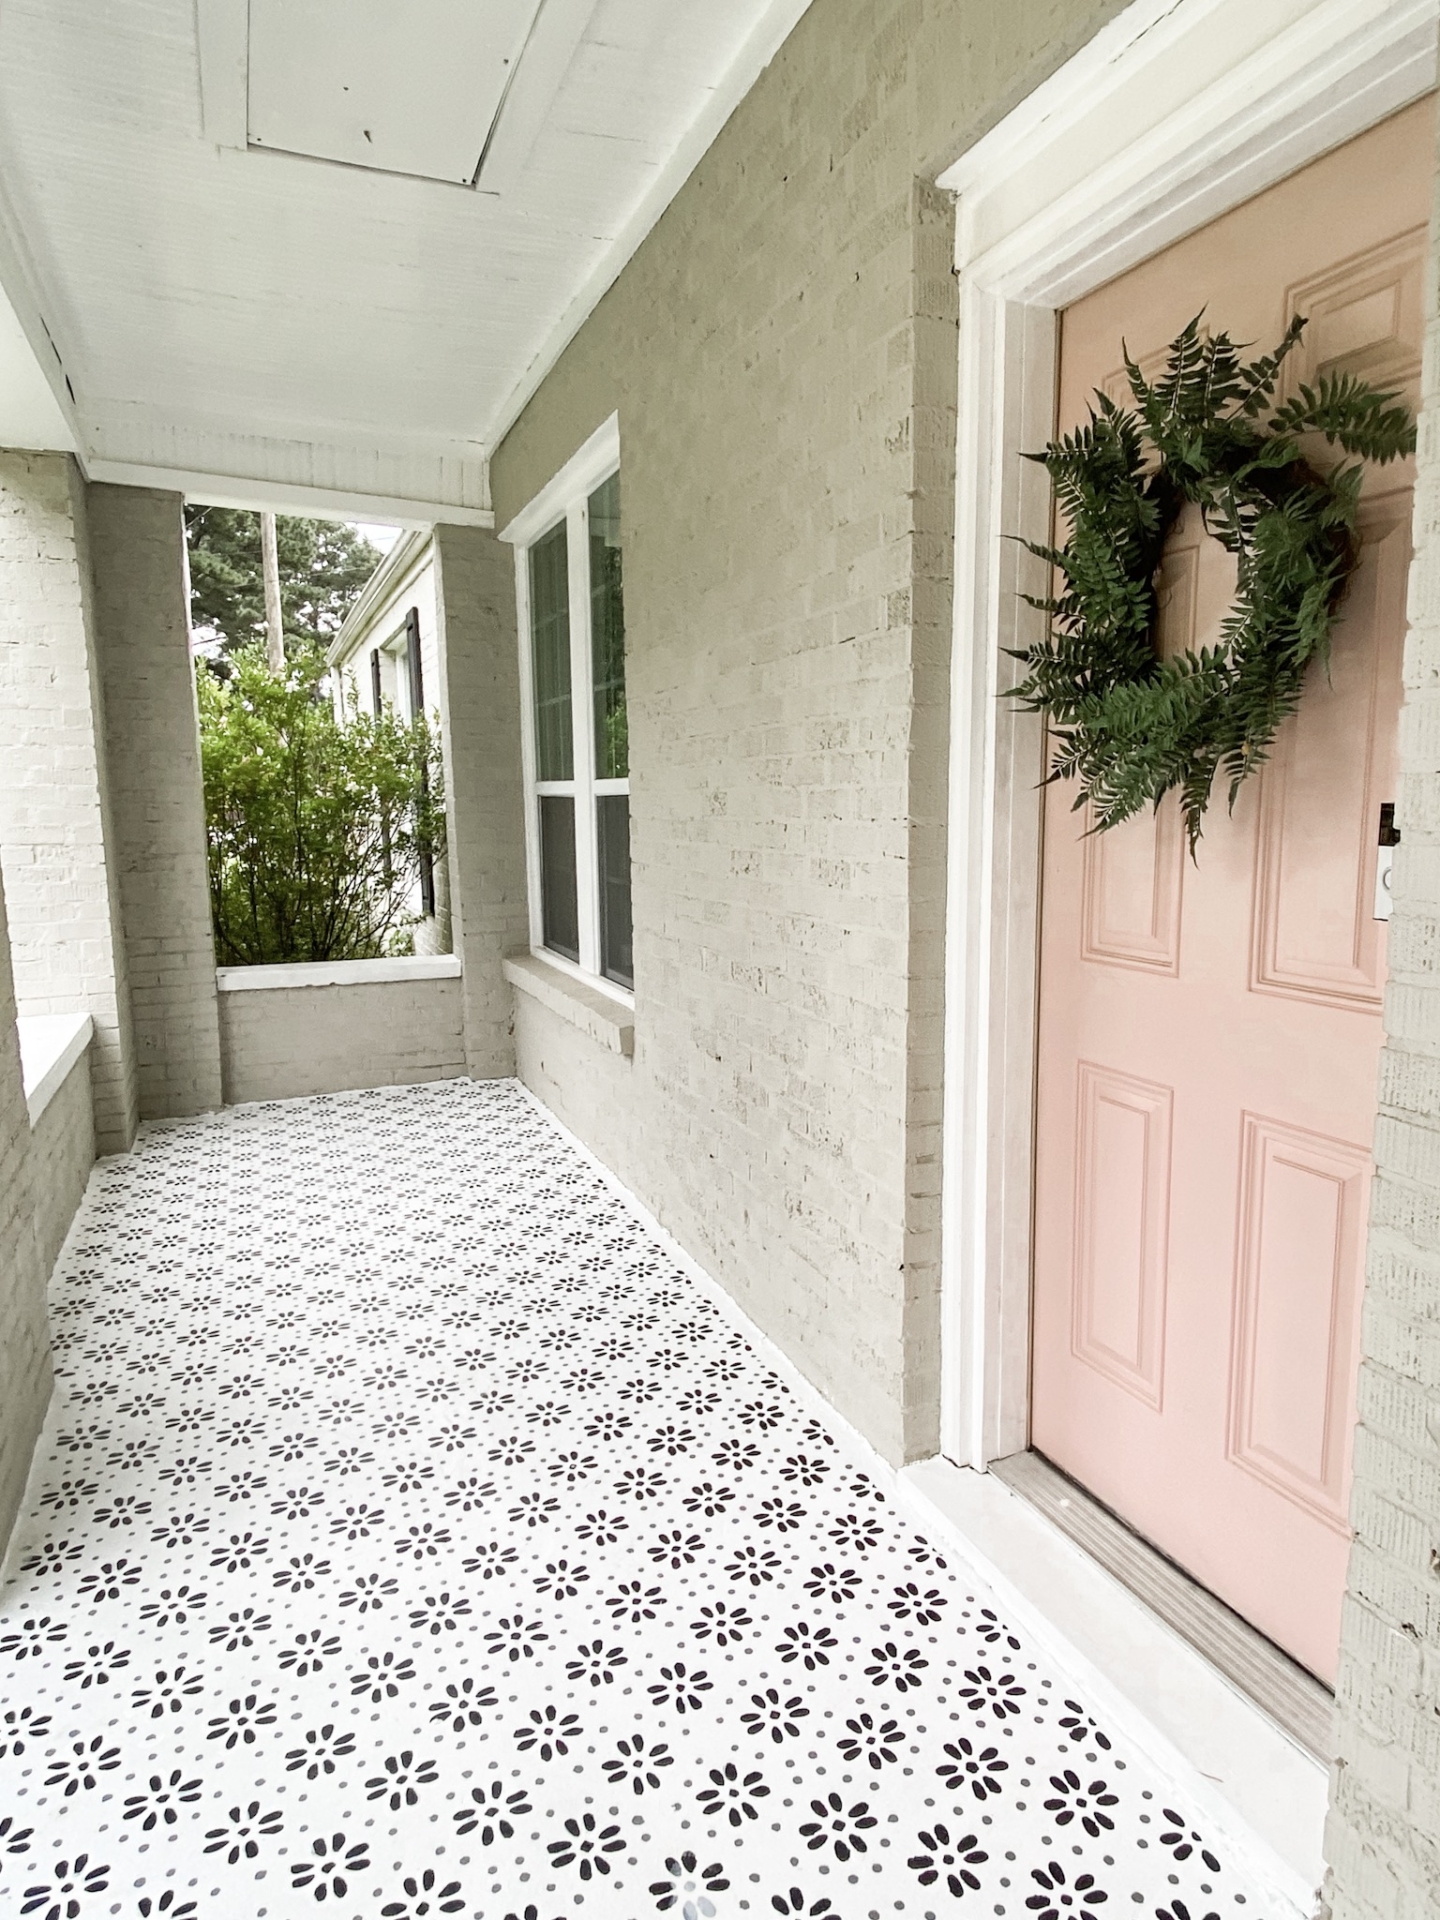
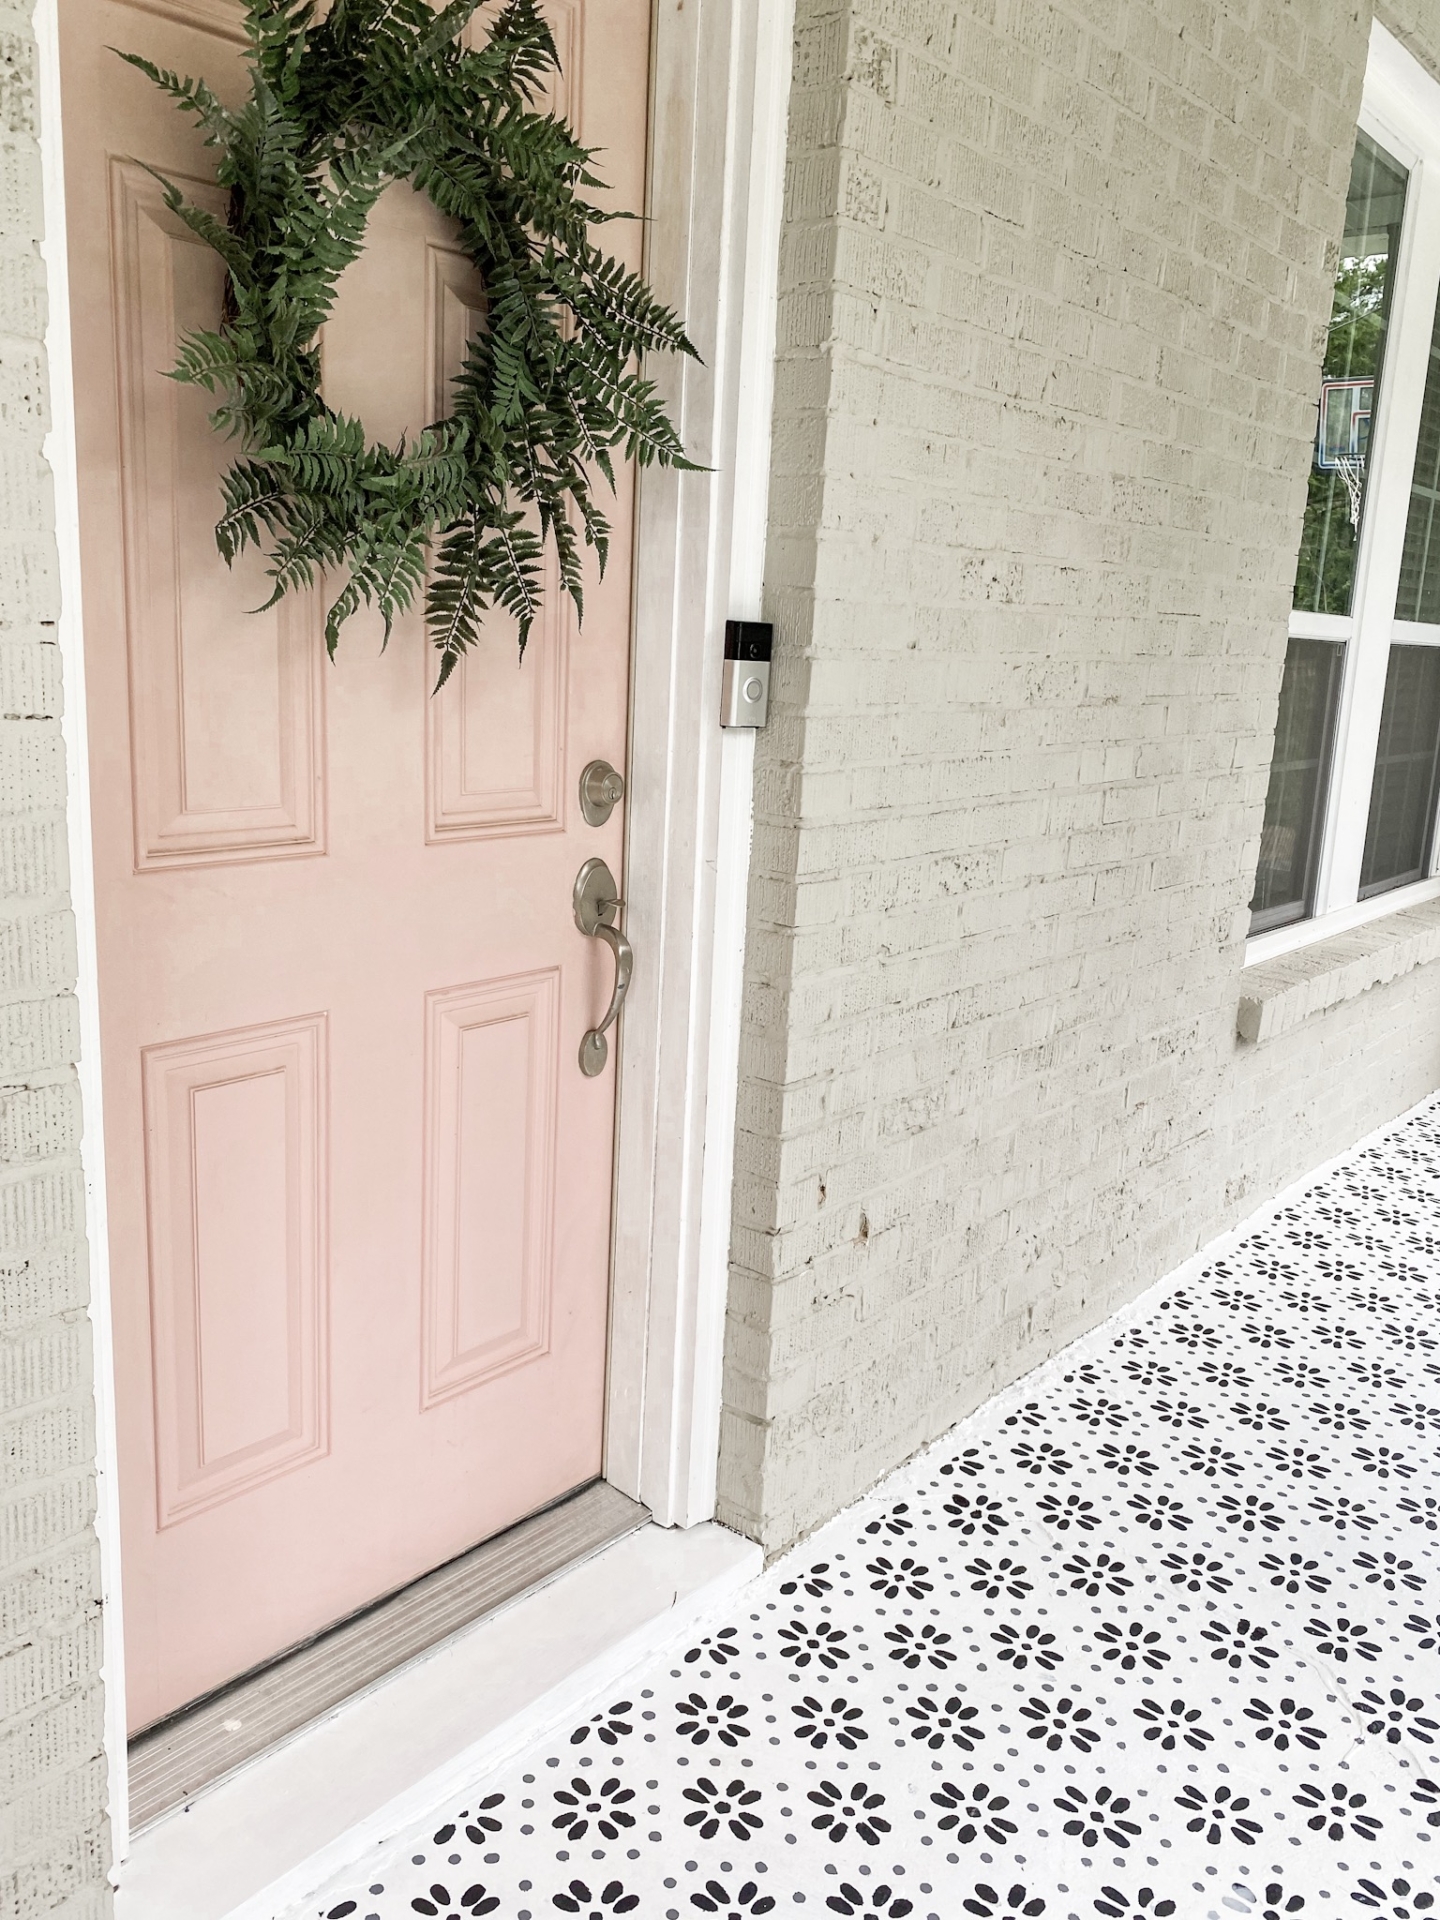
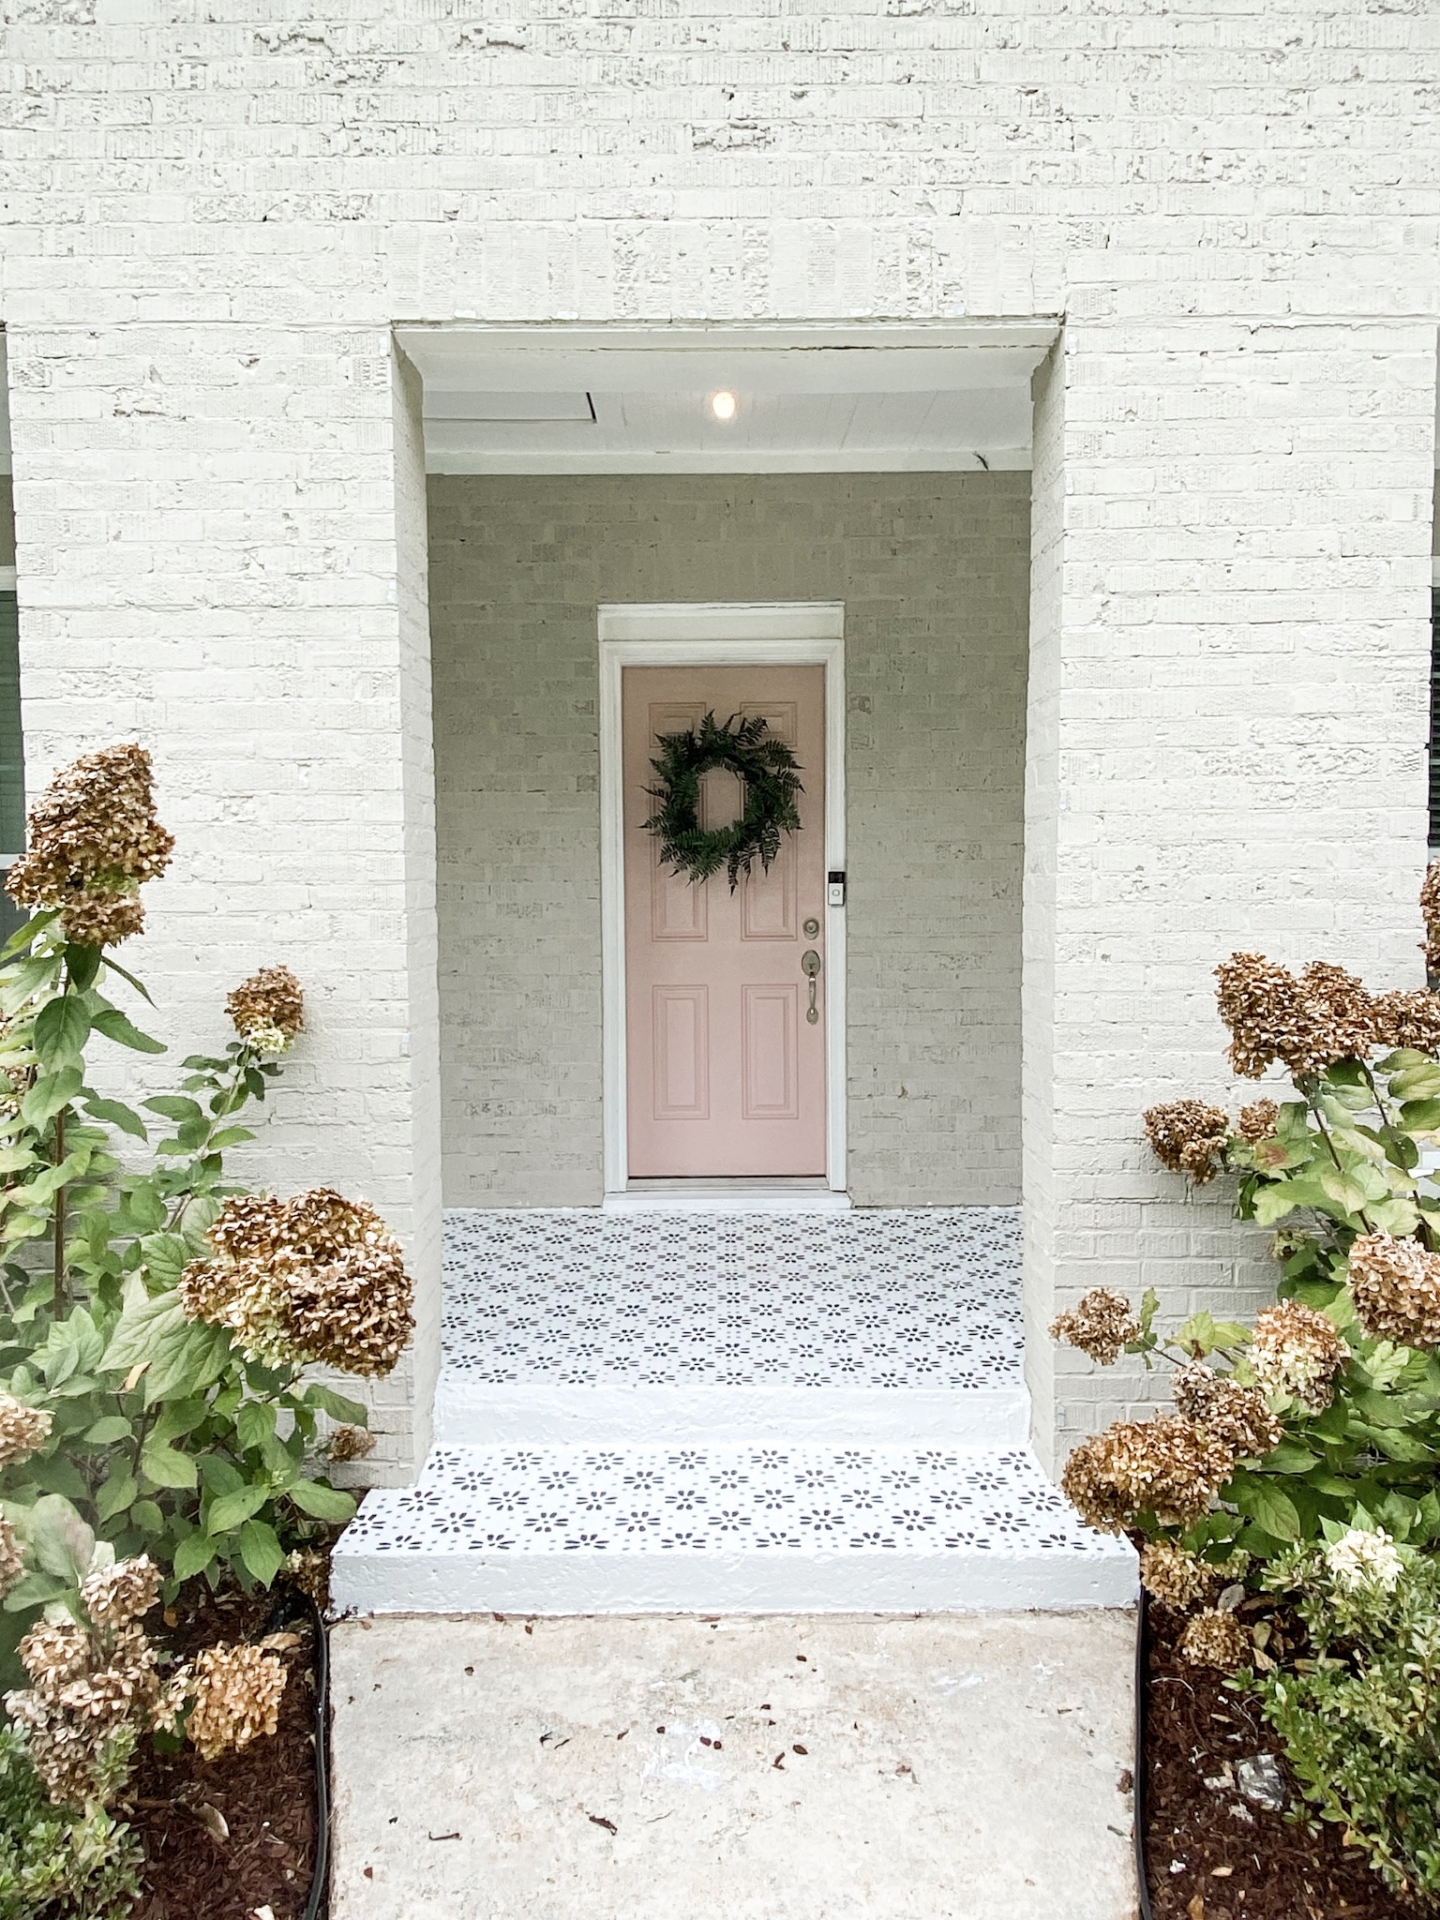
Here is the finished look! I couldn’t be more excited! I can’t wait to decorate and style it in the coming weeks. For now, I need to nurse my ferns back to life (black thumb) and find a new under doormat rug since my black and white one won’t work any more!
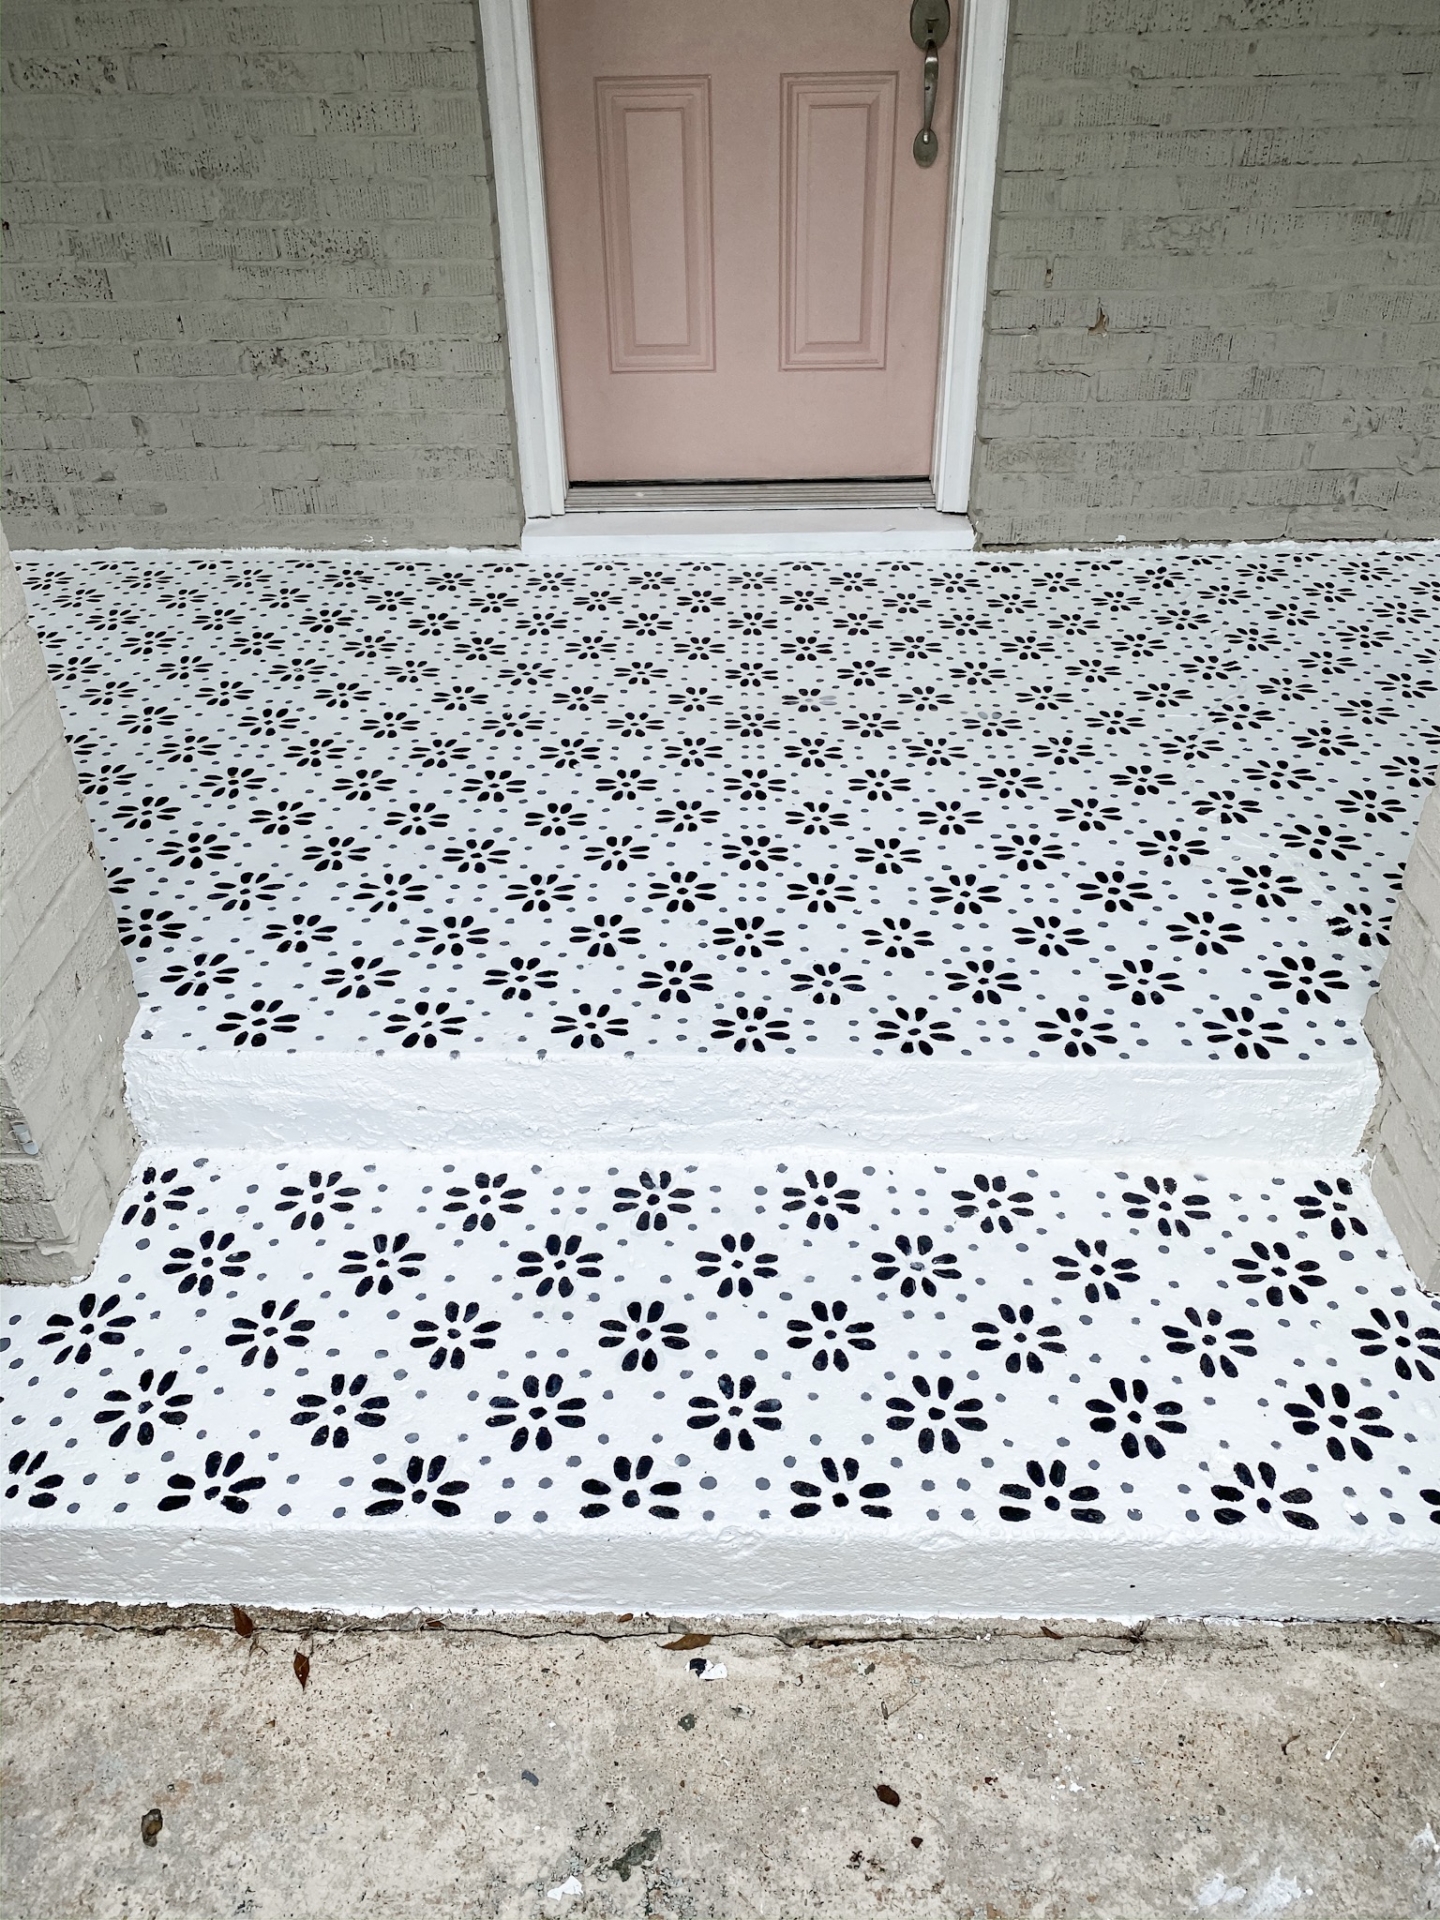
I wanted to paint the front of each step as well but the concrete is SO rough there that it just looked terrible. So I scrapped it and went with white! Now, should I paint my door?
Check out my Tiktok detailing the Process. If you have any questions feel free to reach out!
@kassyrandazzo Thanks @mr_mom_power_wash !!! Should I paint my front door?!? Comment and LMK! ##GhostPhotoshoot ##glowupchallenge ##homedecordiy ##homedecorhacks
♬ Lets Link – WhoHeem