Last August, I remember telling Keith that all I wanted for Christmas was whiter teeth. I’d tried the strips before but honestly, the texture of them in my mouth freaked me out! Plus, I didn’t see the results that I wanted – or really any results at all! Then I got pregnant, and so professional whitening was off the table for a while. Fast forward 9 months and I was back on the whitening train. I’m so glad I found Smile Brilliant when I did and I’m super excited to share my review of the whole process today! Keep reading to see my results and hear my thoughts!


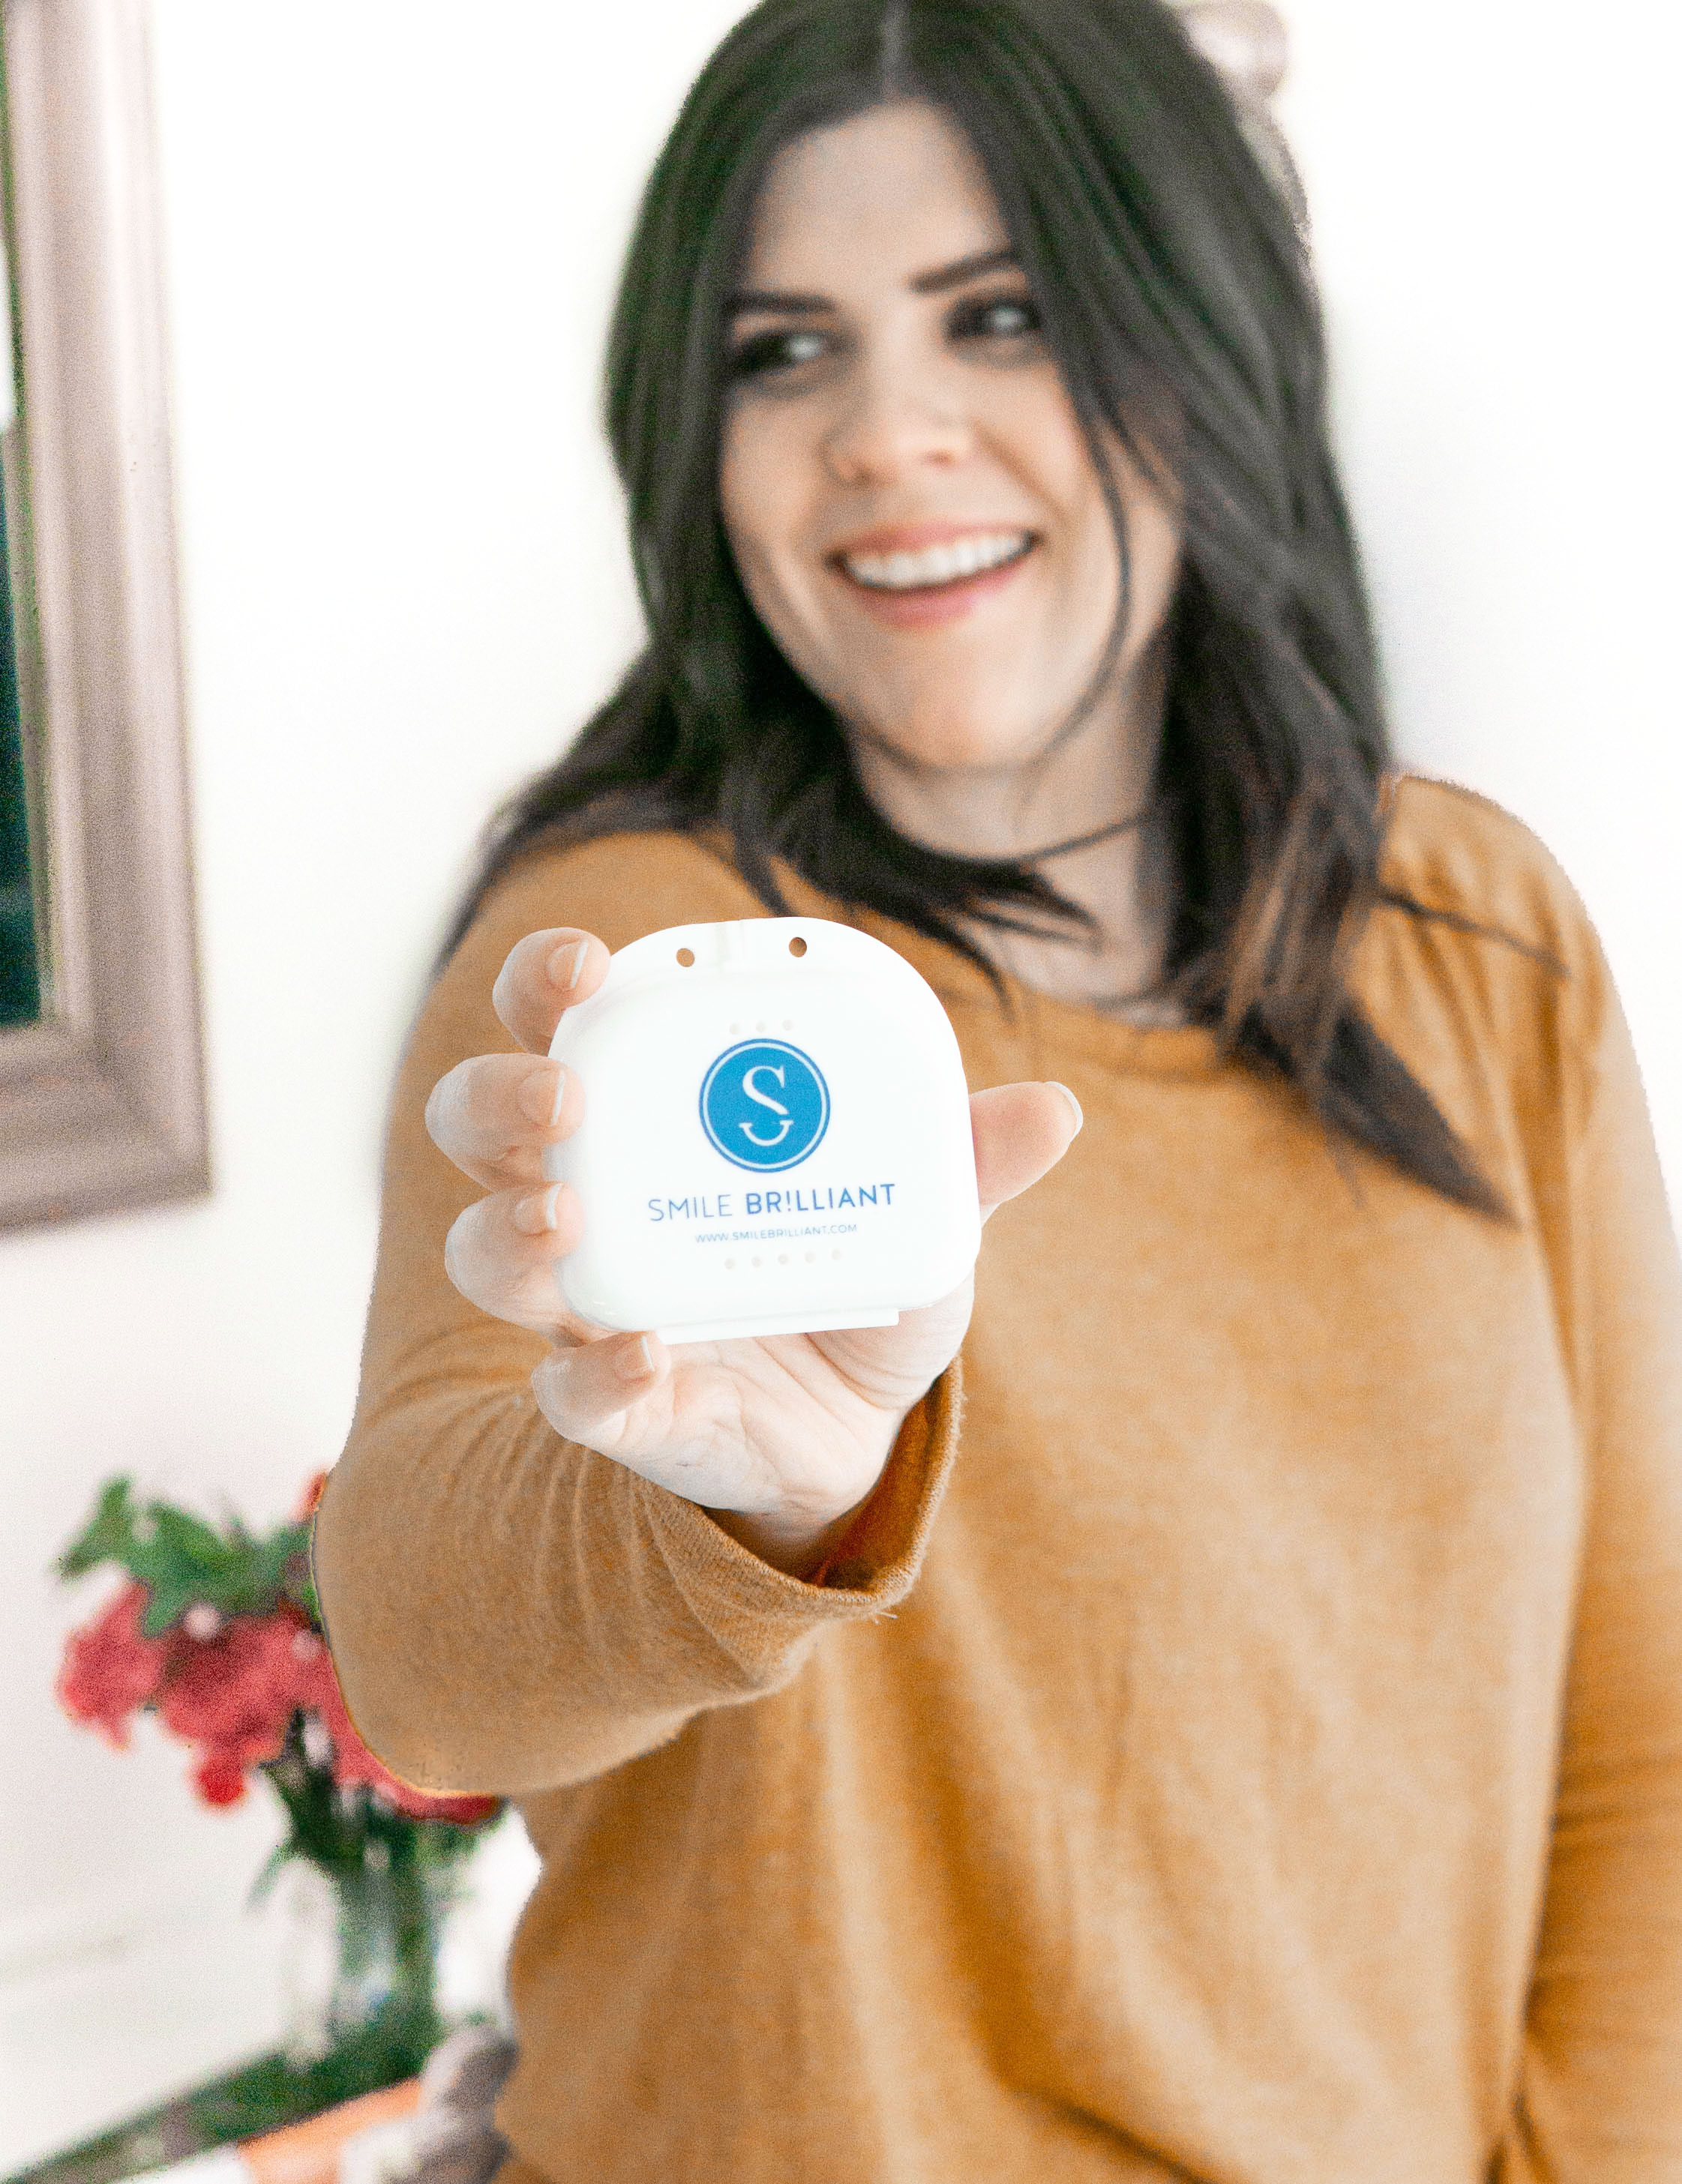
First of all, the Smile Brilliant Team is seriously SO helpful. Anytime I have any questions, I reach out and they are able to answer them! This whitening treatment is so different from every other one because you actually get trays molded especially to your teeth to make sure that the whitening agent covers every single bit of your teeth.
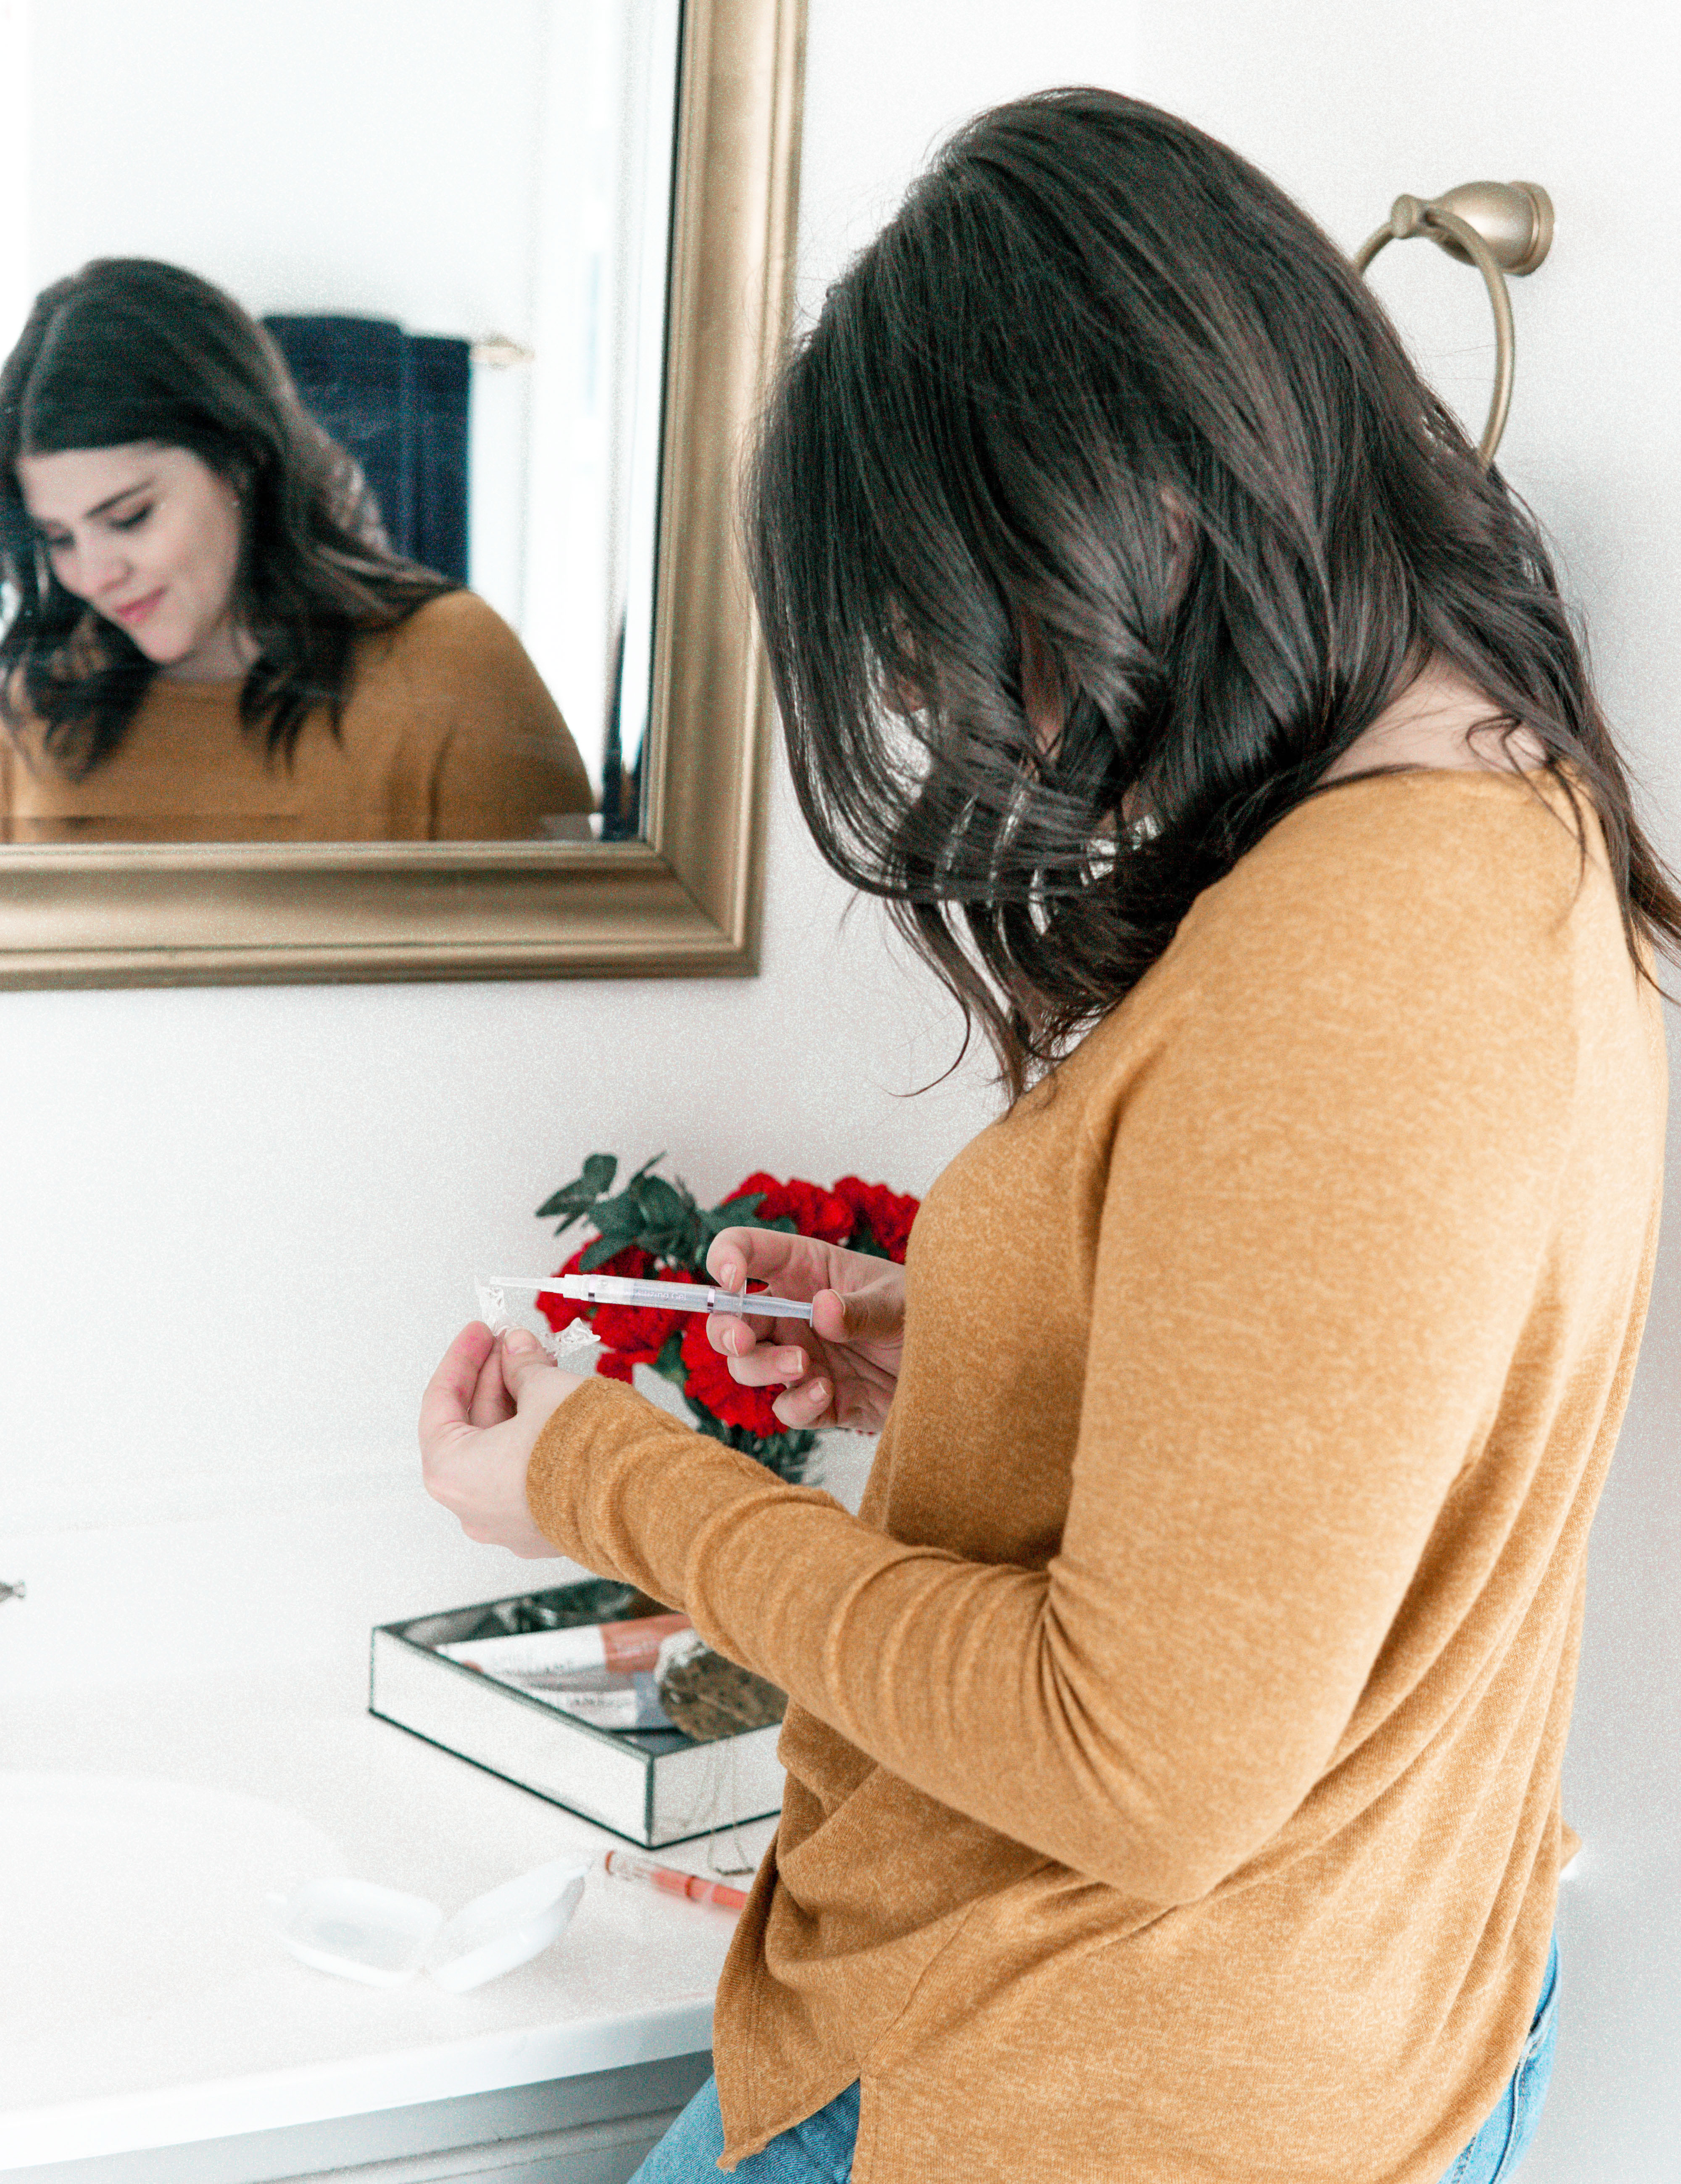
This was a HUGE plus for me, because, my bottom teeth especially are a MESS! And these trays made sure that I didn’t miss a spot just because my teeth are crooked. Making the molds for the trays was SO easy. You mix the two paste’s together, put it in the mold and sit awkwardly for 3 minutes with a big tray in your mouth and then you’re done. I sent my molds in and a week later, I had PERFECT trays.
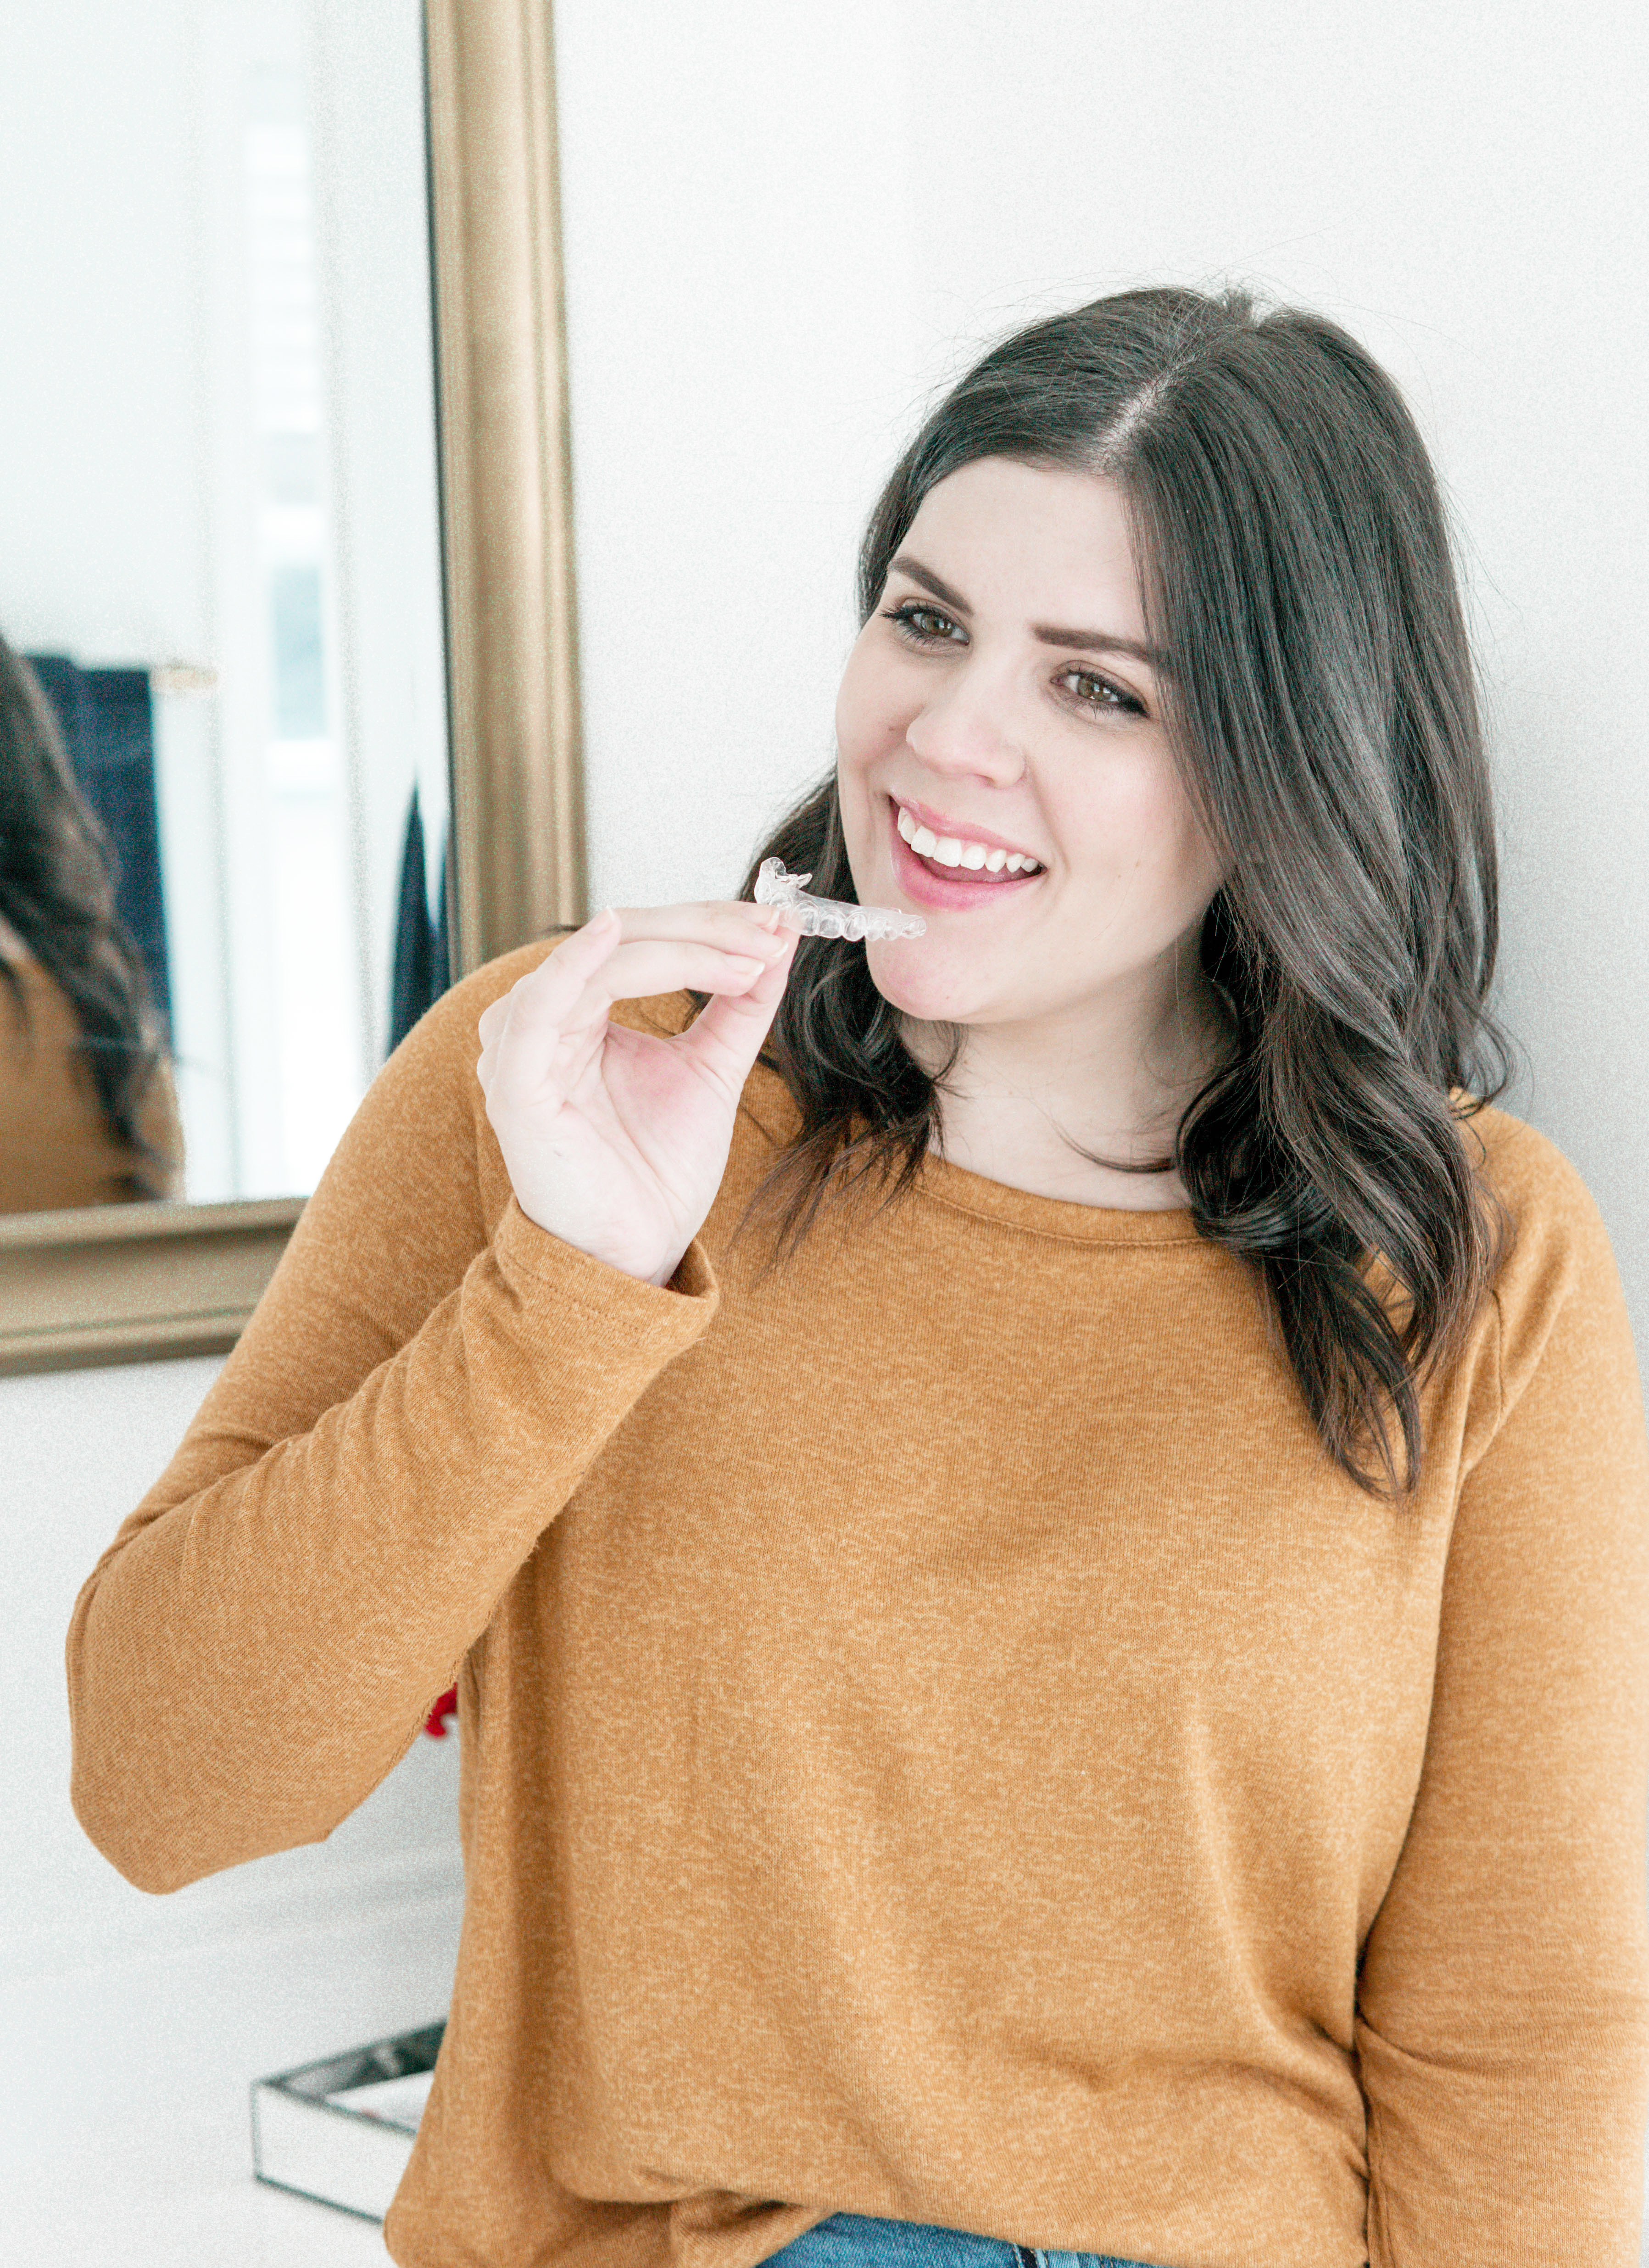
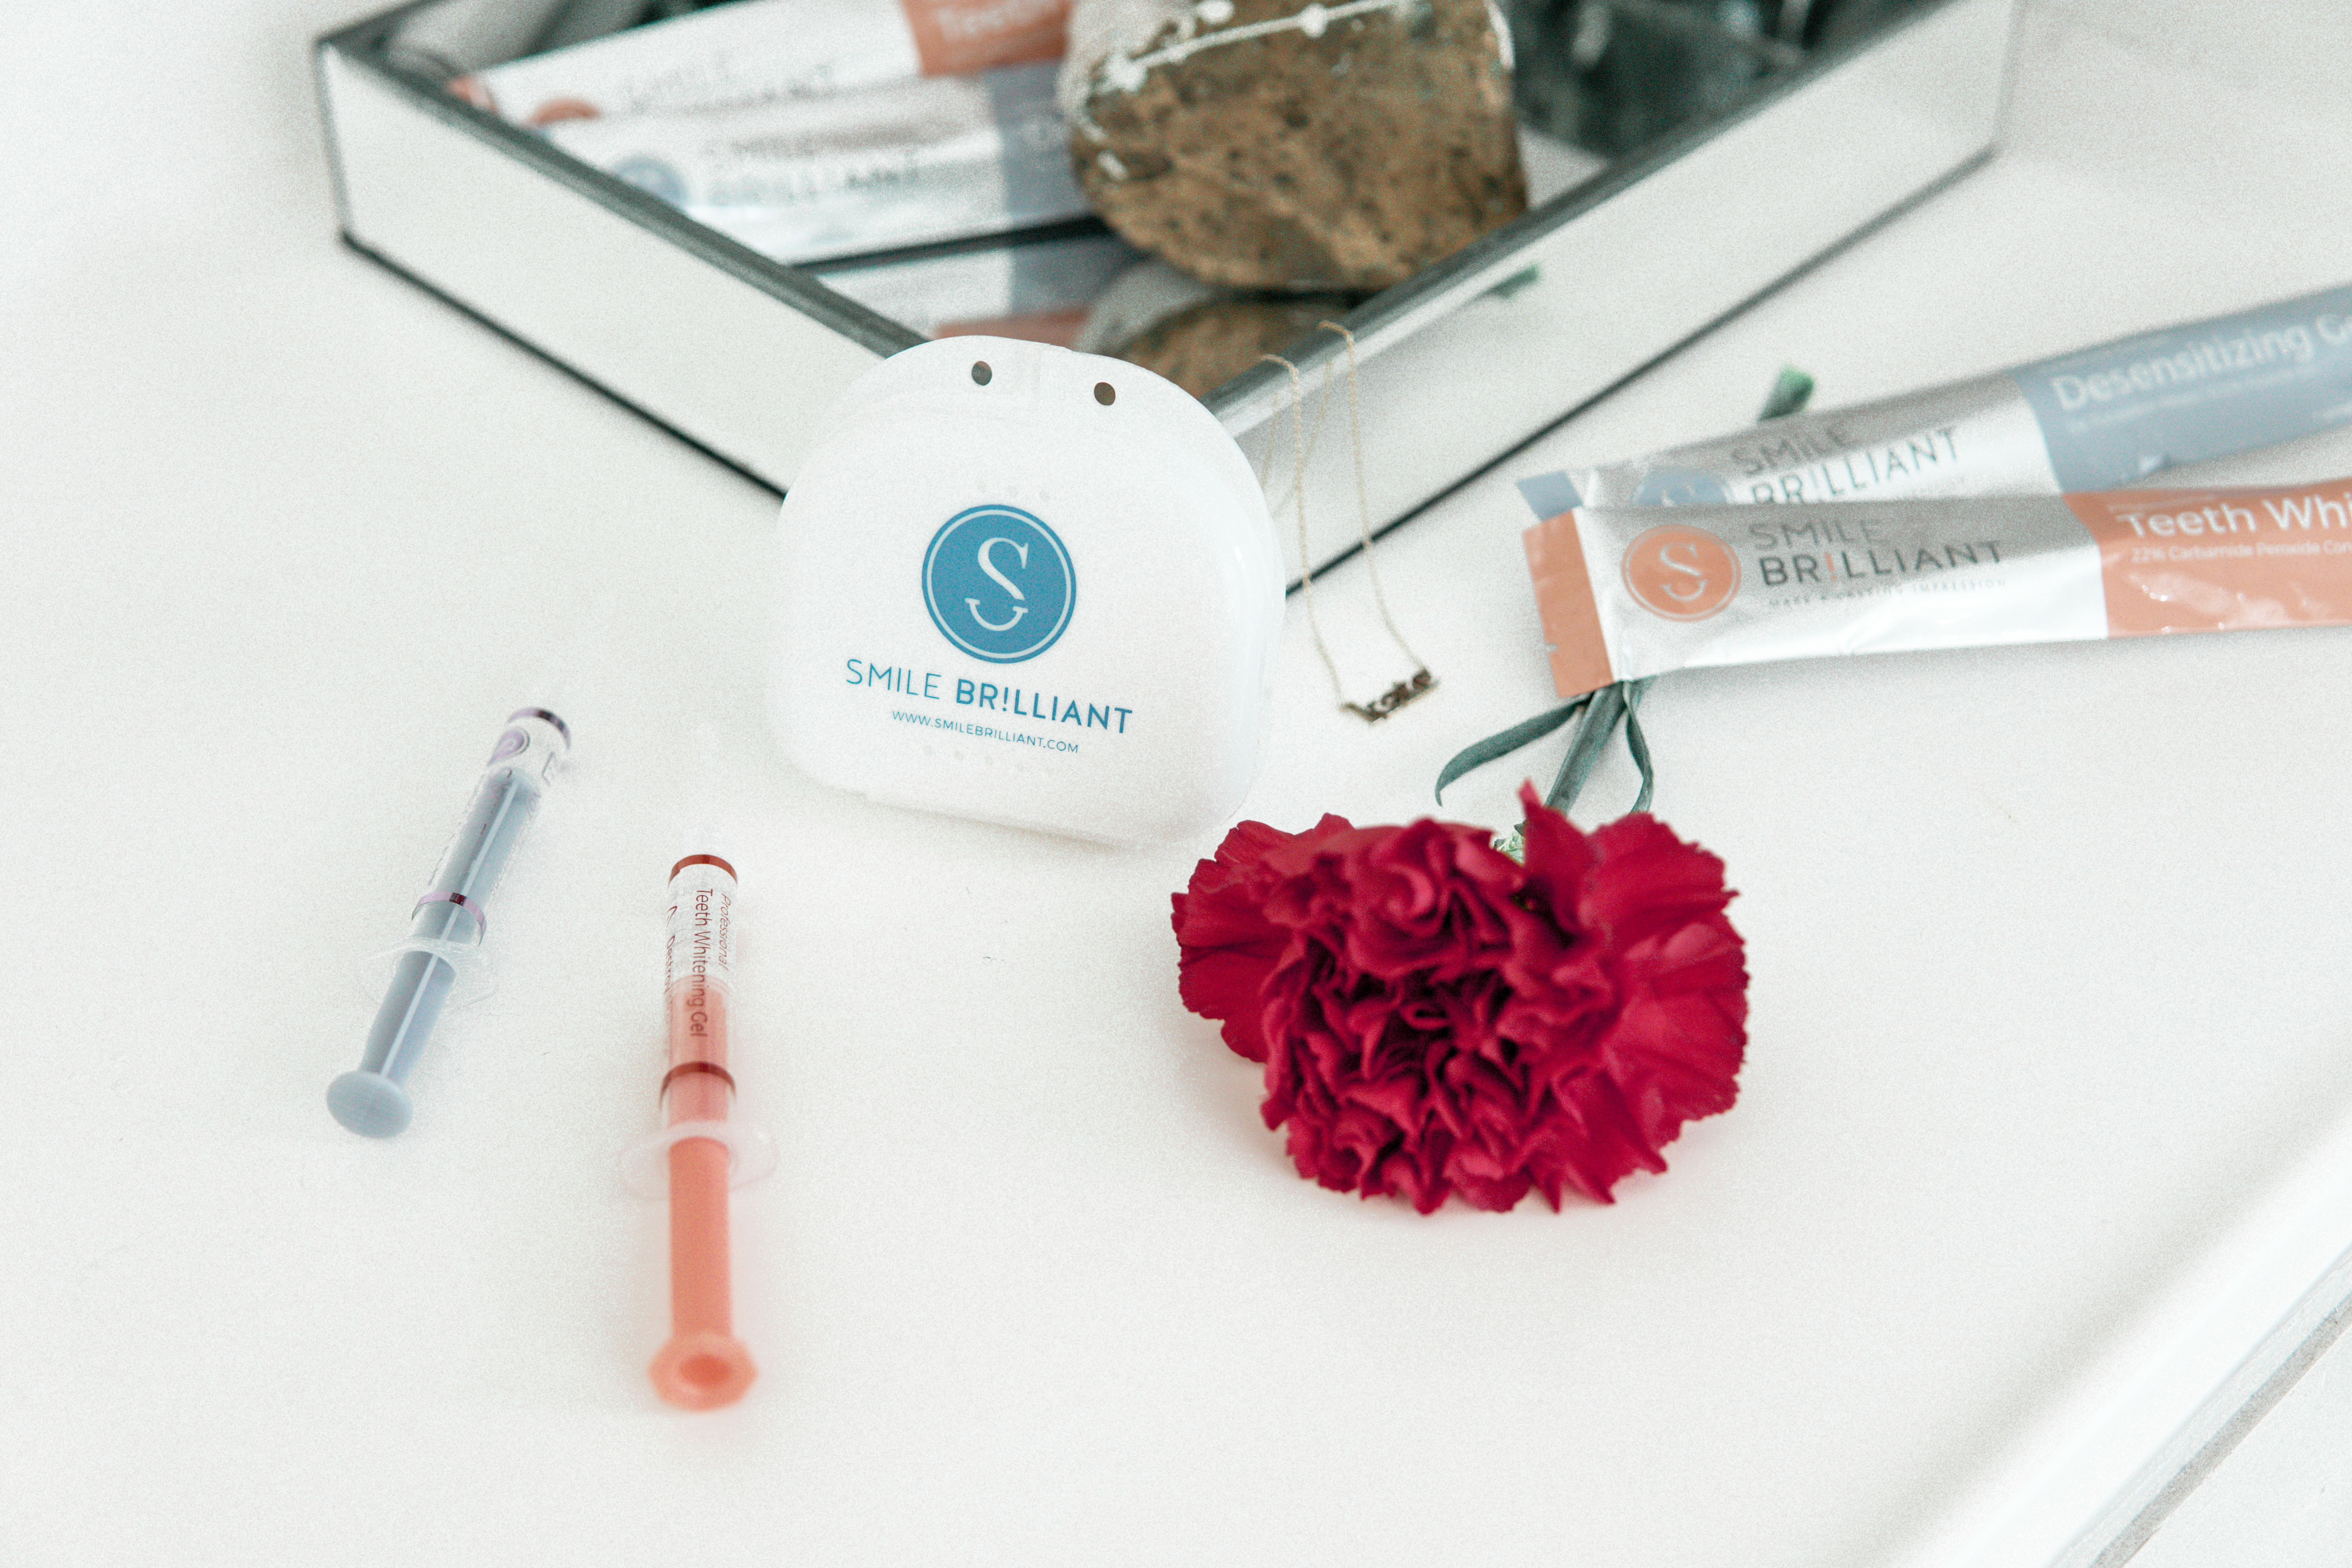
From there the process was even easier. You squirt the whitening agent into your tray with the syringe and wear it for 45min -3hrs. I only wore them for 45 minutes at a time because my teeth are super sensitive. What really helped with sensitivity was the Desensitizing Gel. You put this in your trays after the whitening gel and wear it for 20 or so minutes.
After I did my first whitening session, I reached out to the Smile Brilliant team because I still had a but of sensitivity even after using the desensitizing gel. They told me that I could use the Desensitizing gel even on days when I wasn’t whitening. I only whitened every few days to give my teeth some time to rest between sessions.
In each syringe of whitener, you get at least three and sometimes 4 whitening sessions! And the trays make it easy to white whenever you want! No more fooling with those pesky strips.
Below, I’m sharing my REAL before and afters. I was amazed at how much of a difference it made. I whitened only 4 or 5 times between these two images and the results are totally clear in my opinion! And it’s only going to get better! Let’s get realllll up close and personal with my chin…

Results of 4-5 Whitening Sessions
I would totally recommend this to anyone who wants a great at-home whitening treatment that REALLY works. And guest what? I’m teaming up with Smile Brilliant to GIVE AWAY a whitening kit just in time for the Holidays!
If you don’t win, that’s totally ok, because getting your own kit starts at only $150 and I’ve got a coupon code for 15% off!
15% off coupon code: kassyondesign15
That is a steal considering how much it costs to get your teeth professionally whitened!
To learn more about the Smile Brilliant process, head to their website!