Kate finally has enough hair to wear clip in bows. It’s a full blown miracle, folks. We are seriously overjoyed!!! A few weeks ago, though, I realized I don’t have anywhere to keep them. They’ve been hanging out clipped to her lamp shade. Not an ideal place for them, for sure. I knew I could make something pretty easy but I didn’t want to spend even a penny on this project, so I did some digging through my craft supplies and was able to make this DIY bow holder in about 20 minutes.
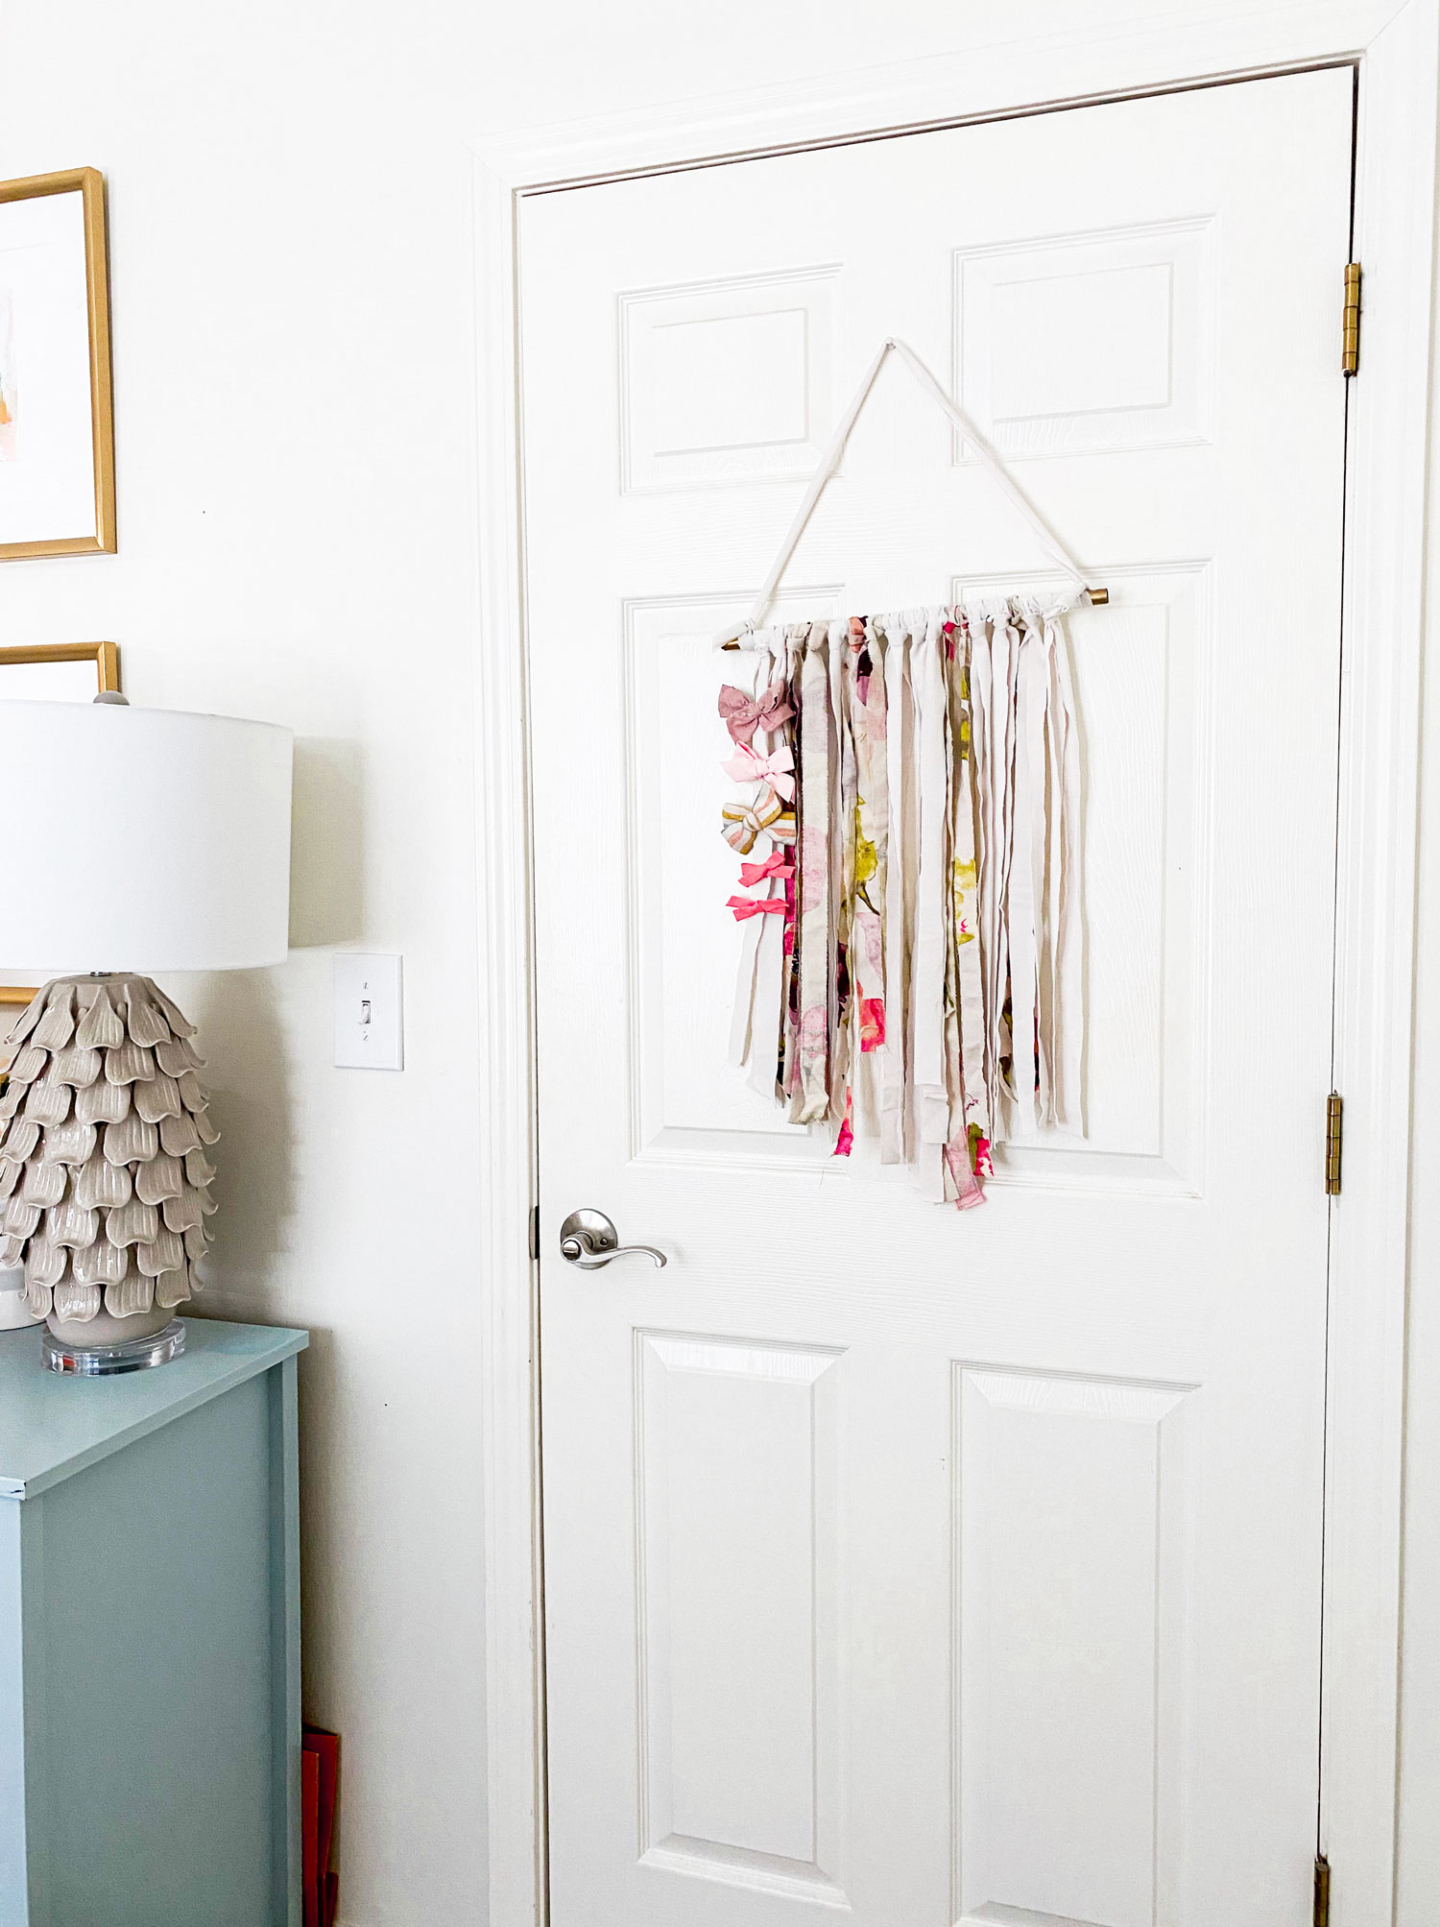
I figured I’d share for my other girl mommas out there who may be in the same boat. I think it turned out super cute and if there weren’t bows on it, it would still be a cute piece of wall decor if you ask me!
I didn’t end up taking a ton of progress photos but I did make a tiktok (lol! but seriously, I’m obsessed and you should follow me)! So I linked that little video below to show you step by step how to do this. I’ll still explain it step by step below, though!
What You’ll Need:
- A dow rod (I ended up using a piece of an old curtain rod that we had lying around)
- Scrap fabric around 3-4 feet long
- Hot Glue
- Command Hook or tack or nail or something like that!
Step 1
Get your dow rod ready. Like I said above, I had an old gold curtain rod laying around that I saved for a rainy day. Today was that rainy day and I just had Keith cut it down to about 16-18″ wide. (note: I am totally capable of cutting it myself but he was already working in the shop) Mine was gold already but you could spray paint it any color you want!
Step 2
Grab that scrap fabric and cut it into strips about 3/4″ to 1″ thick and around 4 feet long. No need to be exact. In fact, it’s probably better if you’re not. PRO TIP: If you’re using a cotton fabric, you can just cut a small slit where you want your strip to start and literally rip it. It takes about 2 seconds and saves you a ton of time. And they’ll stay straight. Test it out first to make sure your fabric will rip in a straight line.
Step 3
Grab one of the strips and tie it to each end of the dow rod. This is what is going to make your hanging piece. Figure out how long you want the handle/strap to be and tie accordingly. Then add a few drops of hot glue on each knot so that the knots stay put and don’t slide on the dow rod.
Step 4
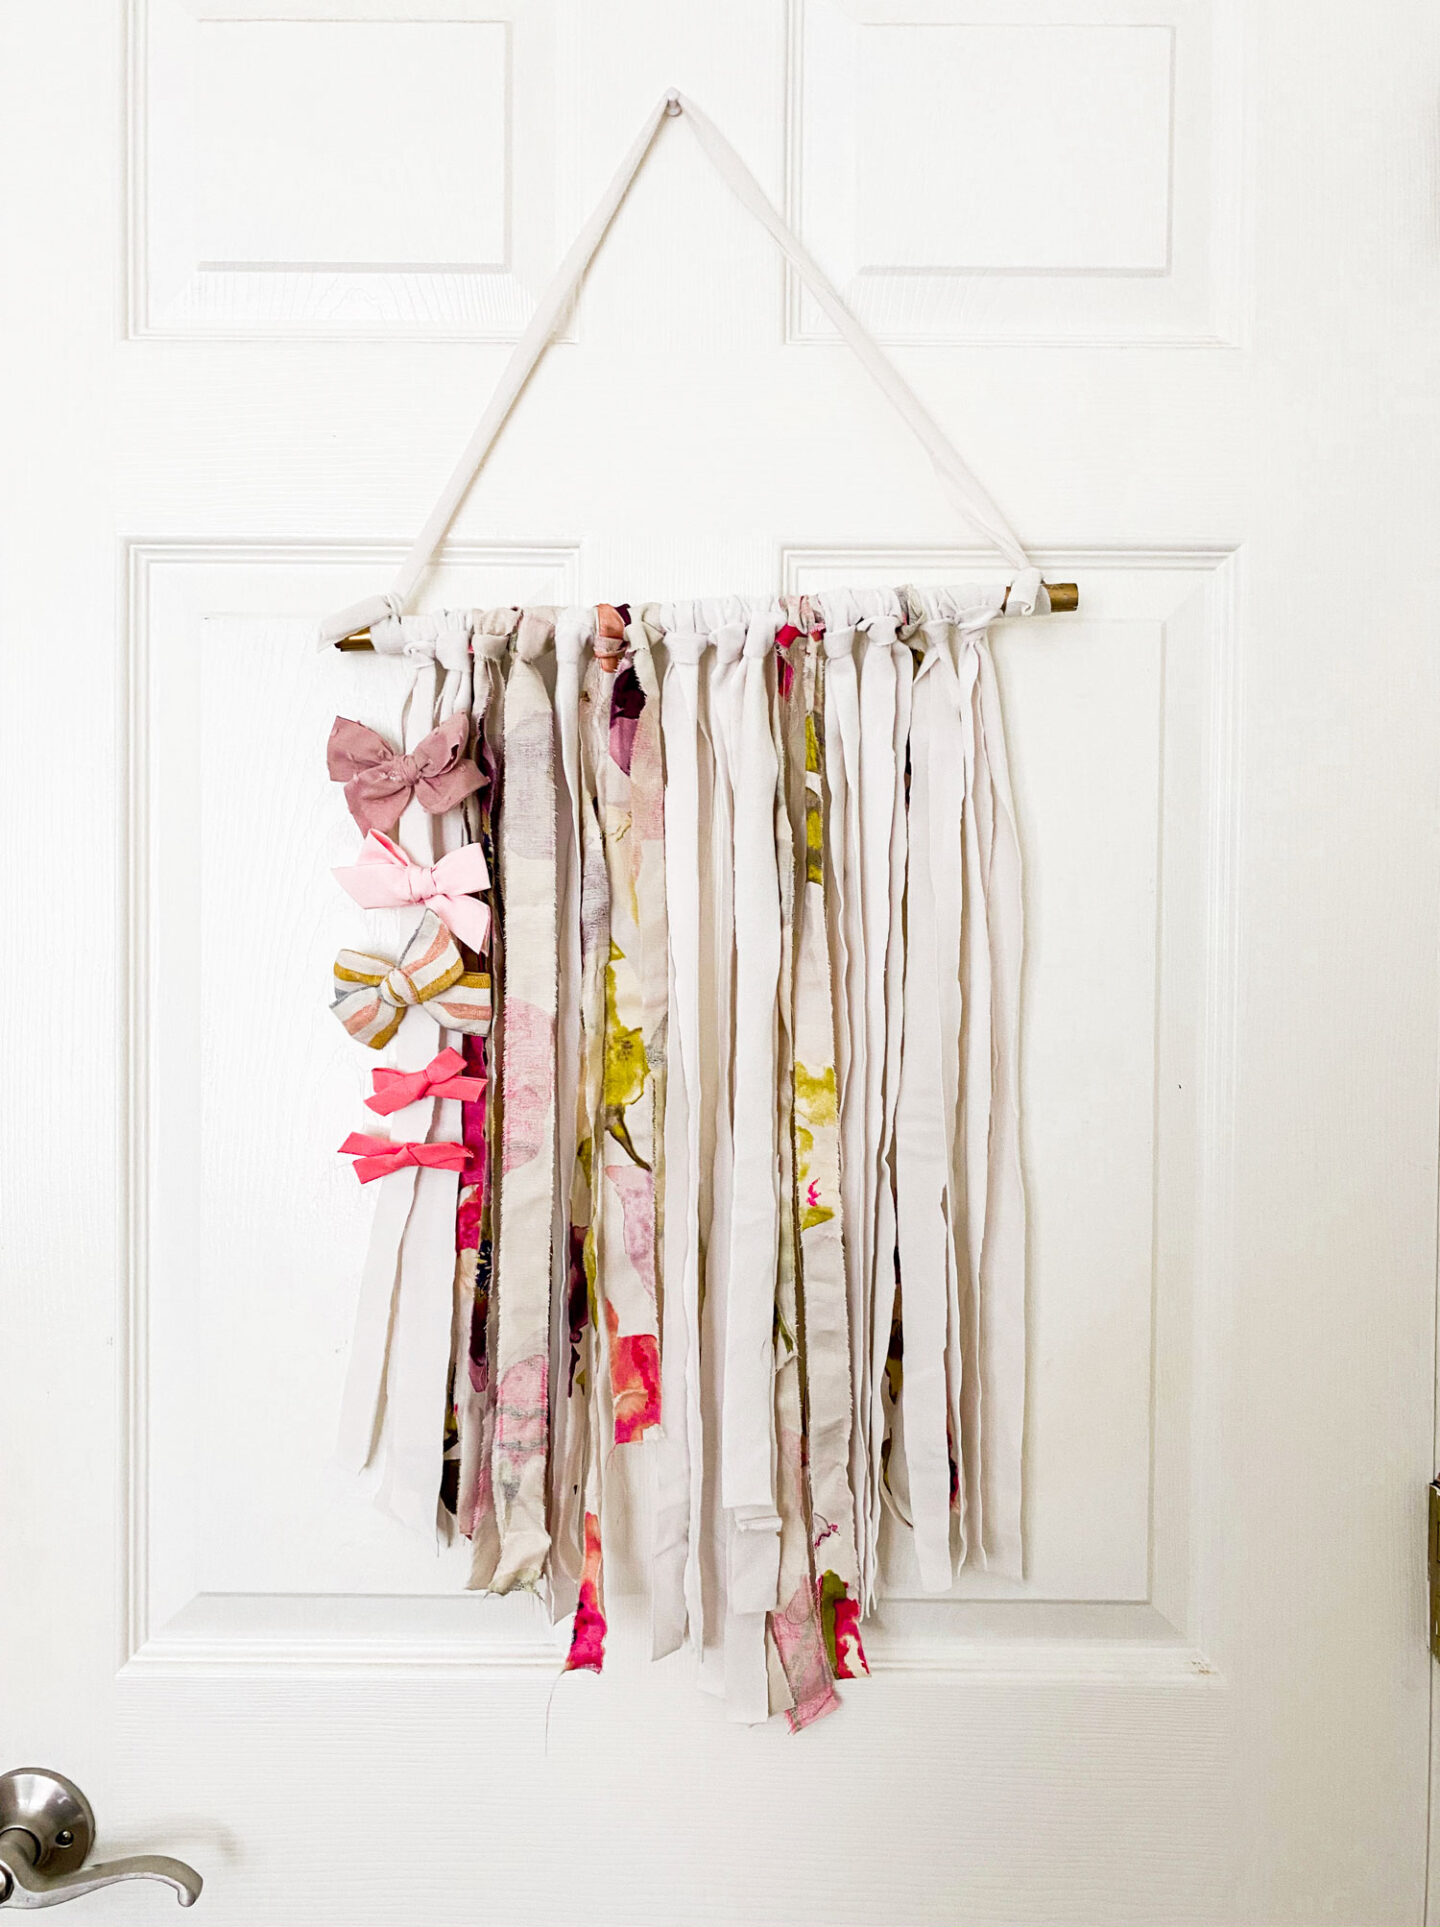
Take all of those strips and start putting them on the rod. I doubled the strip and tucked the ends through the top loop to secure it to the rod. I randomly alternated between the white fabric that I had and the floral patterned one. I love the way it ended up looking.
Step 5
Trim that baby into any shape you want. I ended up with an assymetrical diagonal look. Then you can put up your command hook and hang and it’s all ready to go! Easy breezy!
Check out the video below to see me doing it step by step!
@kassyrandazzo She FINALLY has enough hair! ##praisebe ##diy ##girlmom
♬ Hood Baby – Kbfr