When I teased this DIY on my instagram a few days ago, I got an overwhelming response from you guys wanting to see the final product! Well, you’re wish is my command. And not only that, but I’m going to show you how you can do it yourself. Let’s dive in!
First things first, you’re going to need a few supplies.
-A canvas. I grabbed mine from Goodwill a few weeks ago for $12. Finding an old thrifted canvas is a GREAT way to up-cycle old art. Make sure it doesn’t have any value, of course. But mine was an old Hobby Lobby print so no hard feeling covering that up.
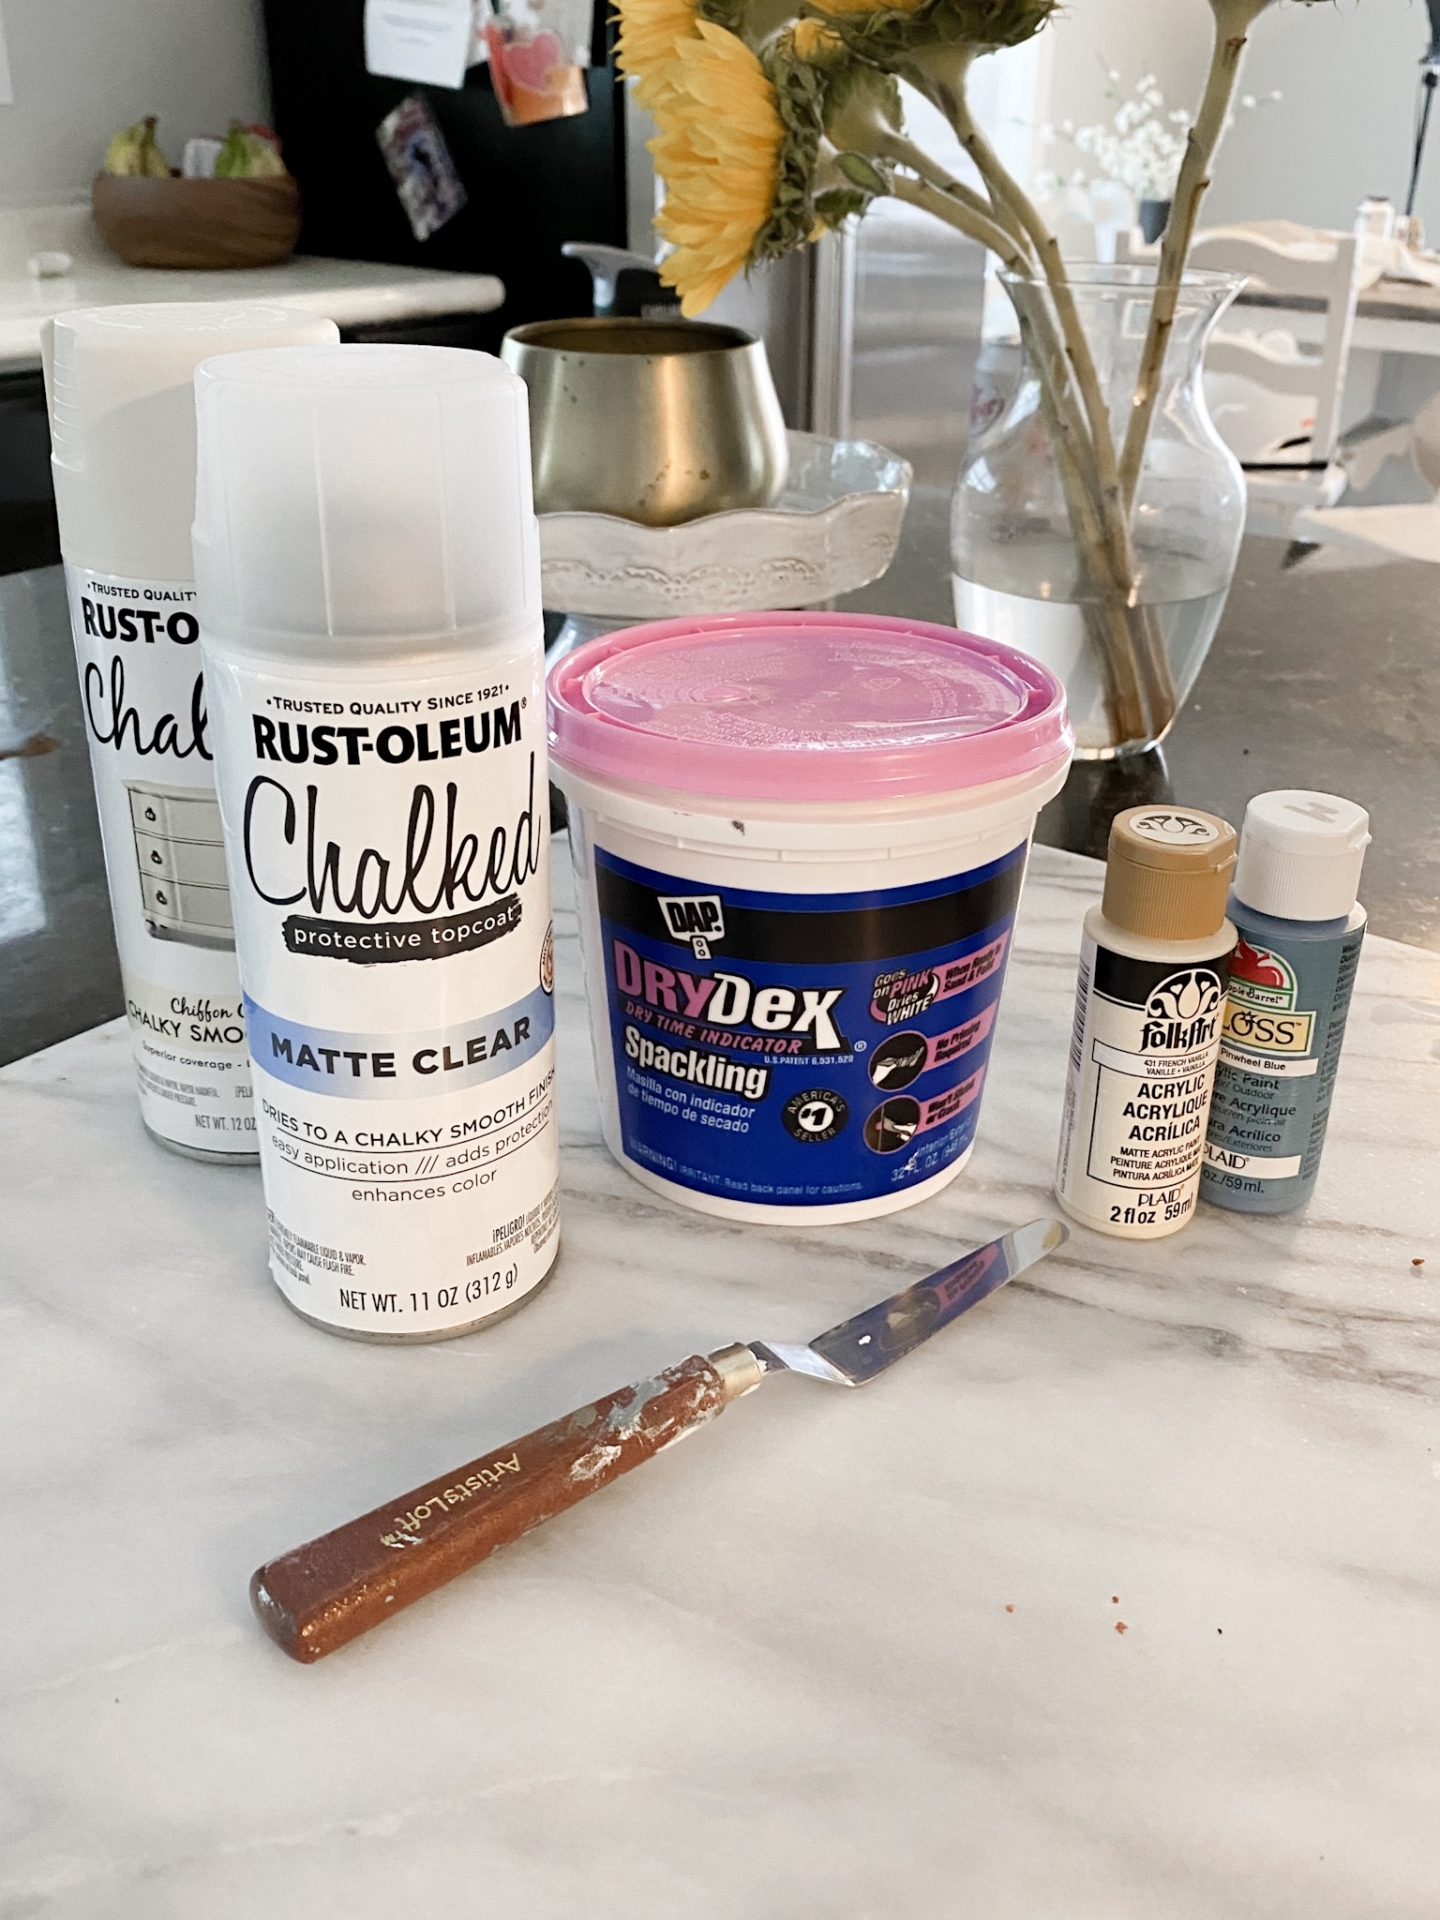
-Spackle. I used this Drydex Spackling. It starts off pink and dries white which, honestly, made this project so much fun! I linked the amazon one, but you can get this at your local Walmart or Home Depot as well. I ended up using a full quart for my project. But I had a large 24″ x 36″ canvas.
-Spackle Knife or Art Spatula. I used one I had lying around from my painting supplies, but here is a set from Amazon. You can also get these at a local craft store or use one of those thin cake icing spatulas.
-Paint. Any paint will do. I used a combo of some spray and acrylic paint I had on hand. Just grab a couple of 99 cent bottles from Walmart or use some old wall paint you have on hand.
Shop all of the supplies in one place here!
Make sure you lay out an old table cloth or drop cloth on your table to protect it. I keep one of those old vinyl table cloths around for an occasion such as this.
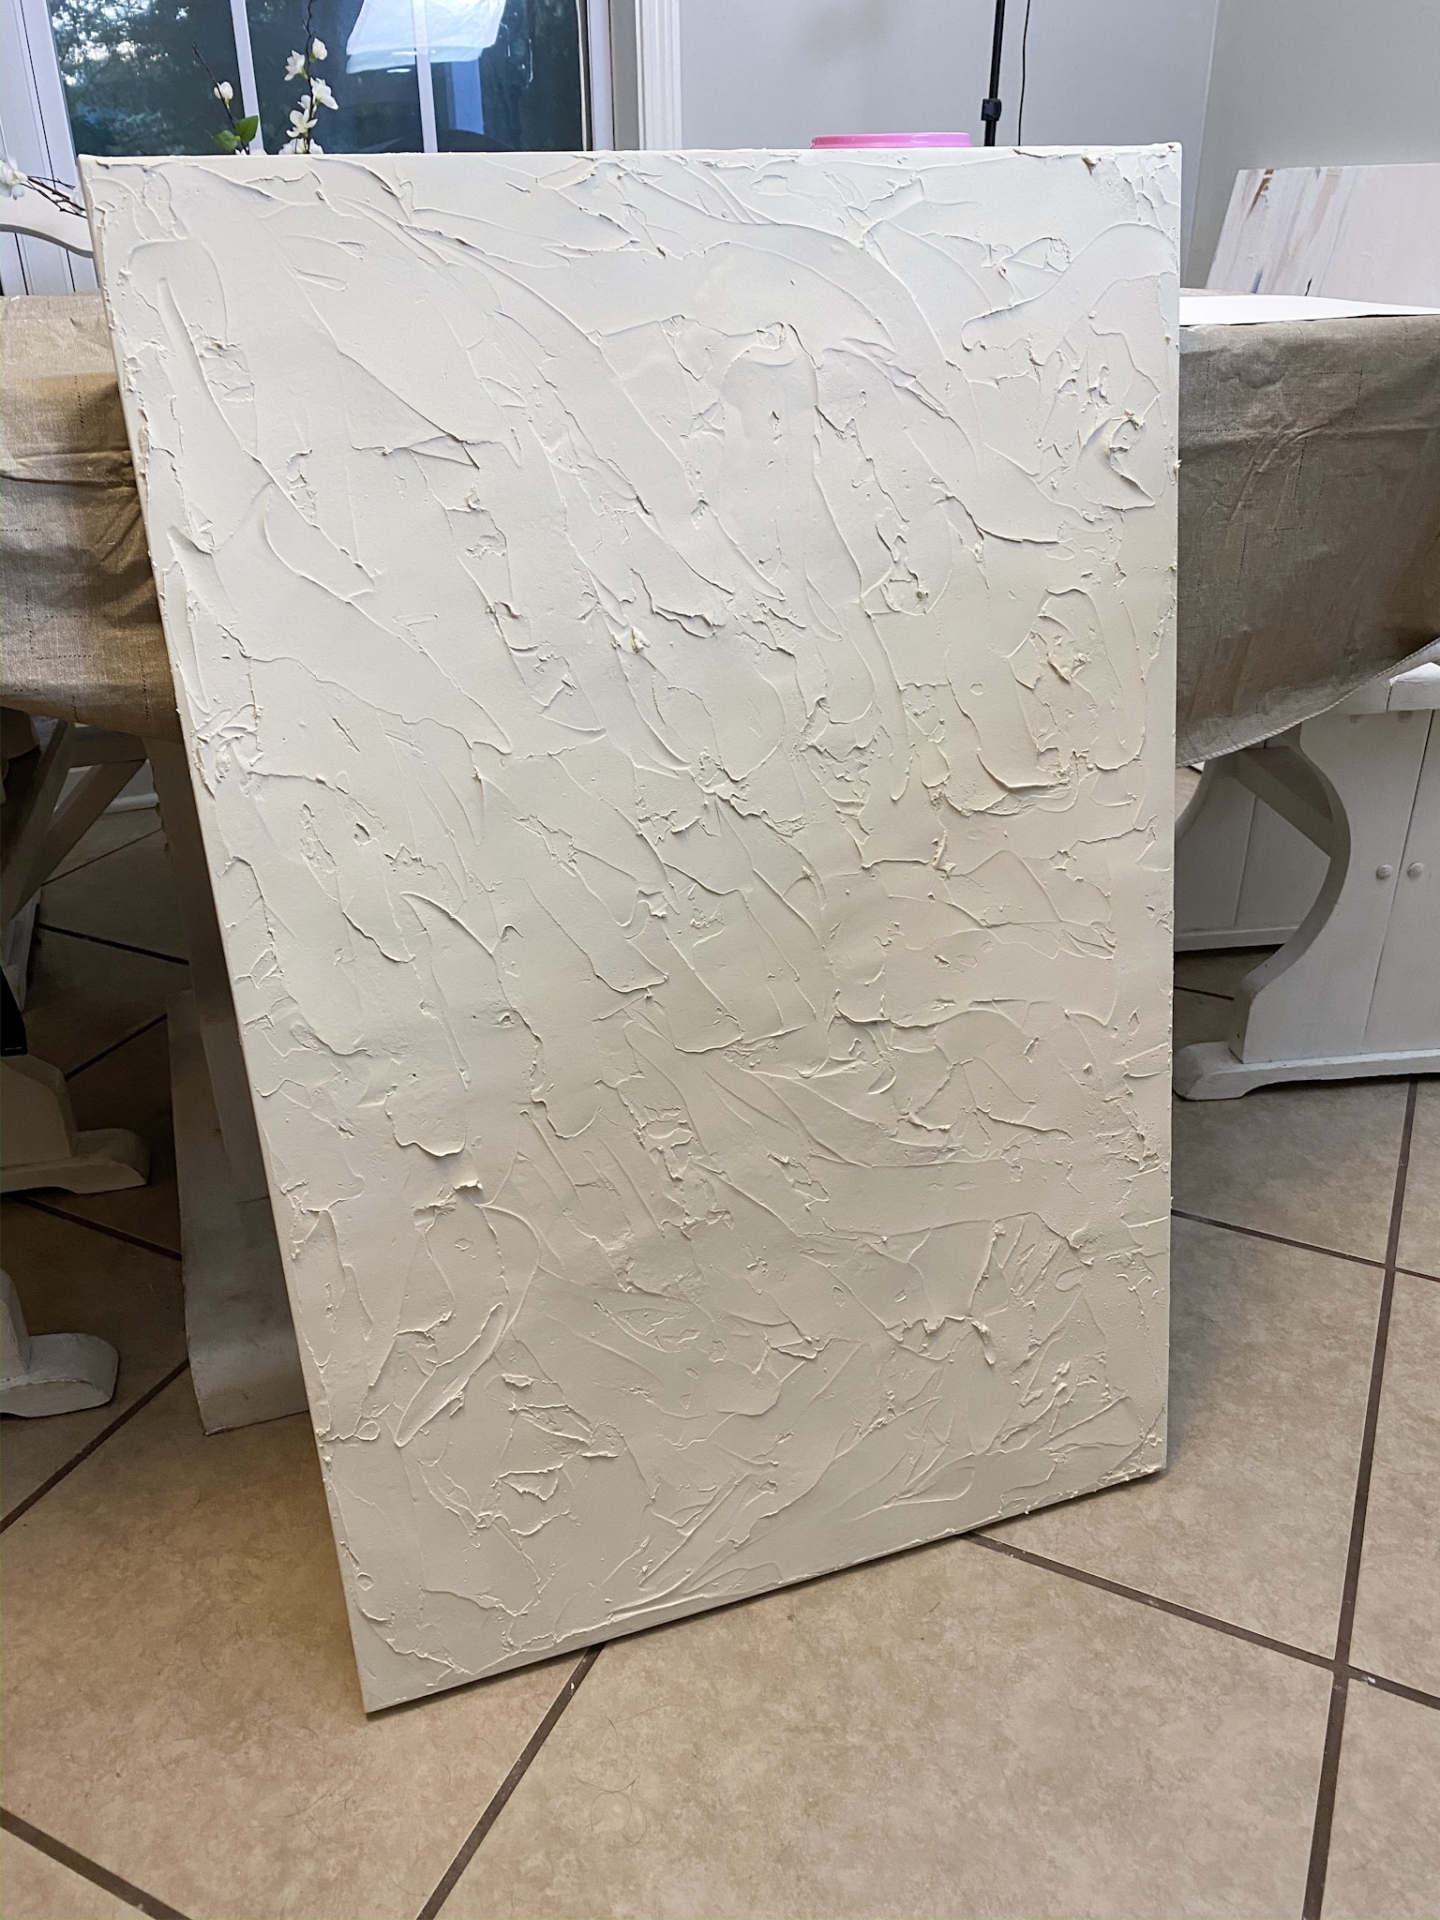
Now, go ahead and get started applying that spackle to the canvas using your knife/spatula. No need to be precise, but keep in mind that whatever texture you see will remain, so if you don’t want any tall ridges, smooth those out, etc.
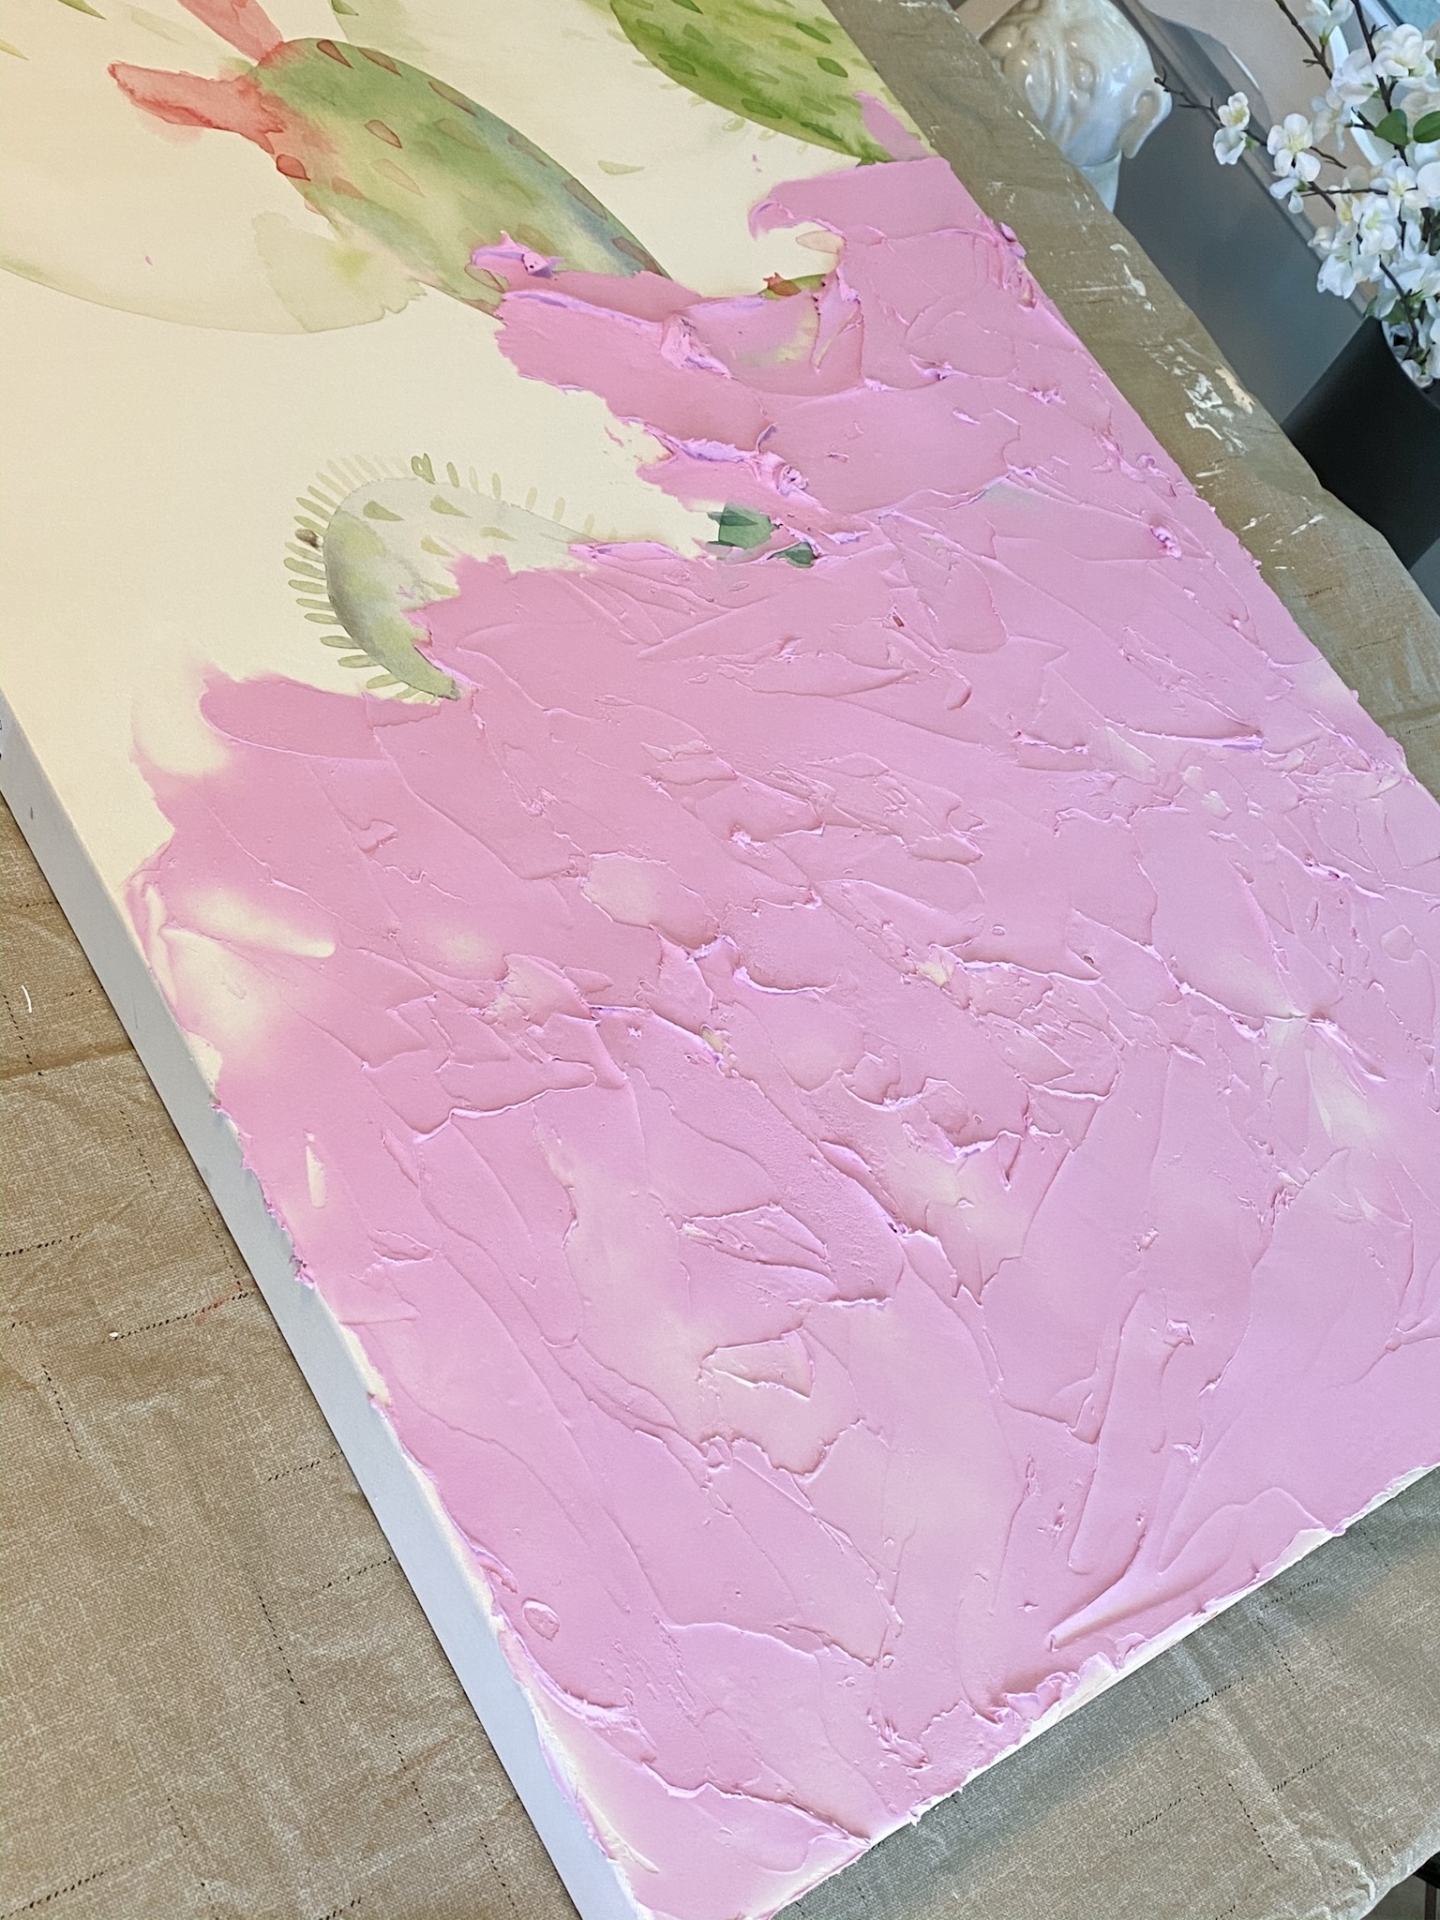
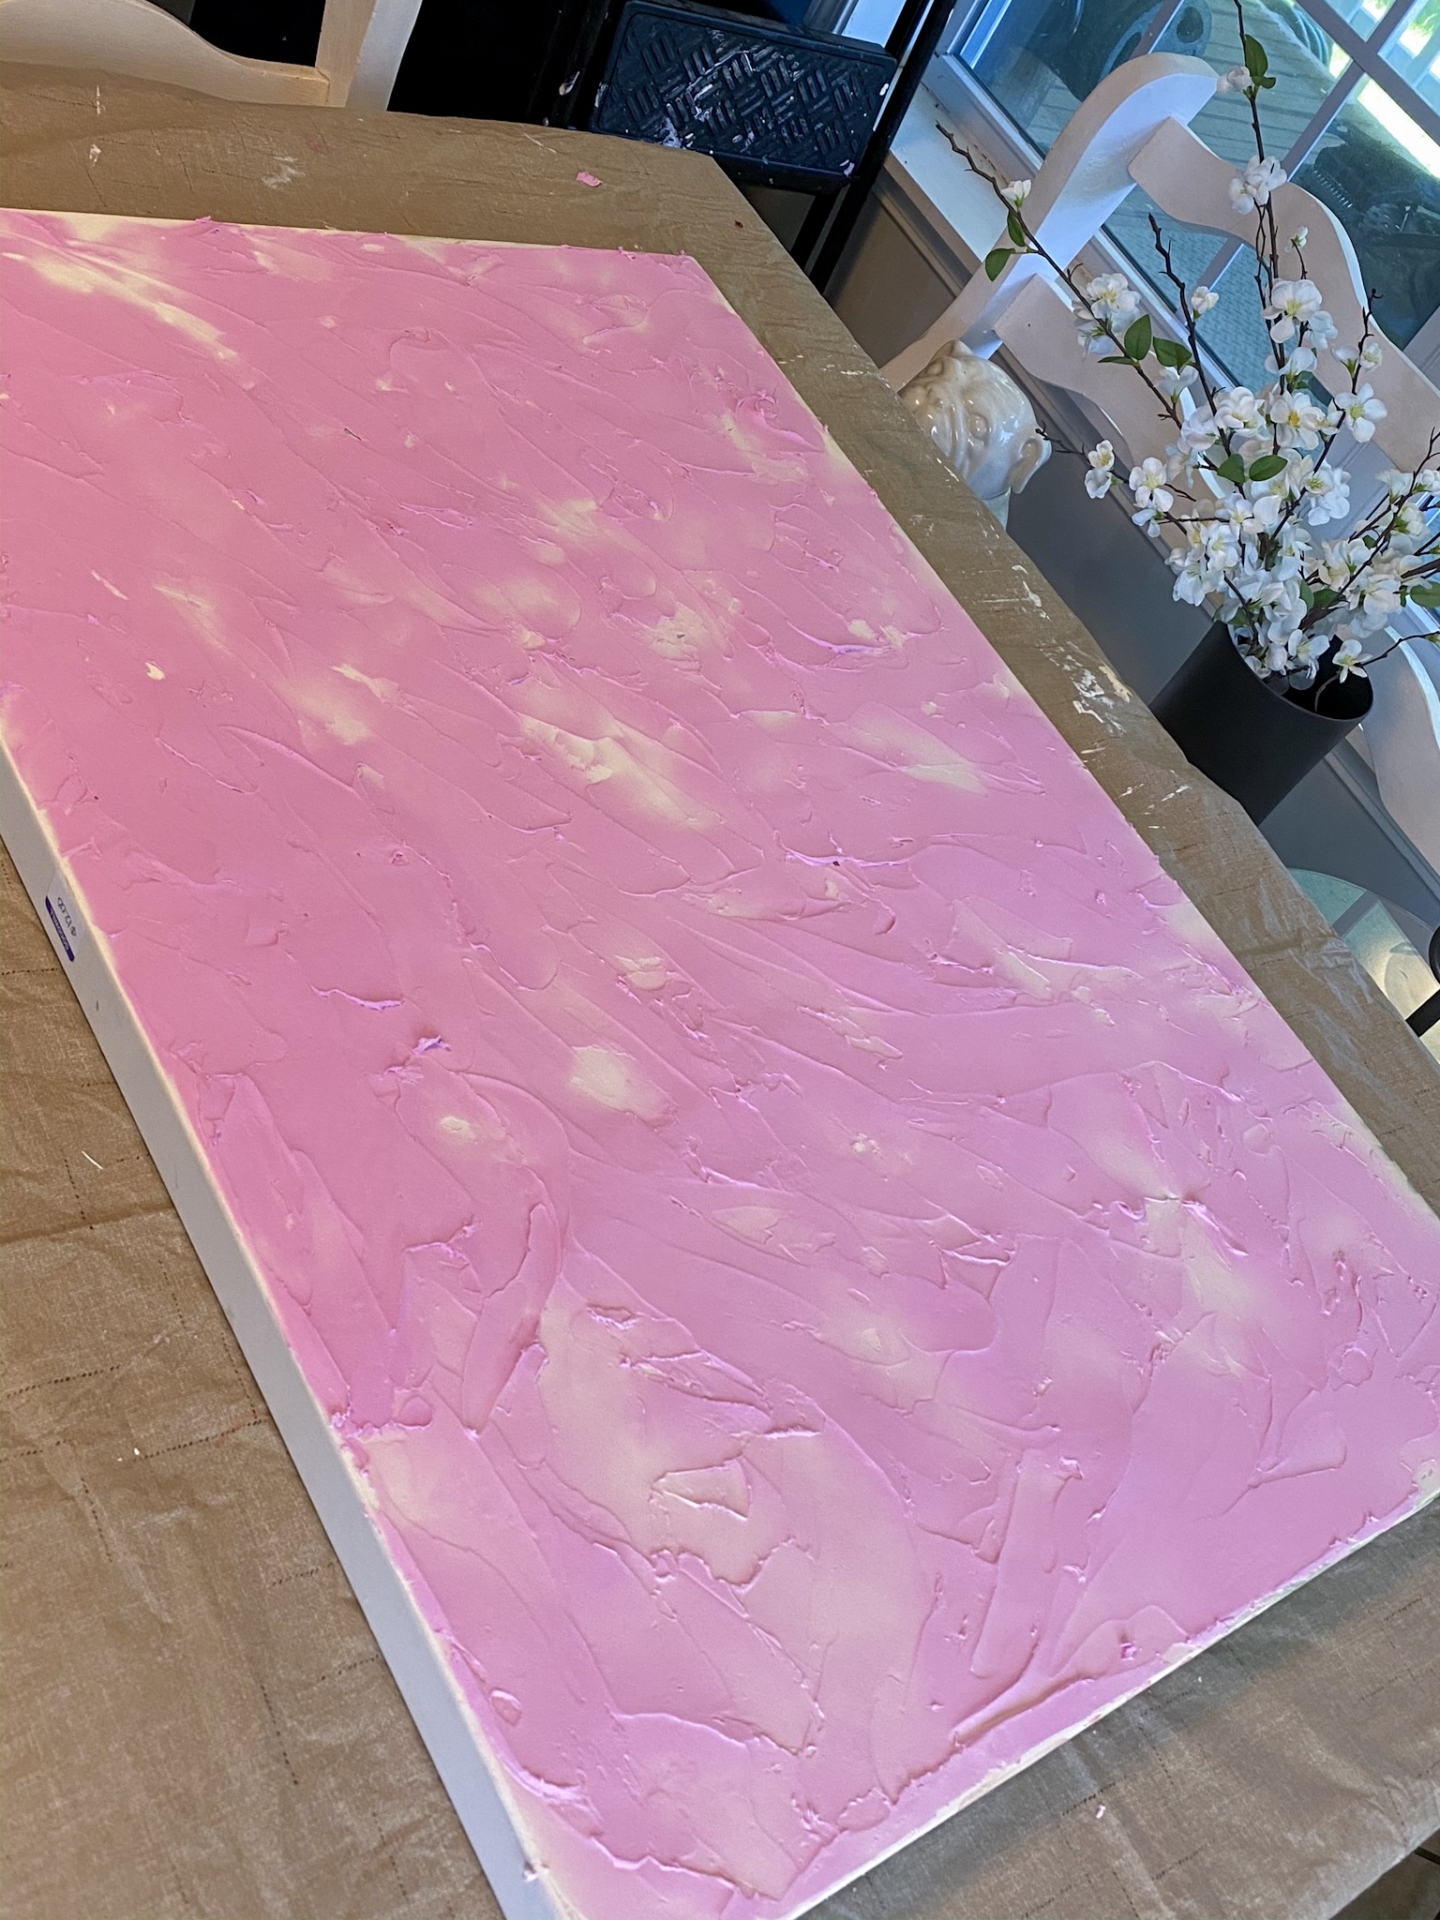
The photo above is when I finished my canvas. You can already start to see some of the thinner areas turning white! After you’re finished with that, the canvas will need to dry/set for 24 hours. Waiting is the worst, but it’s so cool to see it dry. Below is what it looked like after 24 hours.
It’s hard to tell from this photo, but you could still see a little pink and some of the green from the cacti in the original art. To make sure that I had a solid color, I put a couple coats of spray paint on it. This is going to be your background, so choose any color you like.
I always love white, but I wanted something a bit warmer, so I chose the Rustoleum Chalked Chiffon Cream. It’s one of my favorite shades as of late.
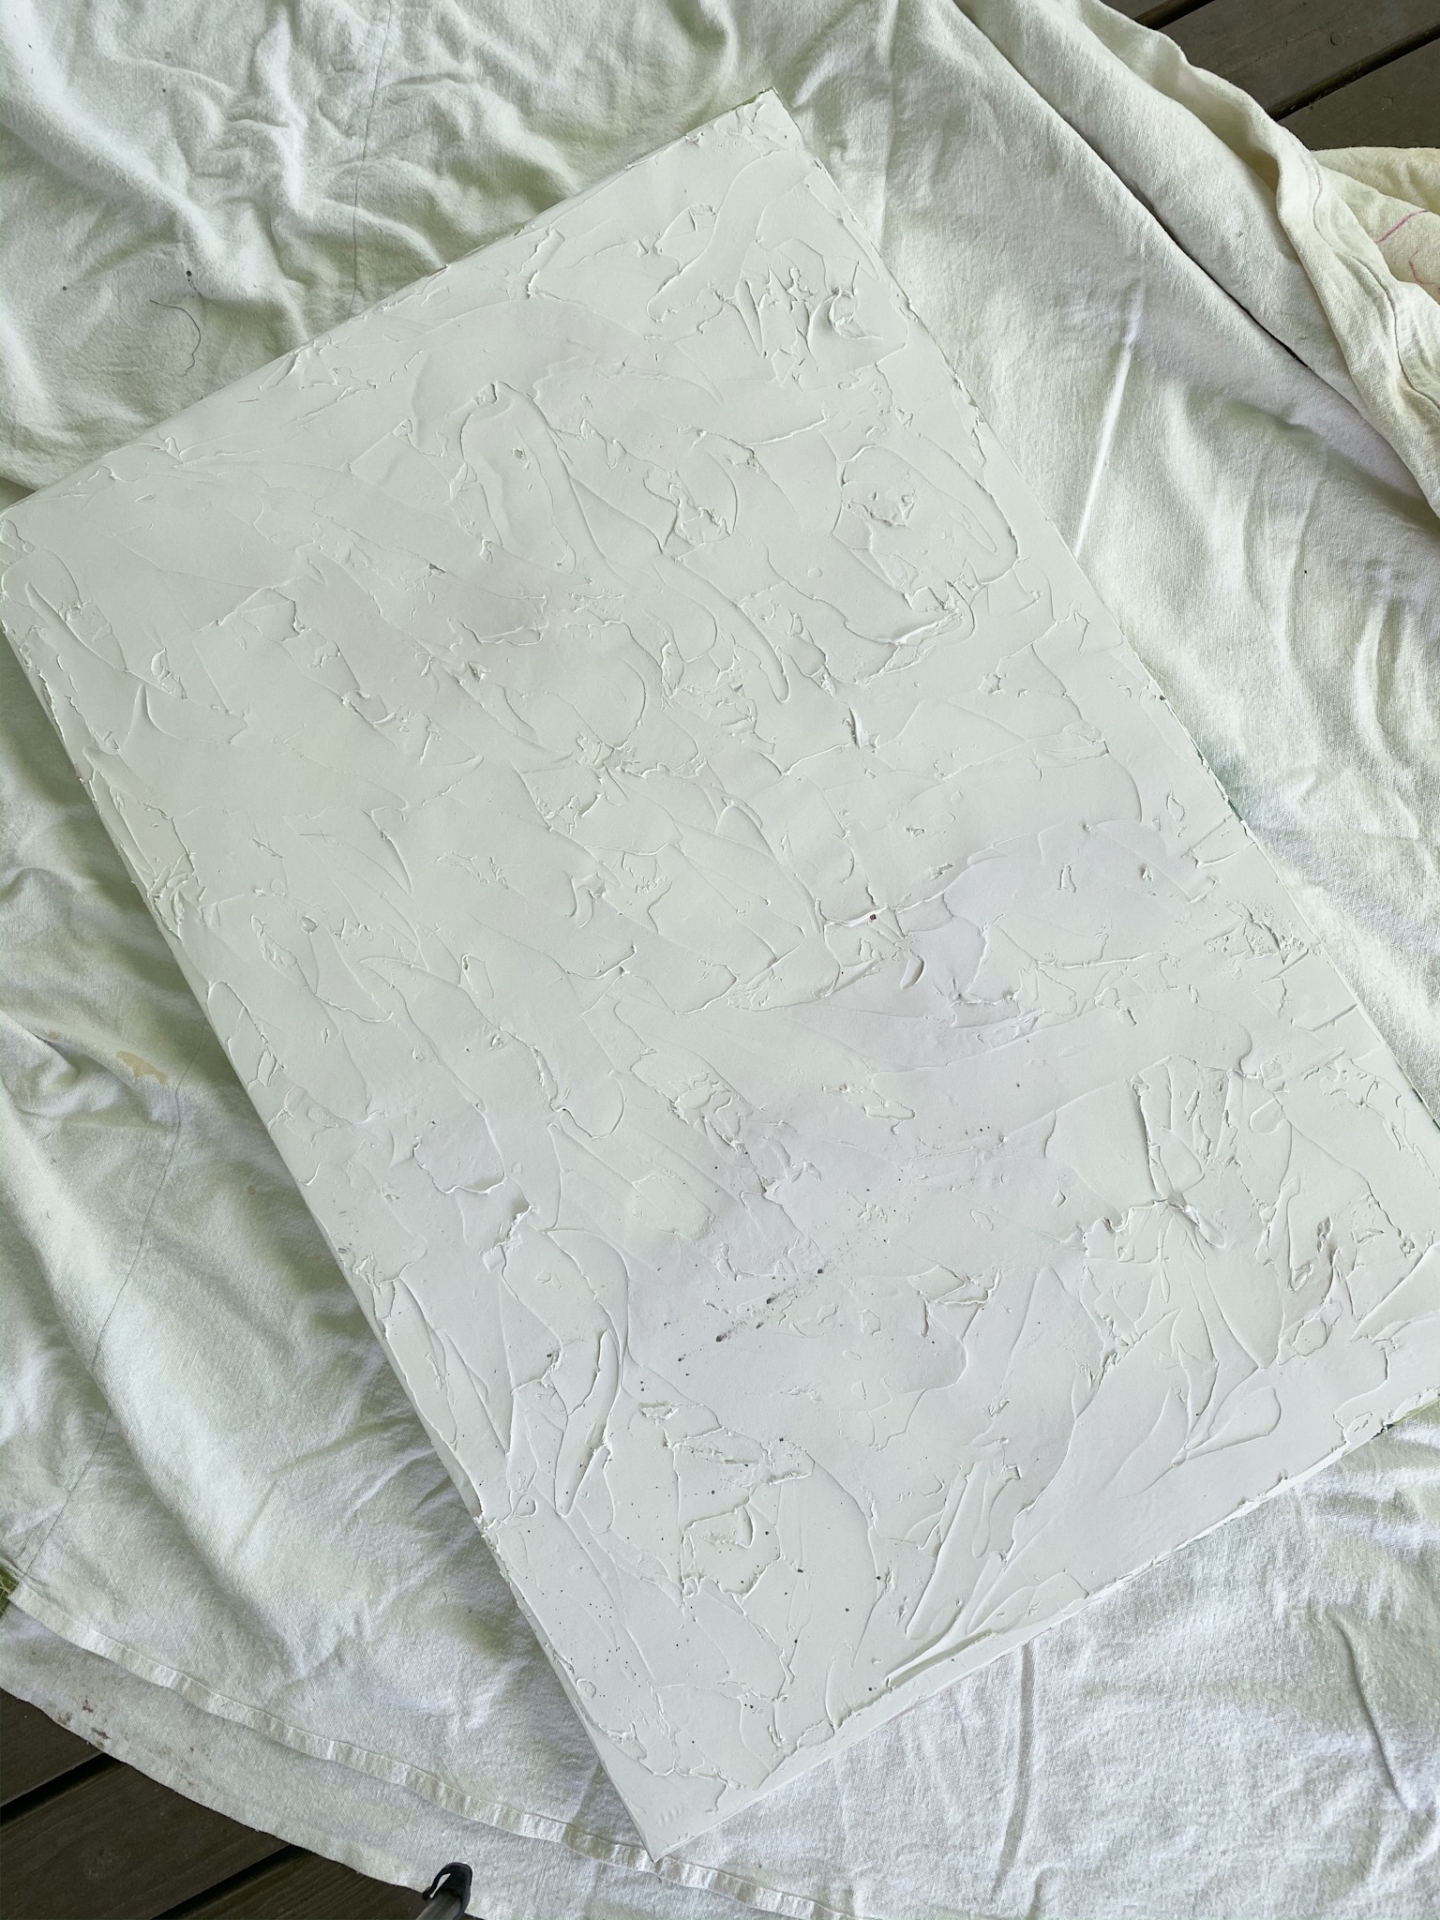
Below is the piece fully coated twice. GORG.
Honestly, you could stop here if you wanted. Paint the piece a solid color and hang that baby up. It’s gorgeous. But I knew I wanted a bit more contrast in my piece so, I kept going.
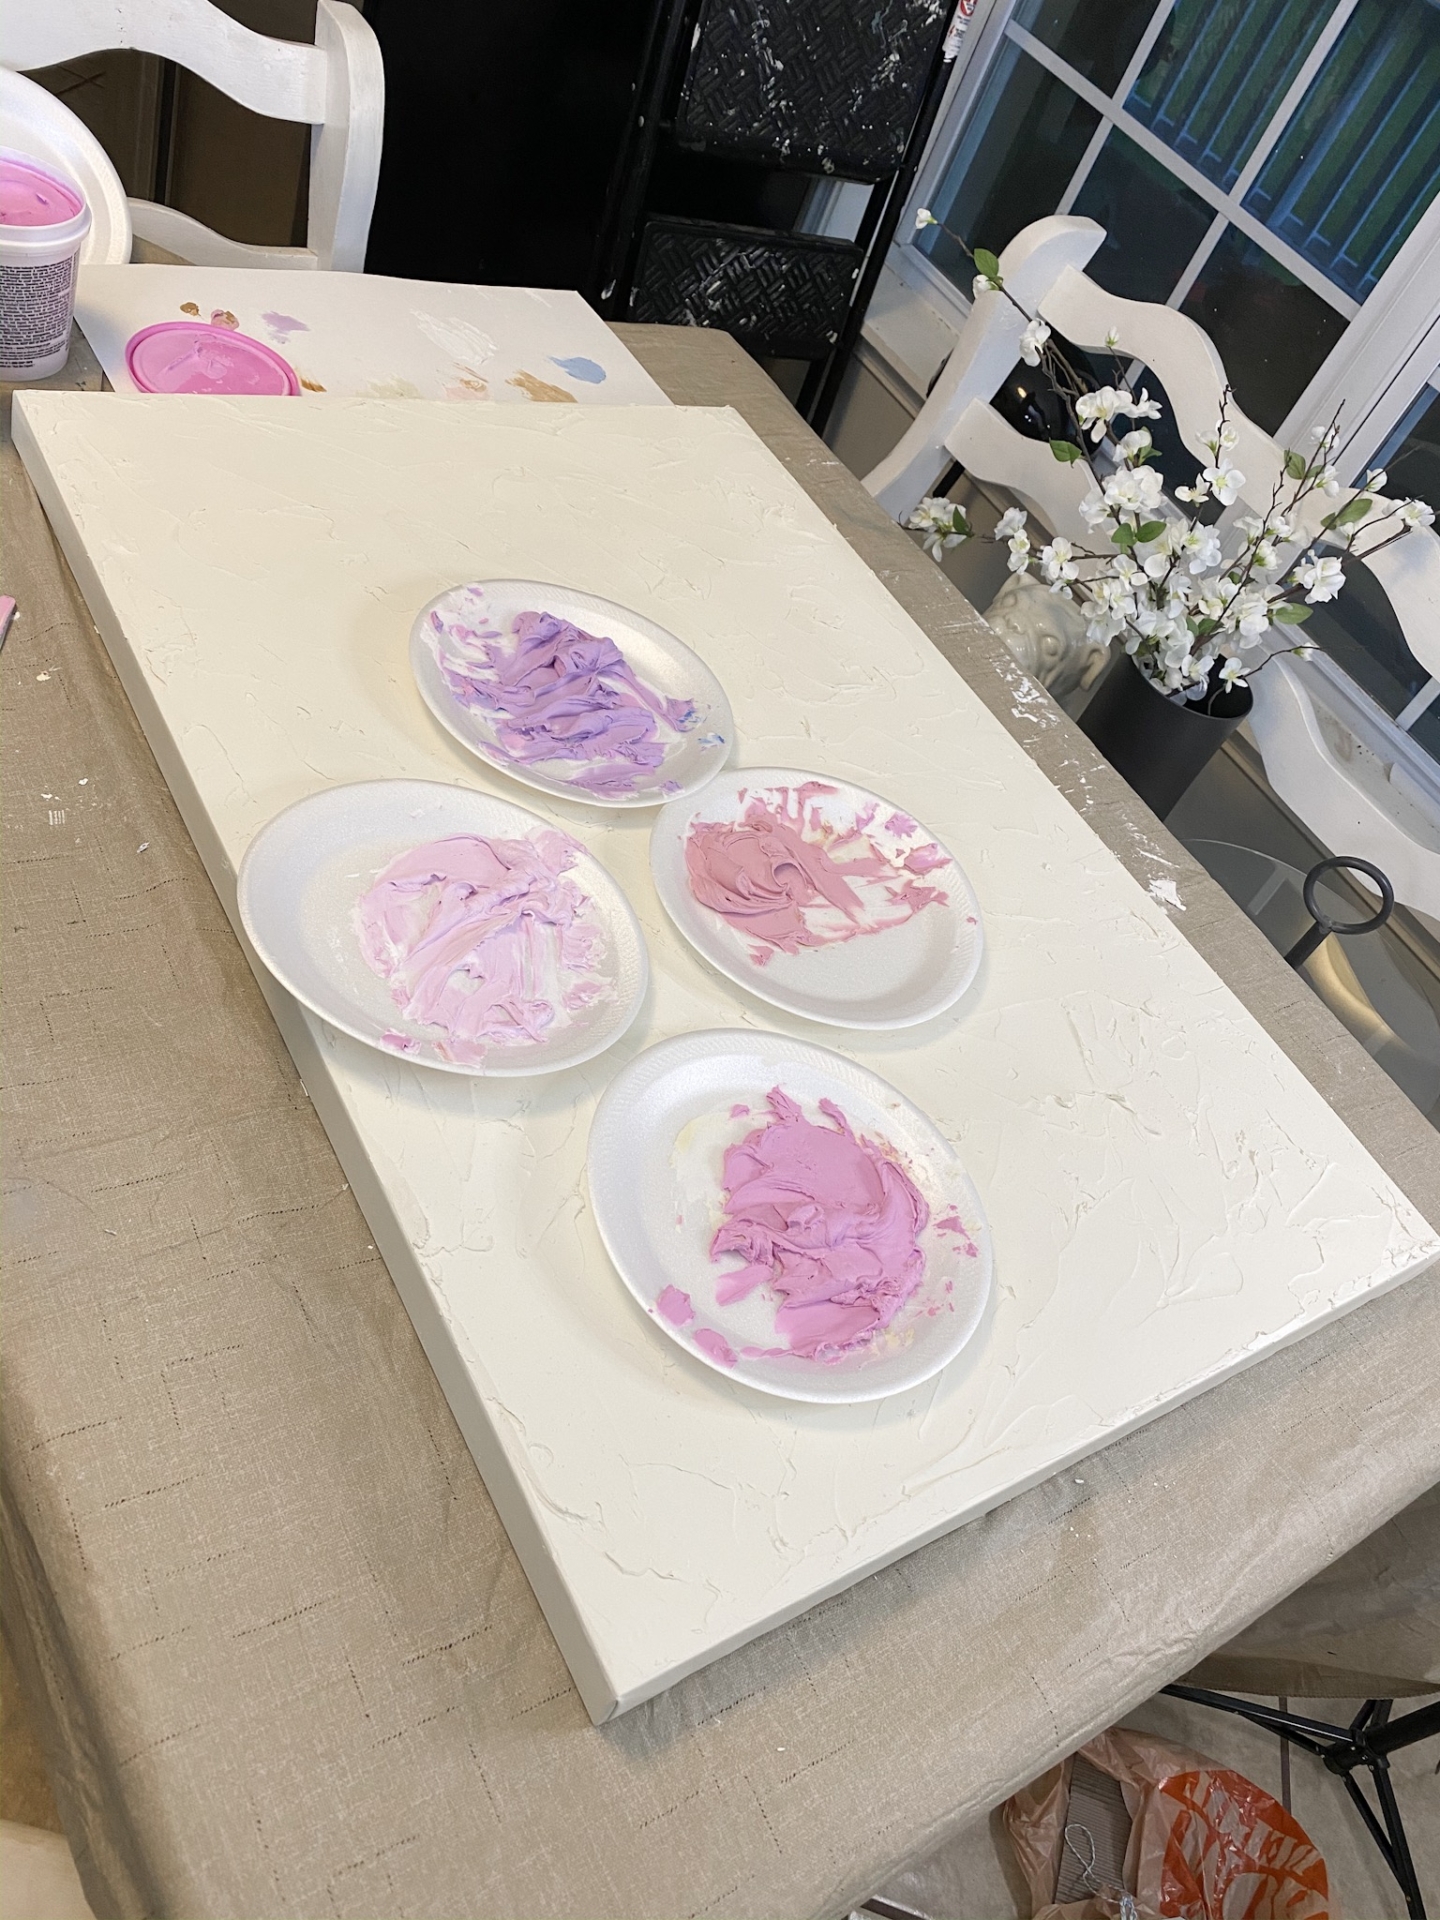
NOW BACK UP to when your spackle was drying for 24 hours. If you want to add color to your piece, then you’re going to need to add this step. Do a color trial run. Because the spackle starts pink, you won’t be able to tell what color its going to turn when you first mix it. So, I suggest grabbing a plate and mixing a few small batches and letting the color dry over night so you can see what it looks like.
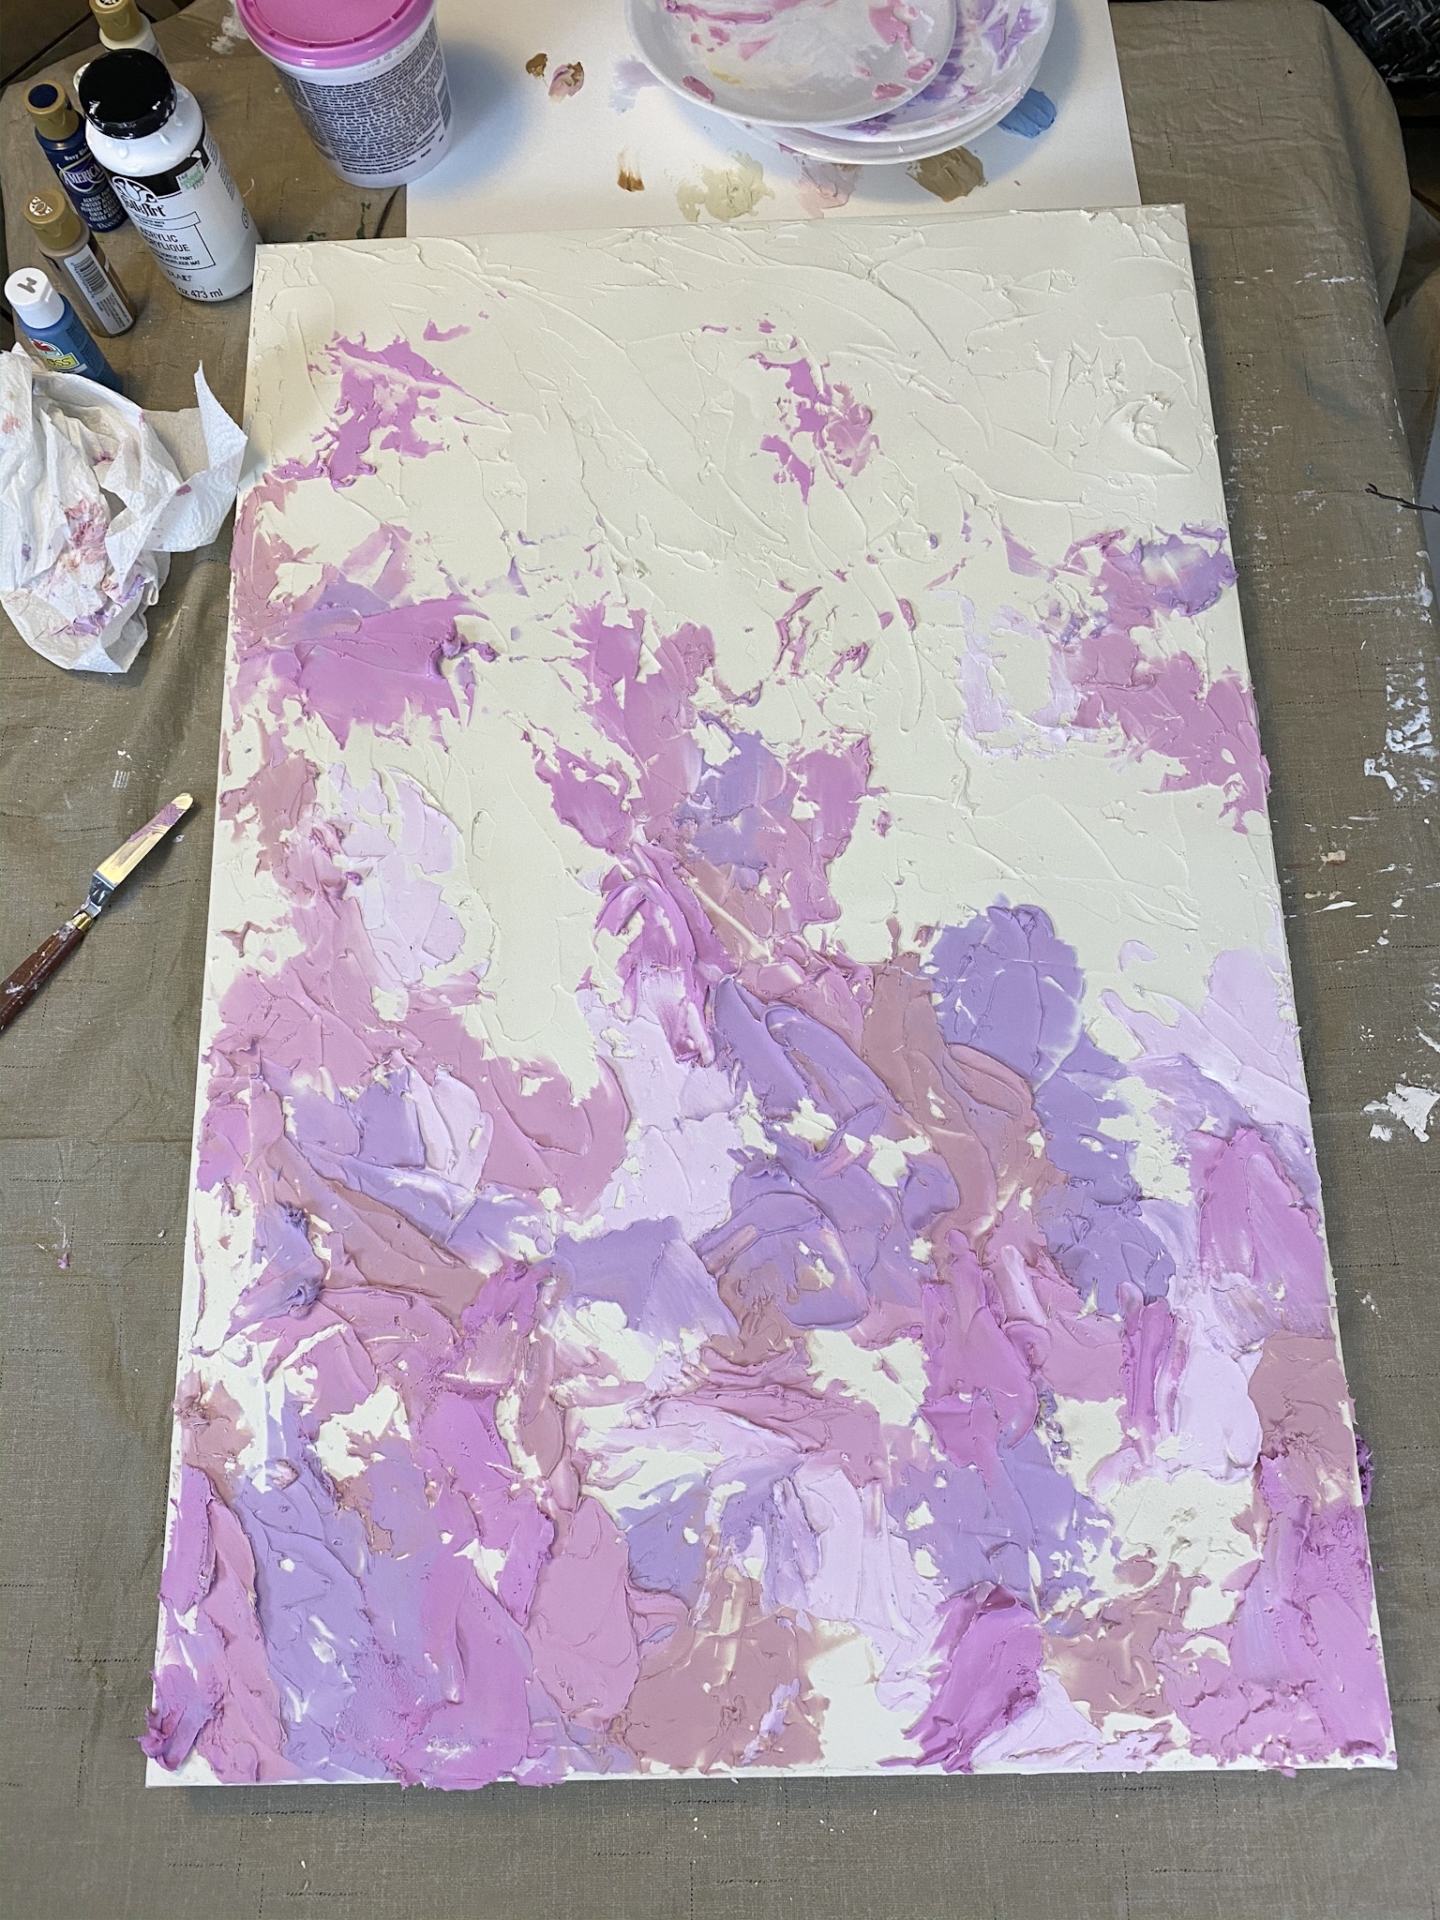
Once your canvas is dried and painted (and dried again) you can start adding color. I mixed up all of my colors first and then added them randomly around the canvas. I concentrated my color at the bottom and got more sparse the higher onto the canvas I went.
Waiting for it to dry was honestly, so much fun! I would check it every hour or so just to see the colors turn.
PRO TIP: The spackle without color has a bit of a pink tinge. This worked for me but if you don’t want that, I suggest mixing white and a touch of cream together to create a true white.
Here is what the piece looked like the next day.
See those pink spots? I actually didn’t add any pink or red paint at all. That is the plain spackle. The spots that are more true white, I added white paint (a a drop of cream) to the spackle.
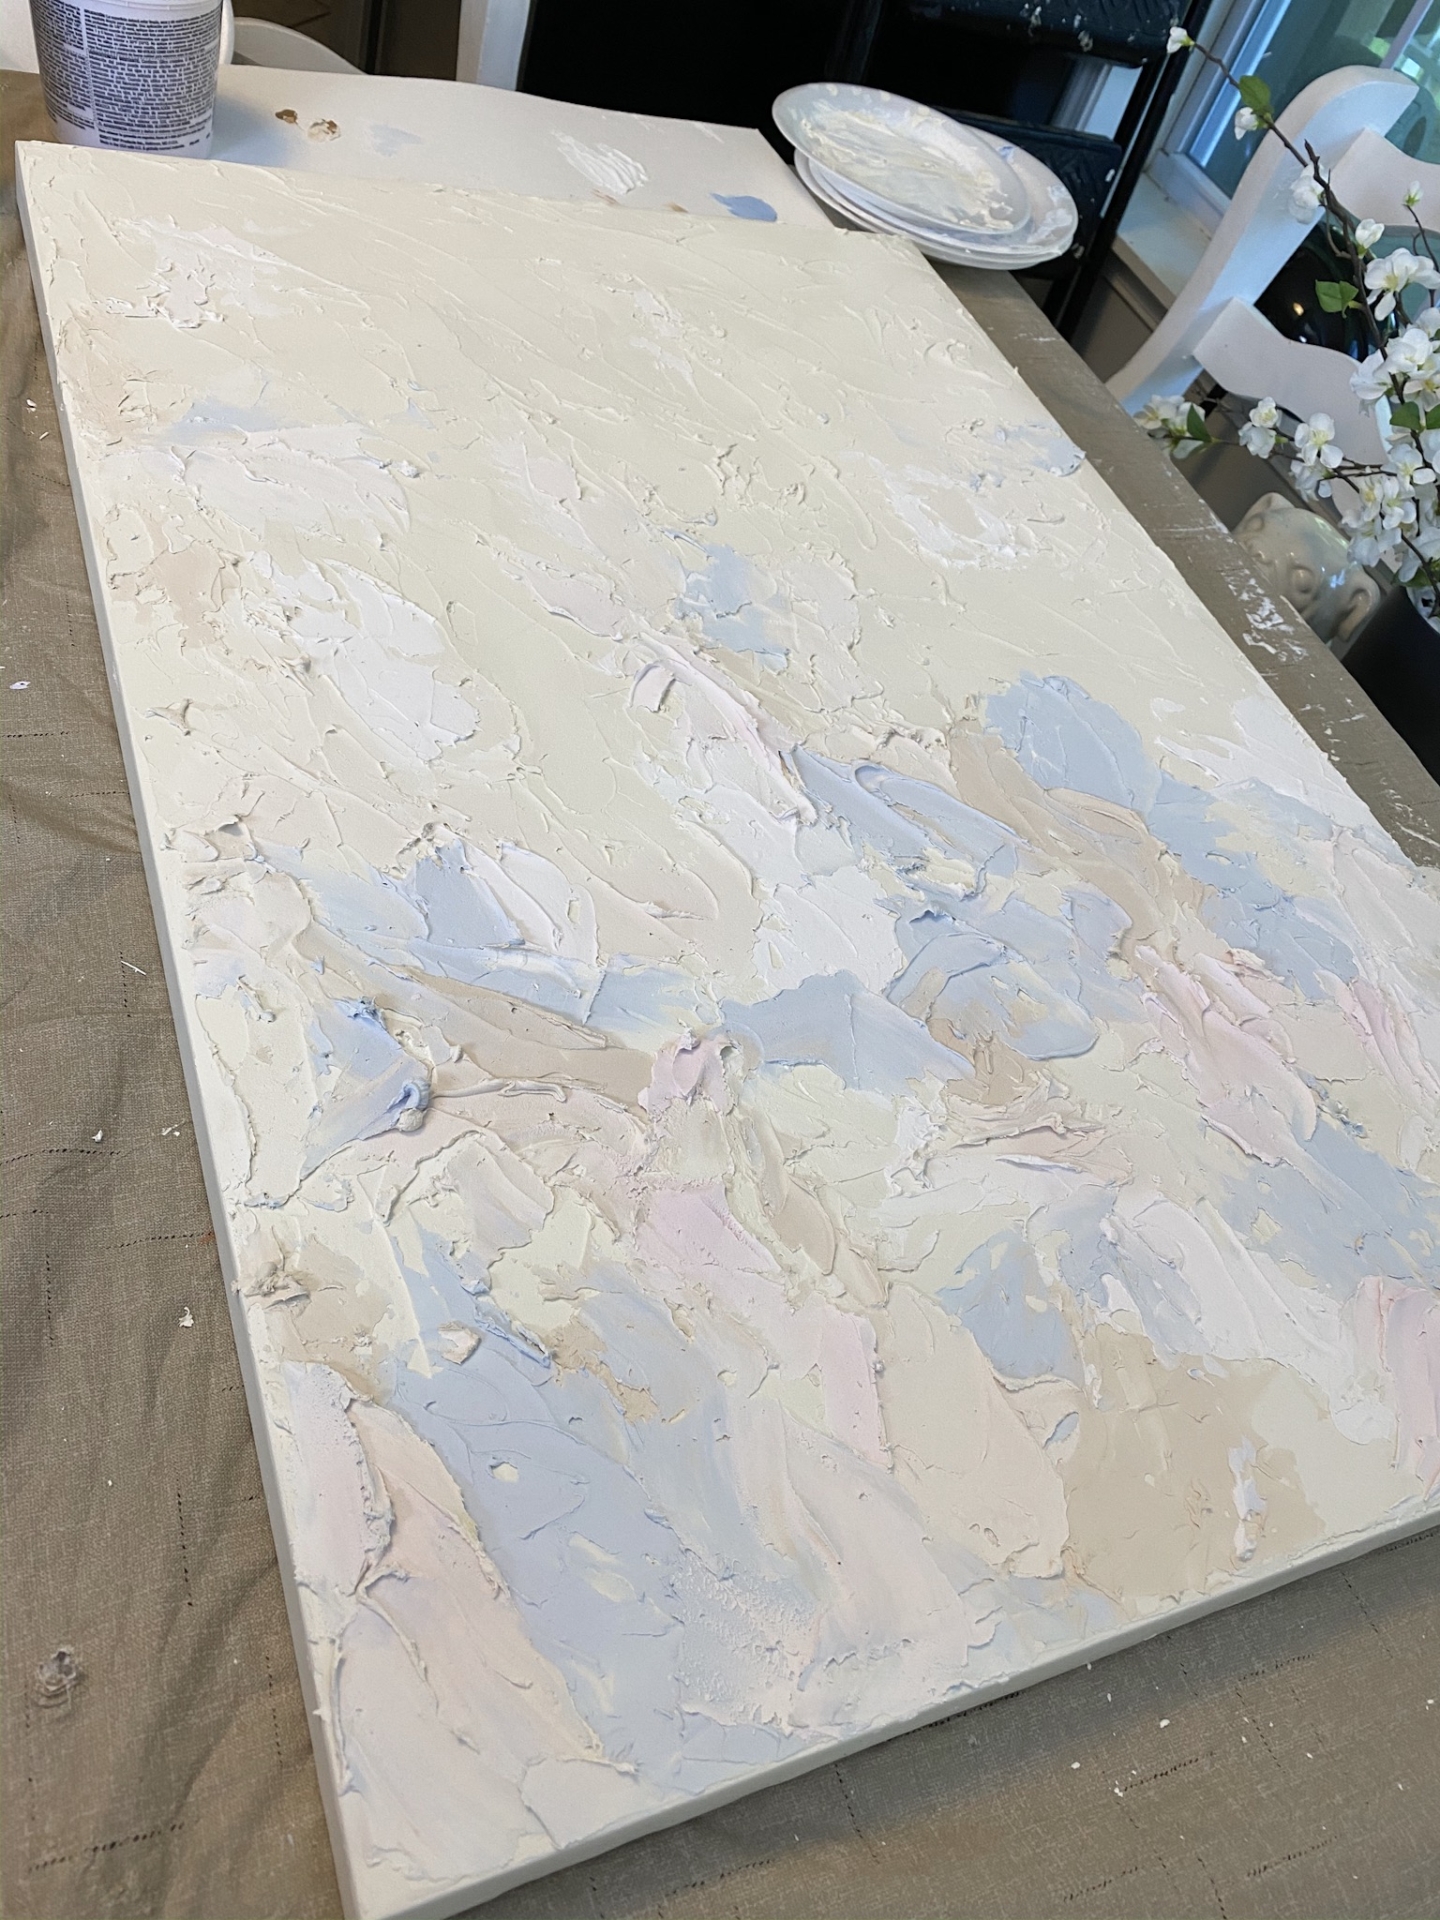
I loved this. Again, you can stop here, but I wanted to do more! So I spent the next 24 hours adding in deeper hues ever few hours. I would add some, let it dry to it’s true color and then add more.
PRO TIP: The blacks to not come out black. Likely because you’re mixing it with a white spackle. So if you want a true black, I suggest painting it on with black paint and a paint brush once the piece is dry.
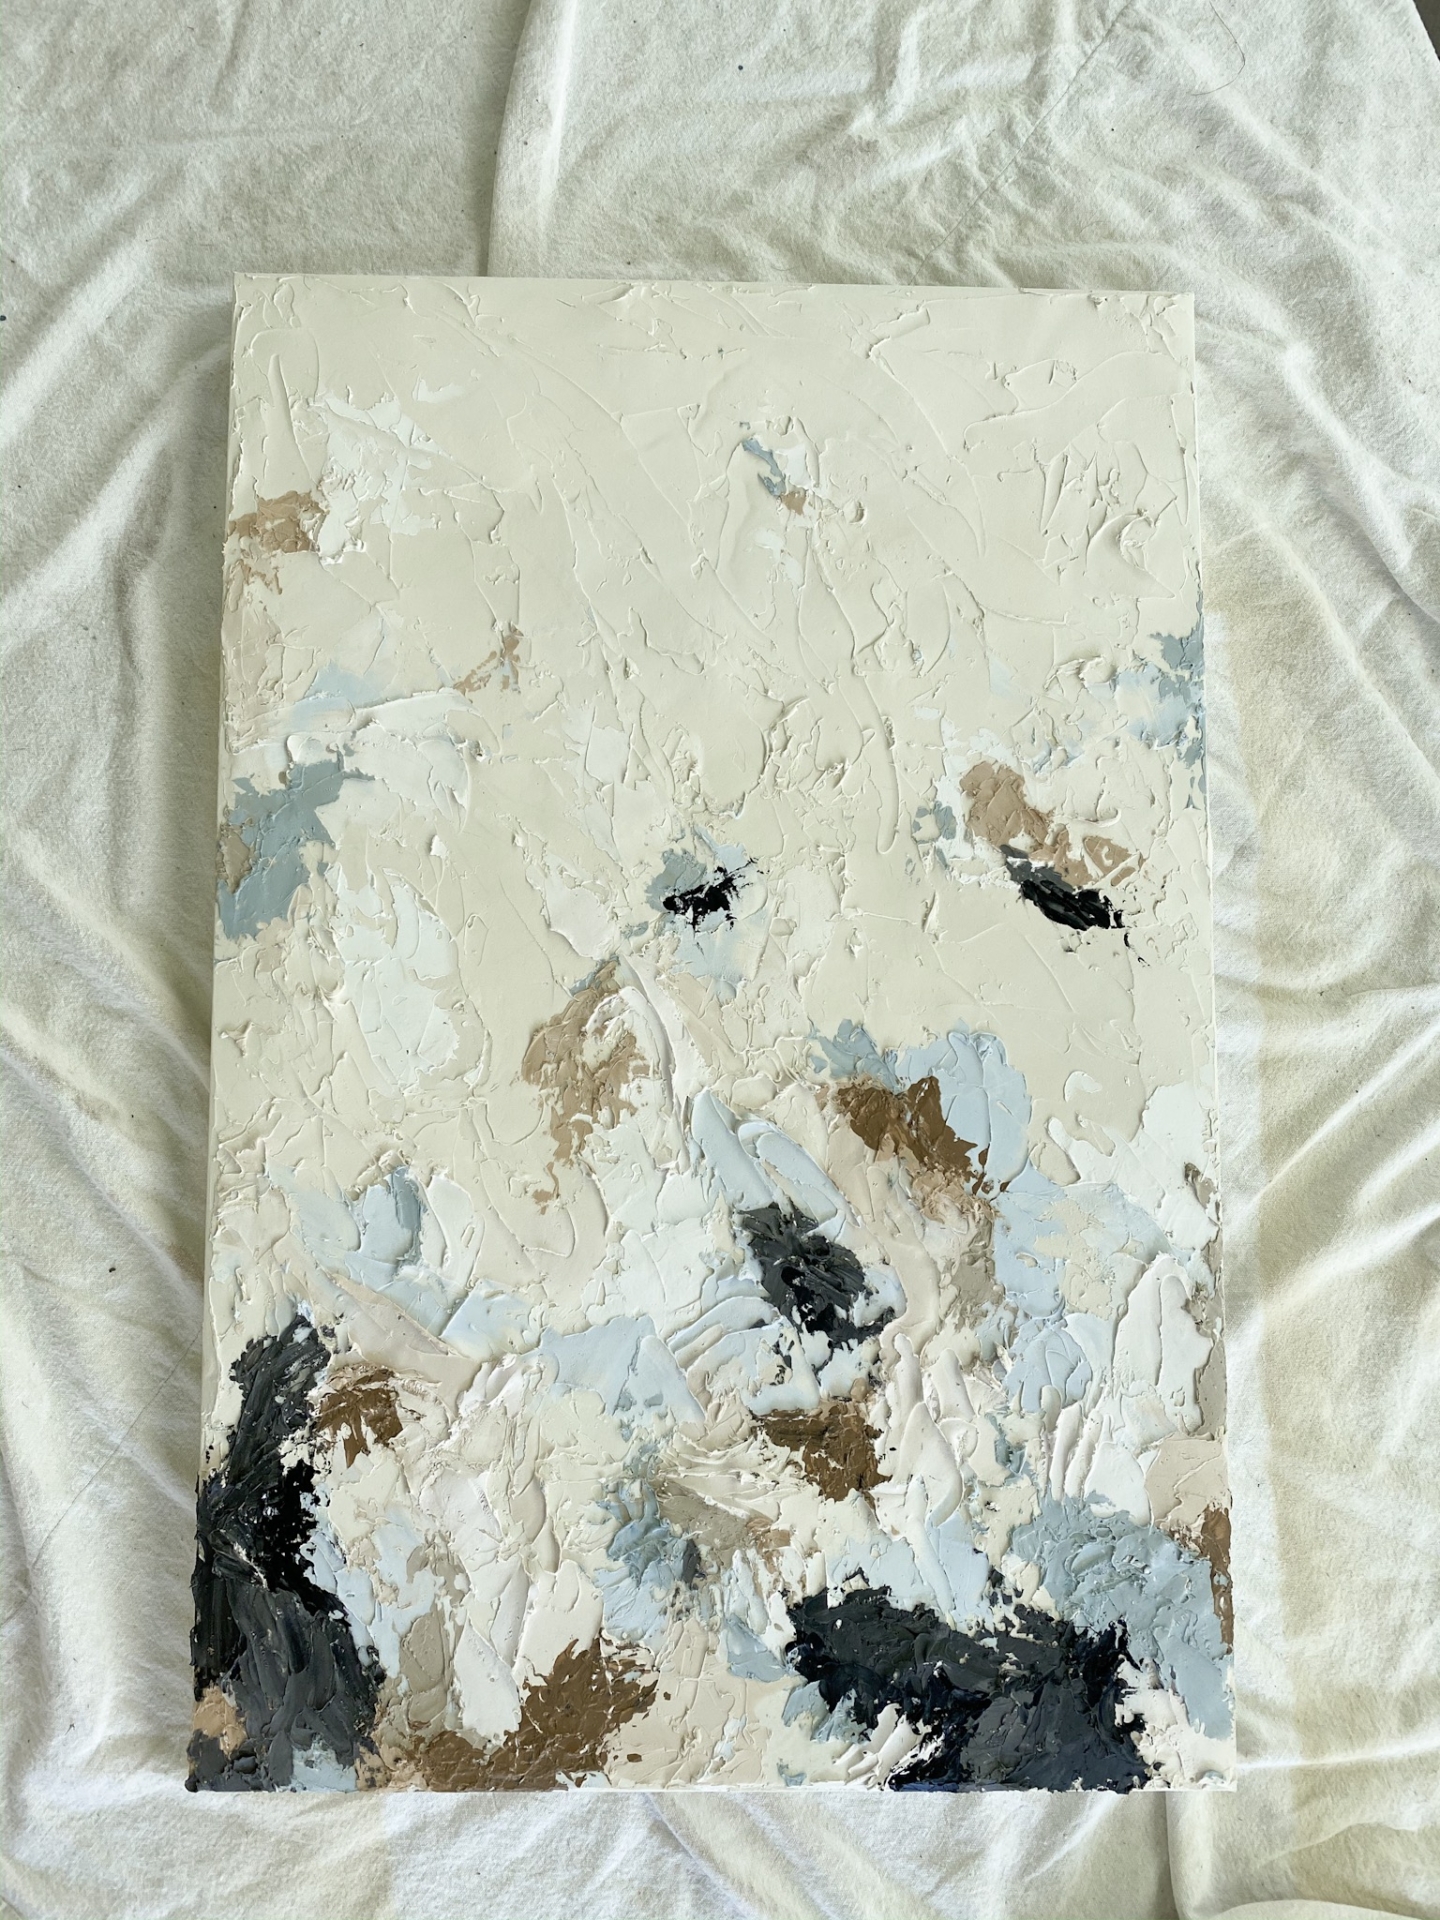
Above is my finished piece. I let the whole thing dry for 24 hours after the last time that I added any spackle. Then I sealed it using this Rustoleum chalked sealer. I think you could use any sealer that you wanted. I suggest water based because oil has a tendency to yellow.
Now, I’ve only had this piece hanging for a day or so. I cannot attest to how it hold up. I’m hoping that as long as I’m not messing with it, it will stay as is. But since it was so inexpensive to create, I don’t mind either way!
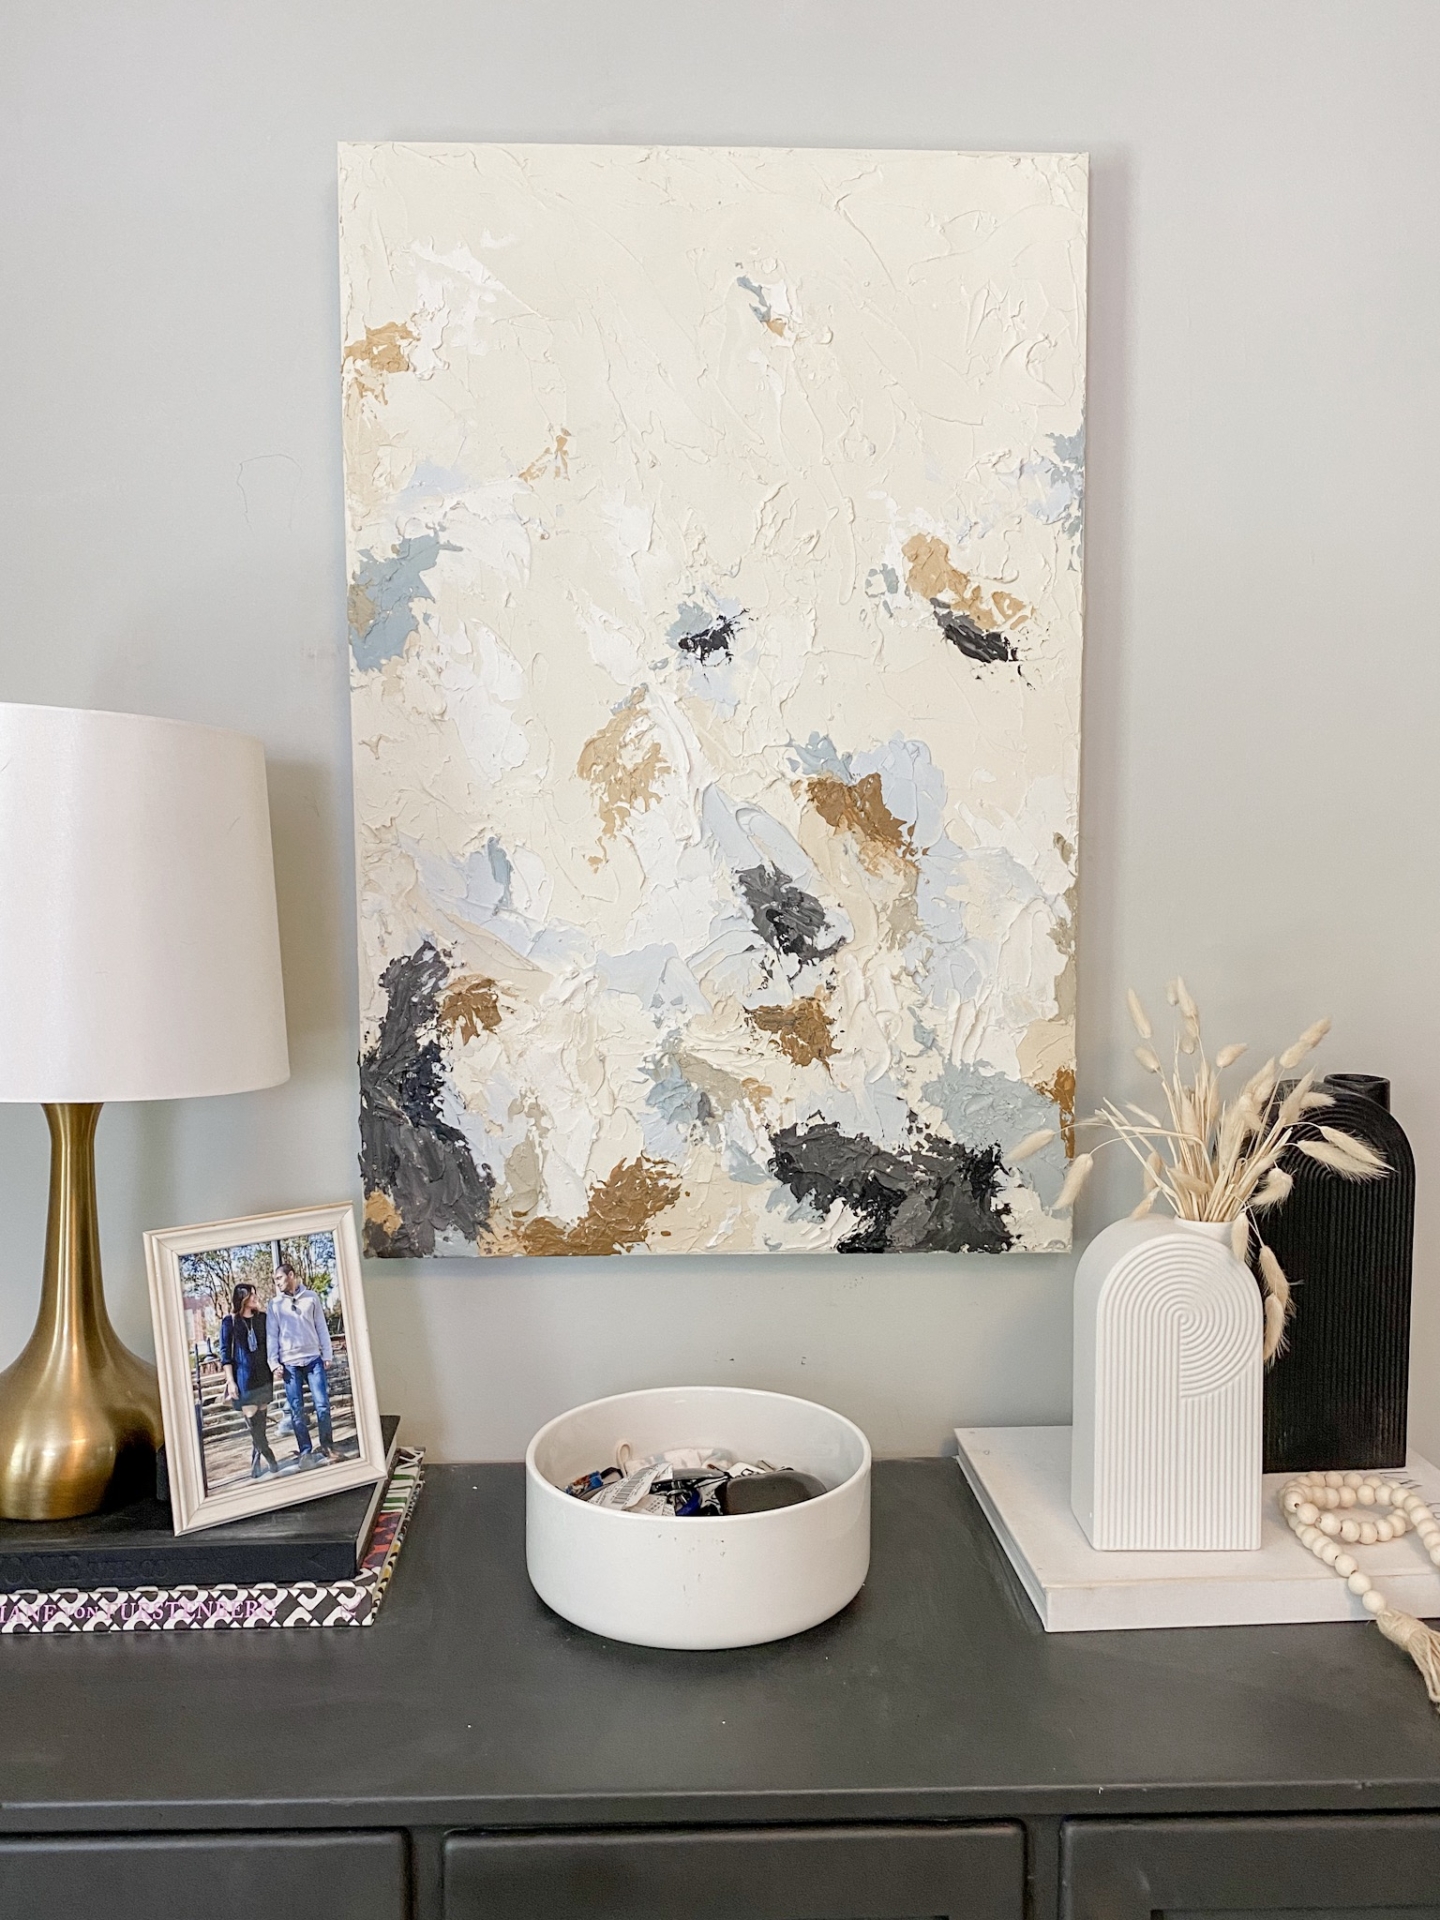
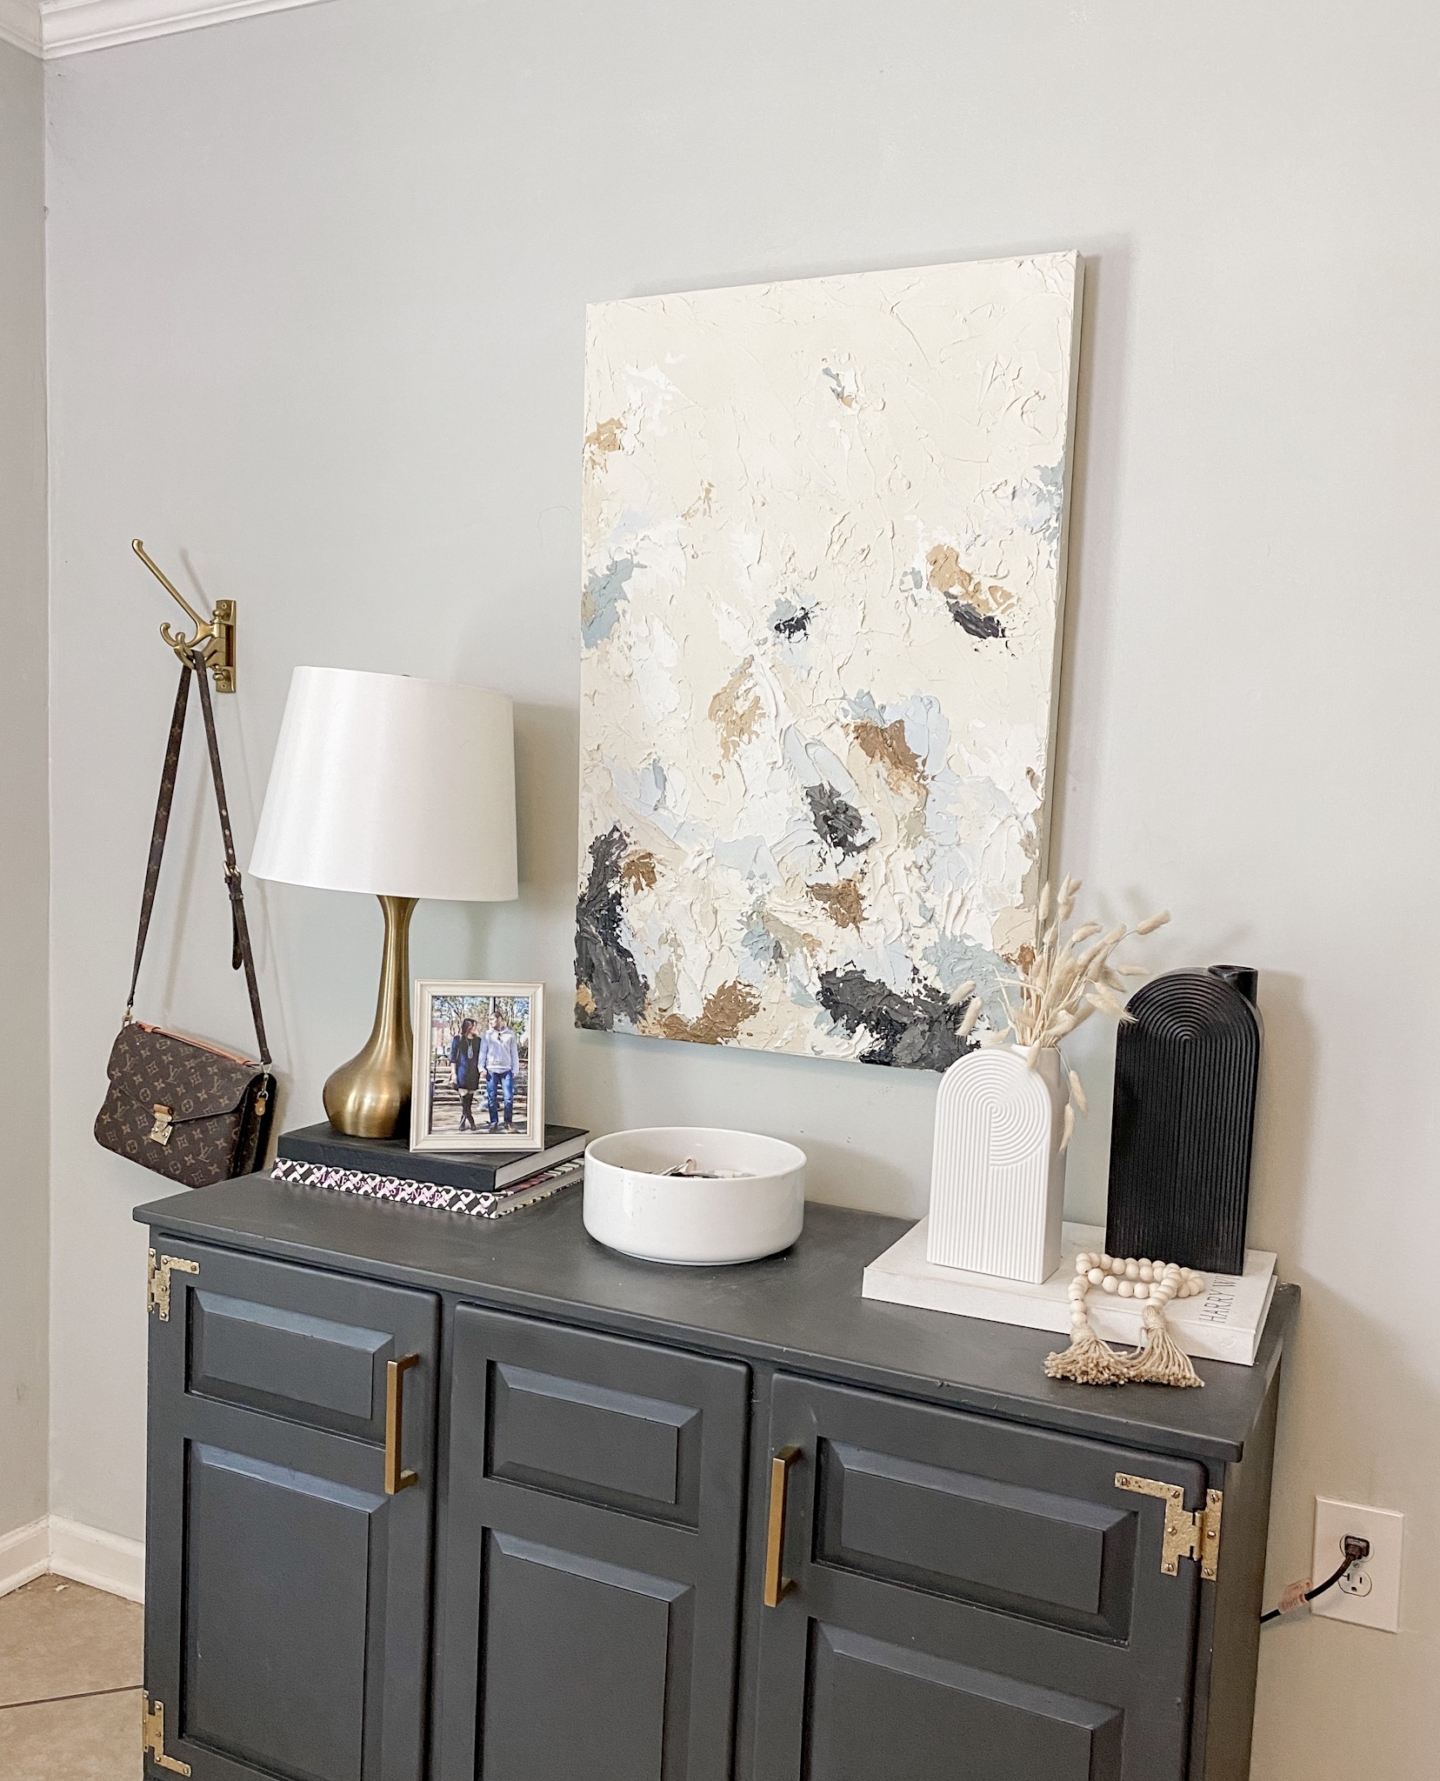
I LOVE IT so much! I’m actually working on another piece for my mom’s house. I think one of the best things is that if you start to hate it at any point, you can just sand it off of the canvas and start over.
Are you going to try this? I can’t wait to see if you do! PLEASE PLEASE PLEASE tag me on tiktok or instagram or FB if you do (I linked my accounts there)!! Also, below is the tiktok I made to recount my process if you’re a video person!
@kassyrandazzo Obsesssed. The full tutorial is at the link in my bio! ##SharkWeek ##diyart ##youcandothis ##tiktokartwork ##Alphets ##StanleyCup
♬ Coochie Scout – YN Jay