Music has been a HUGE part of my life. If you didn’t already know, I sing. I LOVE to sing. I honestly thought I was going going to be famous when I was younger. Alas, stardom wasn’t meant for me. With my anxiety levels and perpetual perfectionism, it’s definitely a good thing that I’m not forced to be in a spotlight 24/7. That is a whole post in itself, but NOT what today’s is about.
Because of my love for music, I’ve always wanted a piano in my home. I play a bit and Keith is learning to read music and I would love for my kids to grow up learning to love and play instruments. Pianos are PRICEY, though. I certainly didn’t want to spend a TON of money on something that I wasn’t sure we would use. So here is my solution: Buy a cheap piano, refinish it and keep it in the house for a bit until we can decide if we’d like to invest.
So I found this piano on Facebook Marketplace FOR FREE. It plays but not super well. It has a broken black key that I think I can fix and desperately needs to be tuned, but I think it’s a great starter piece for us. Everytime I WISH it had a nicer sound, I’ll remind myself that we can save up for a nice one.
Some may argue that painting a Piano compromises it’s sound integrity. That may be so, but my need for aesthetically pleasing interiors won over and I knew it HAD to be painted. To be sure, I wanted to find a painting method that would be the least abrasive for this piece to preserve any sound quality that it had left. Insert Miss Mustard Seed Milk Paint.
I discovered Miss Mustard Seed (MMS) while scouring the internet for natural paints and I knew I had to try it. It’s an all natural product that you mix yourself. Sound scary? It isn’t. I promise. Plus, the MMS team has a blog with a TON of sources and information on how to make your painting process the BEST it can be. I’m using the color ‘Typewriter’ on this piece.
This paint can be used in SO many ways and if you love a chippy antique finish, you’re going to love this stuff. And if you don’t, you probably still will! I also used one of their all natural finishes, the Hemp Oil, on this piece as well and it turned out gorgeous and buttery soft.
Keep reading for the full tutorial. I’ve also got several tiktok videos linked below to show you my process. I didn’t get a TON of photos, but I got a LOT of video!
Step 1: PREP
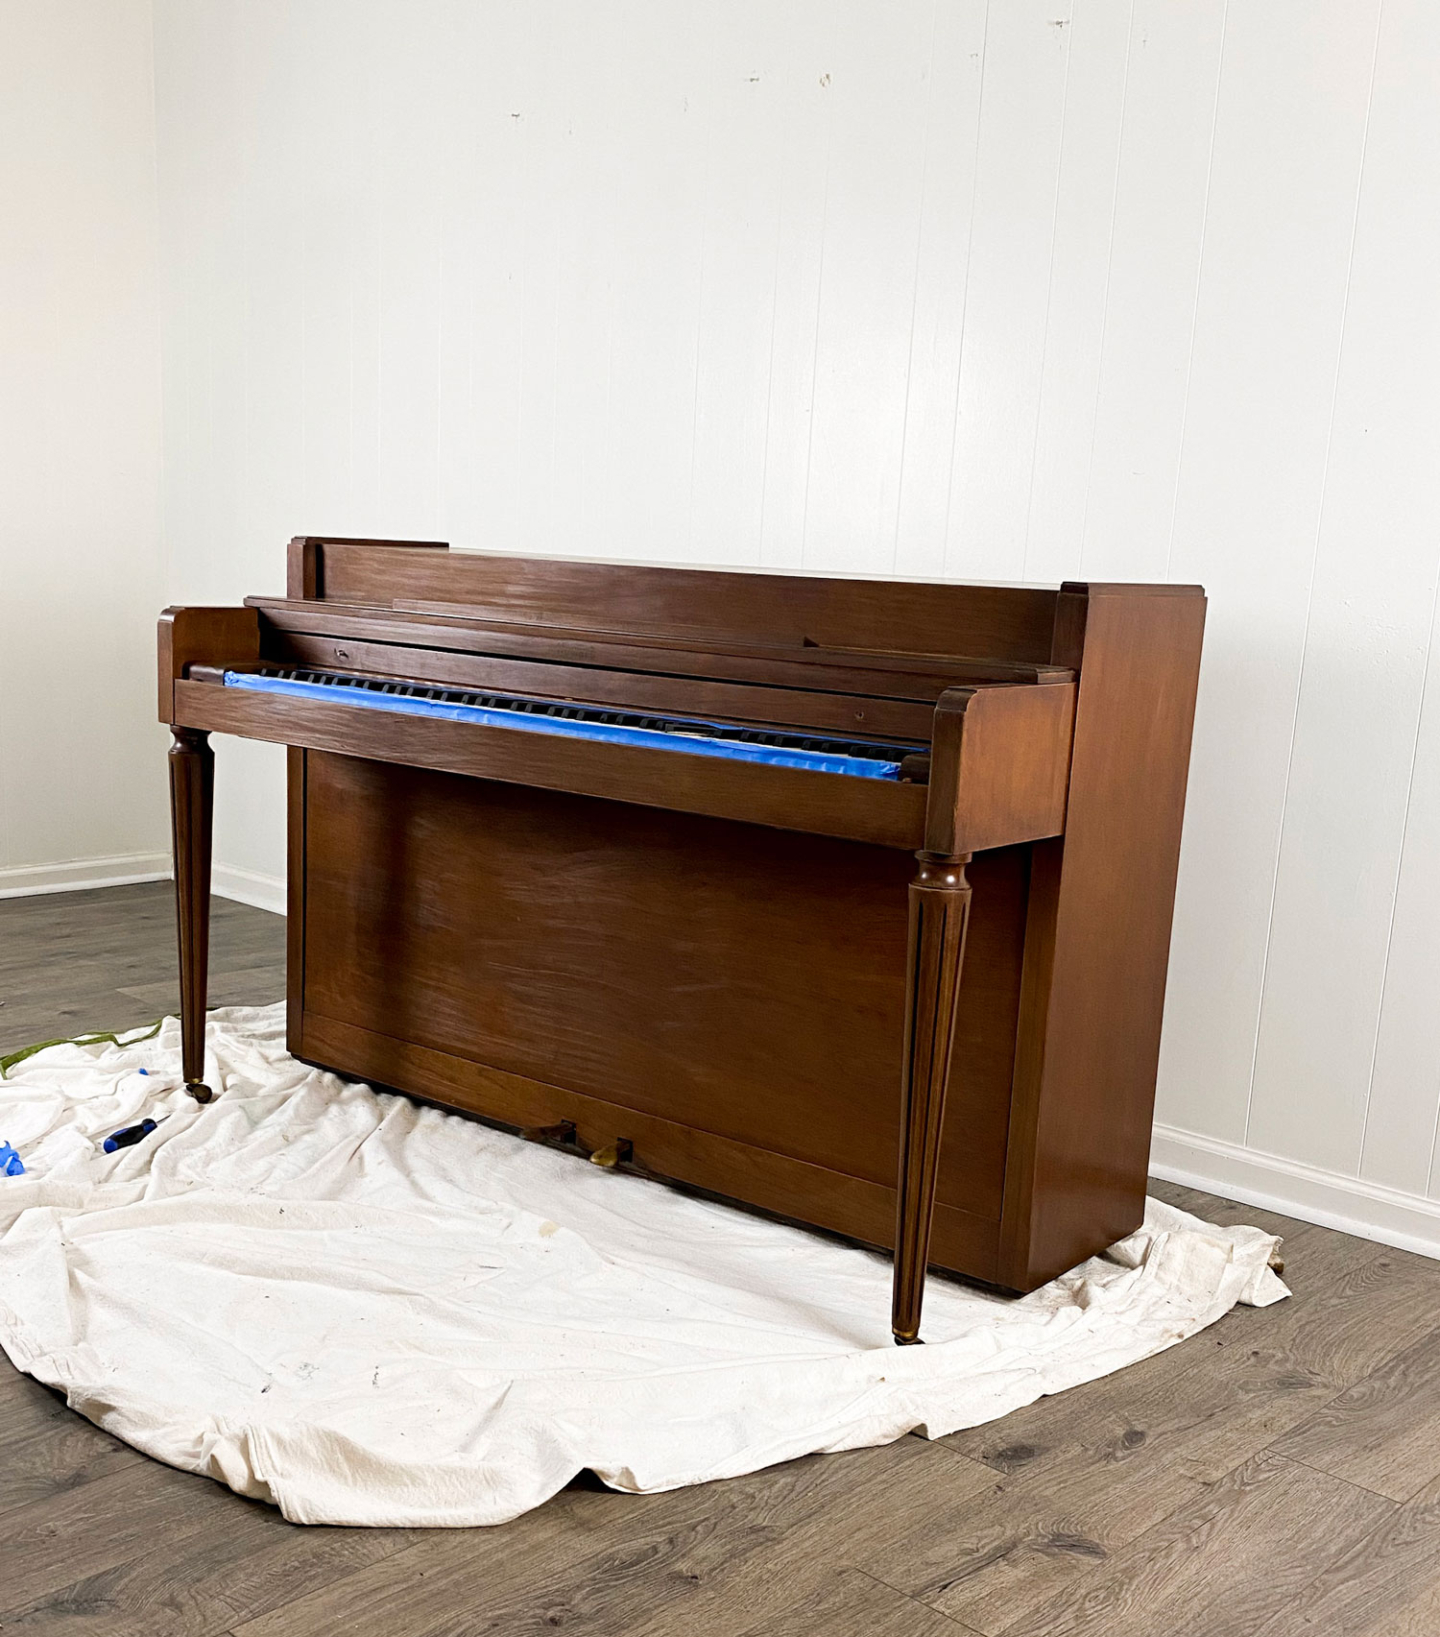
This step seems the most boring but it’s honestly the most important. I started with a good cleaning. I didn’t know much about the history of this piece, but with the virus running around, a deep clean was 100% necessary.
I opted to use a TSP cleaner. This DOES involve chemicals and is NOT all natural like my other materials for this tutorial. I HAD to have this thing clean and I didn’t want to take any chances so I gloved up and scrubbed the entire thing. The rags were disgusting and I’m so glad I did this.
I then roughed it up and sanded the piece with a medium grit sand paper. Don’t worry about a complete sanding. Milk Paint is like chalk paint in that it can be painted over any finish, but I wanted to make sure it had the best chance at sticking and staying. Then I wiped it down well with a damp cloth to remove any dust.
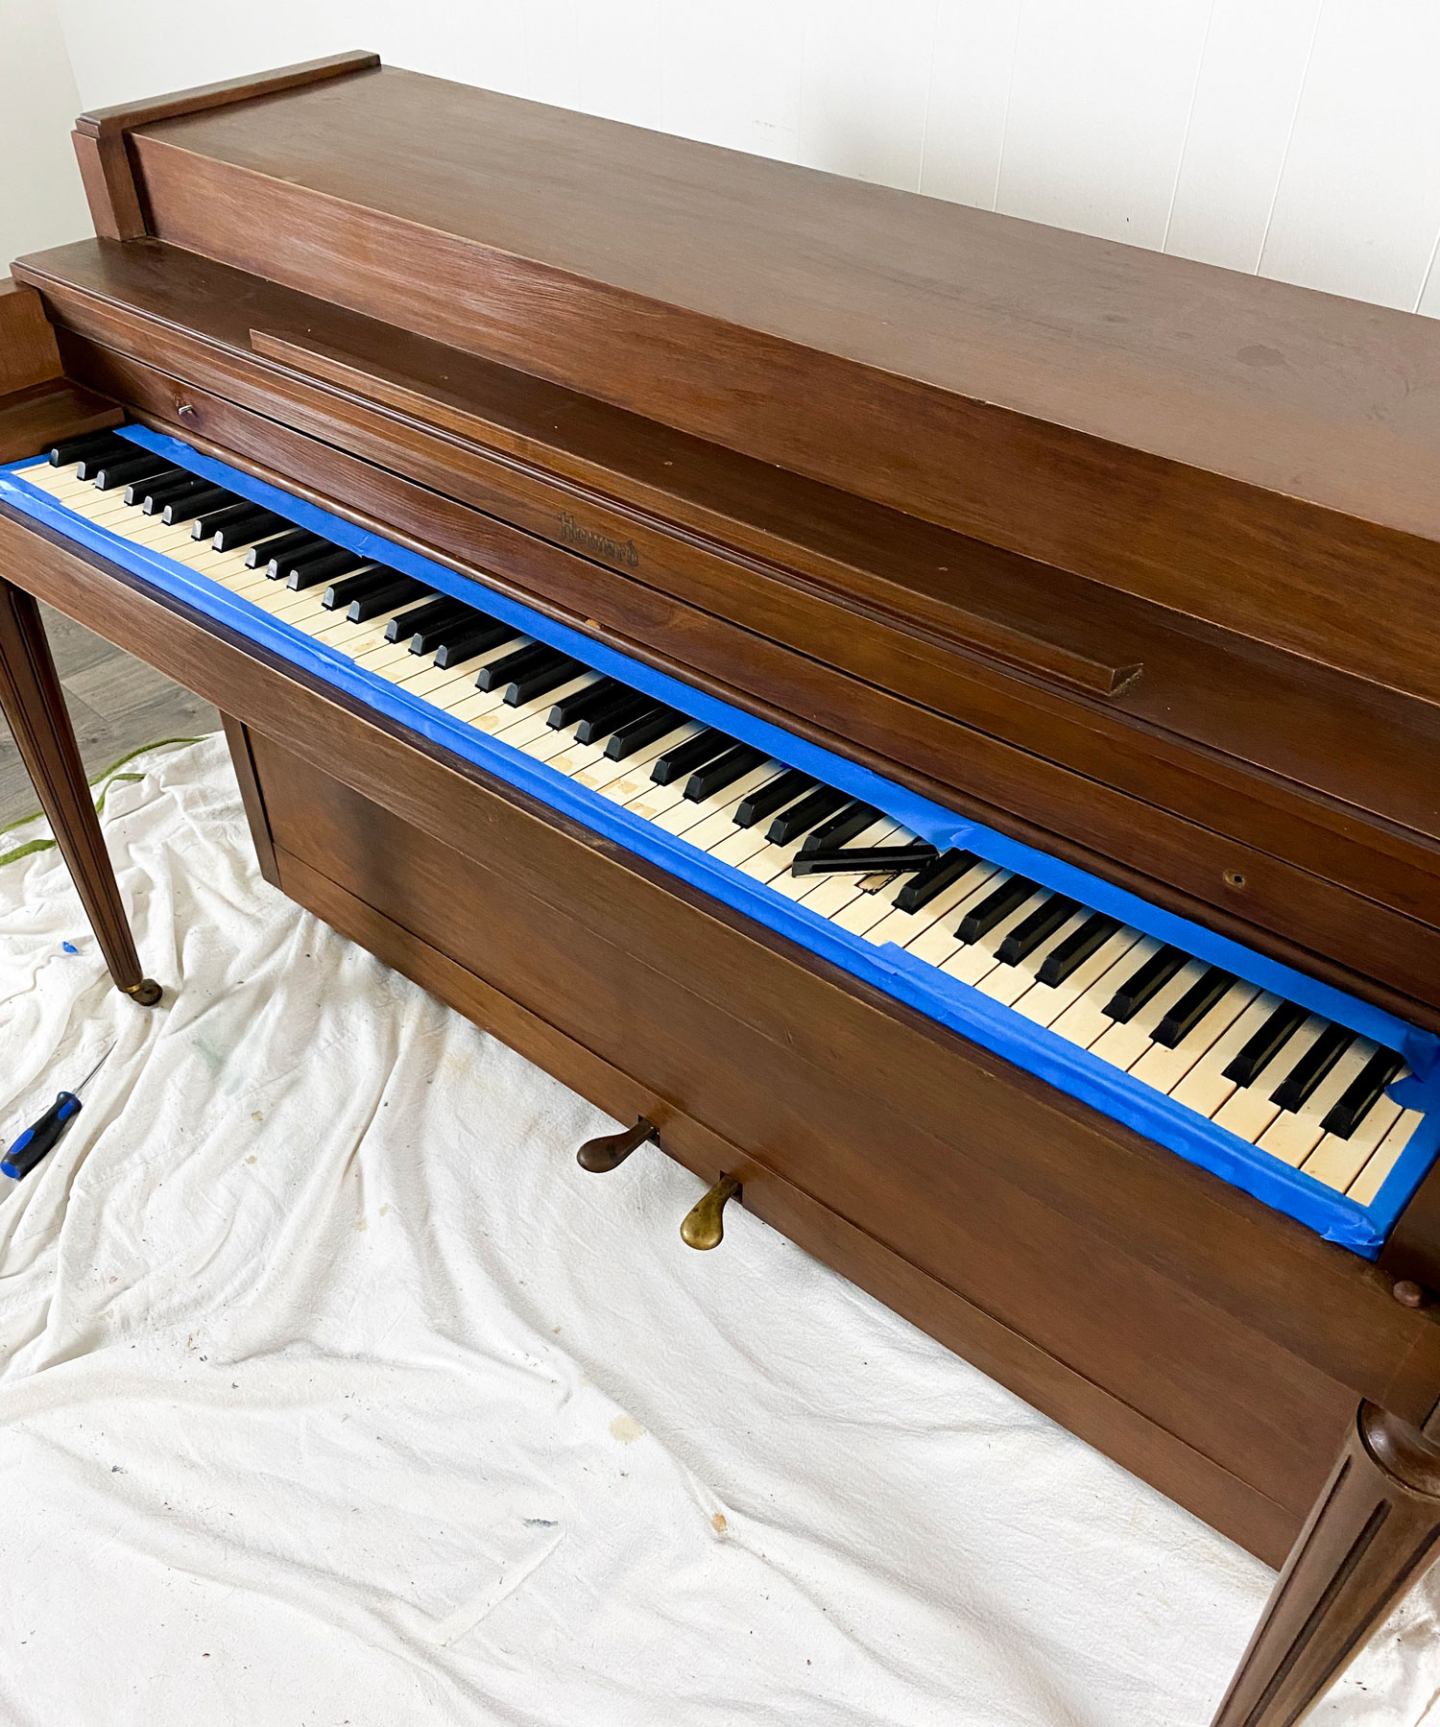
Finally, I taped off the key area that I didn’t want painted and removed the old knobs. The prep took me about an hour. And only that long because I had to wait for the piece to dry after wiping it down.
Step 2: Paint
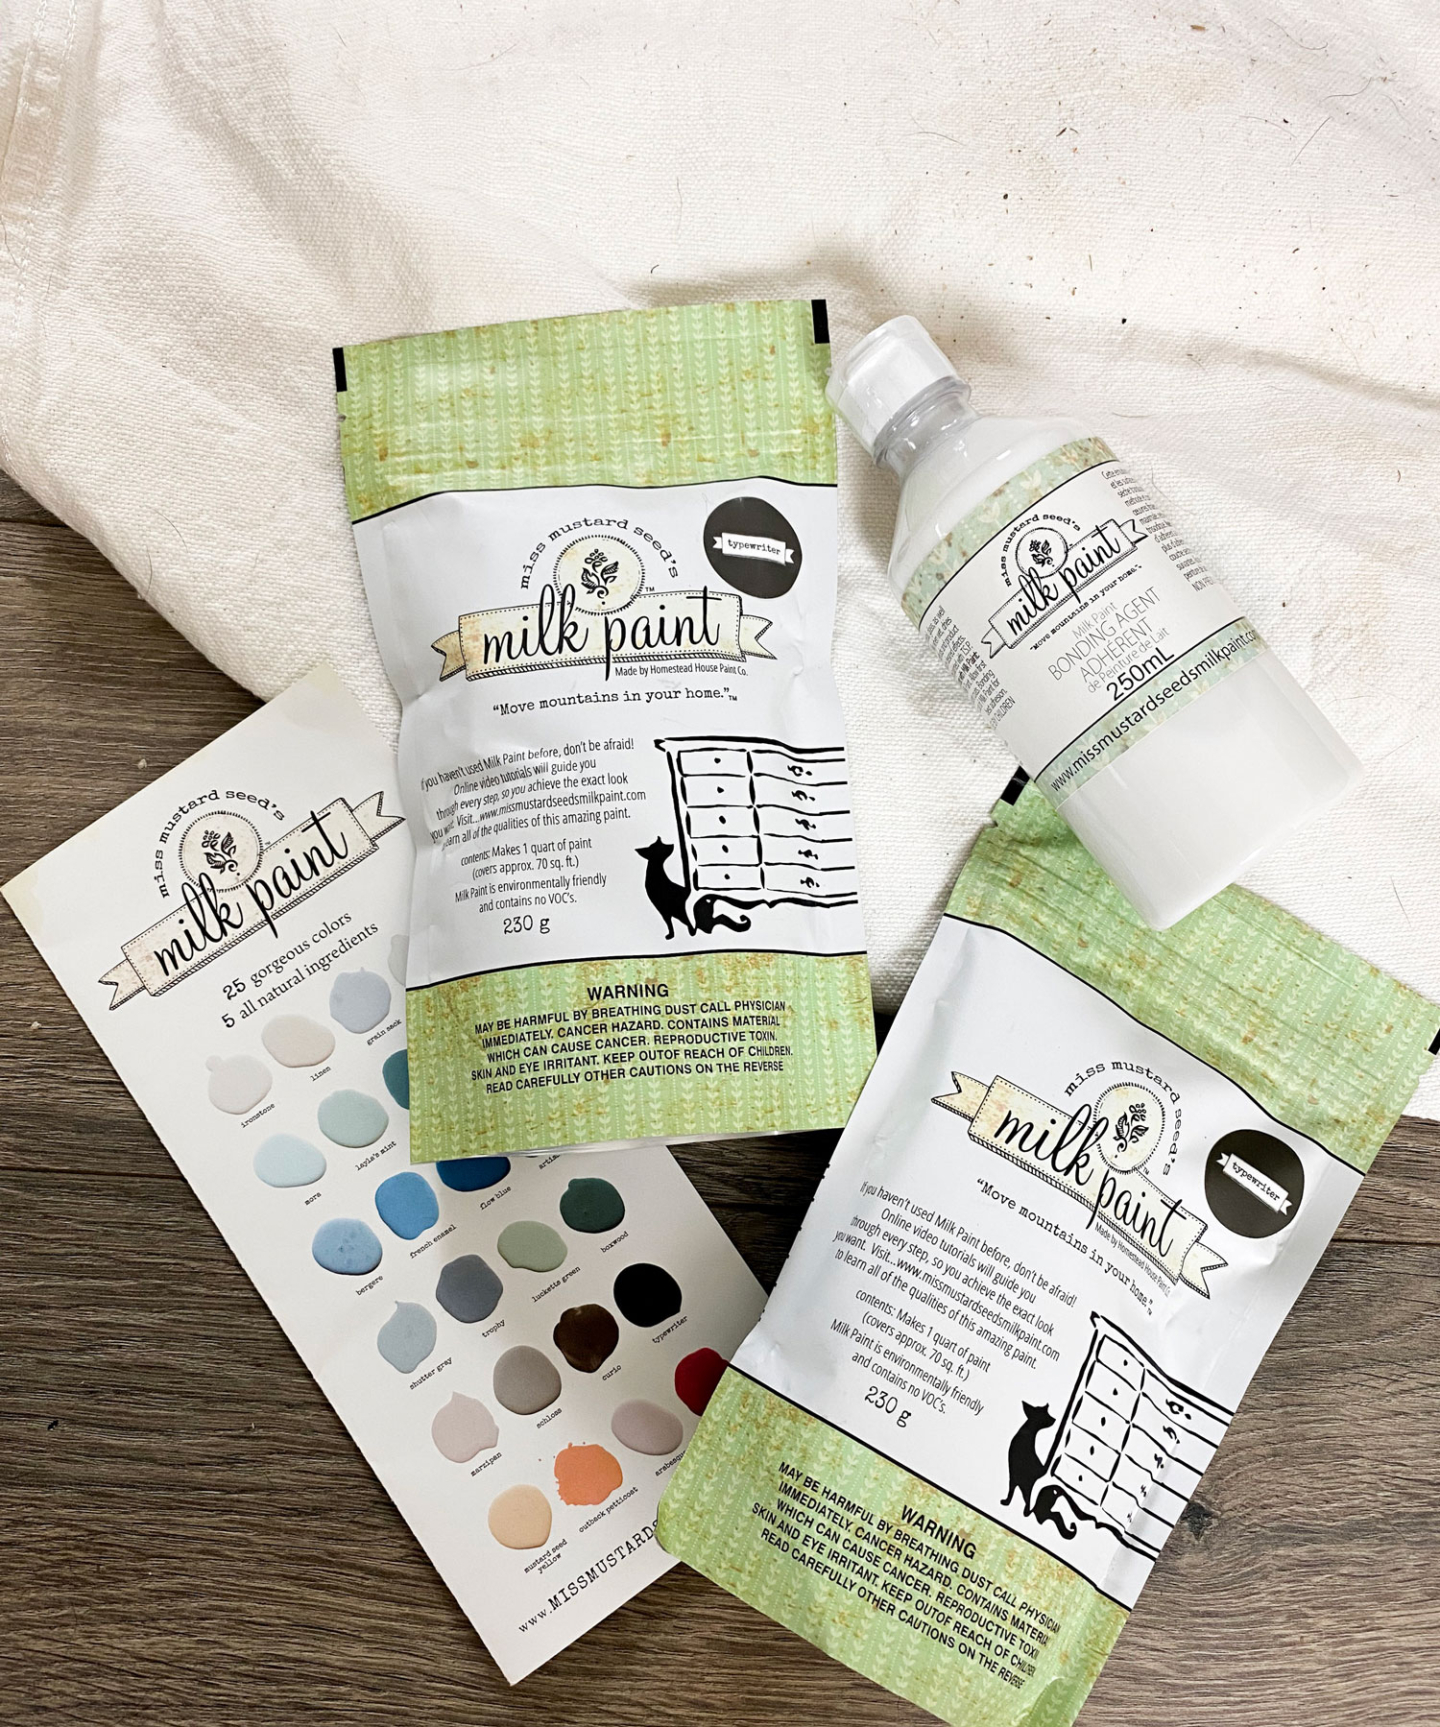
I mixed my milk paint as directed on the package. Equal amounts paint and water. I did 1/2 cup of each for each of the two coats. So 1 cup total. I also used their Bonding Agent for this piece. I wanted a solid finish that might wear in time (show a bit of the wood with use) but I didn’t want a ton of chipping initially. The bonding agent helps the paint to really stick to any surface.
I watched several videos on how much bonding agent to use and decided to use 1/2 as much as the paint. So 1/4 cup of bonding agent for 1/2 cup of dry paint. It worked like a charm. Here is a link to the MMS post on mixing the paint. I followed it to a T. Including letting the paint sit.
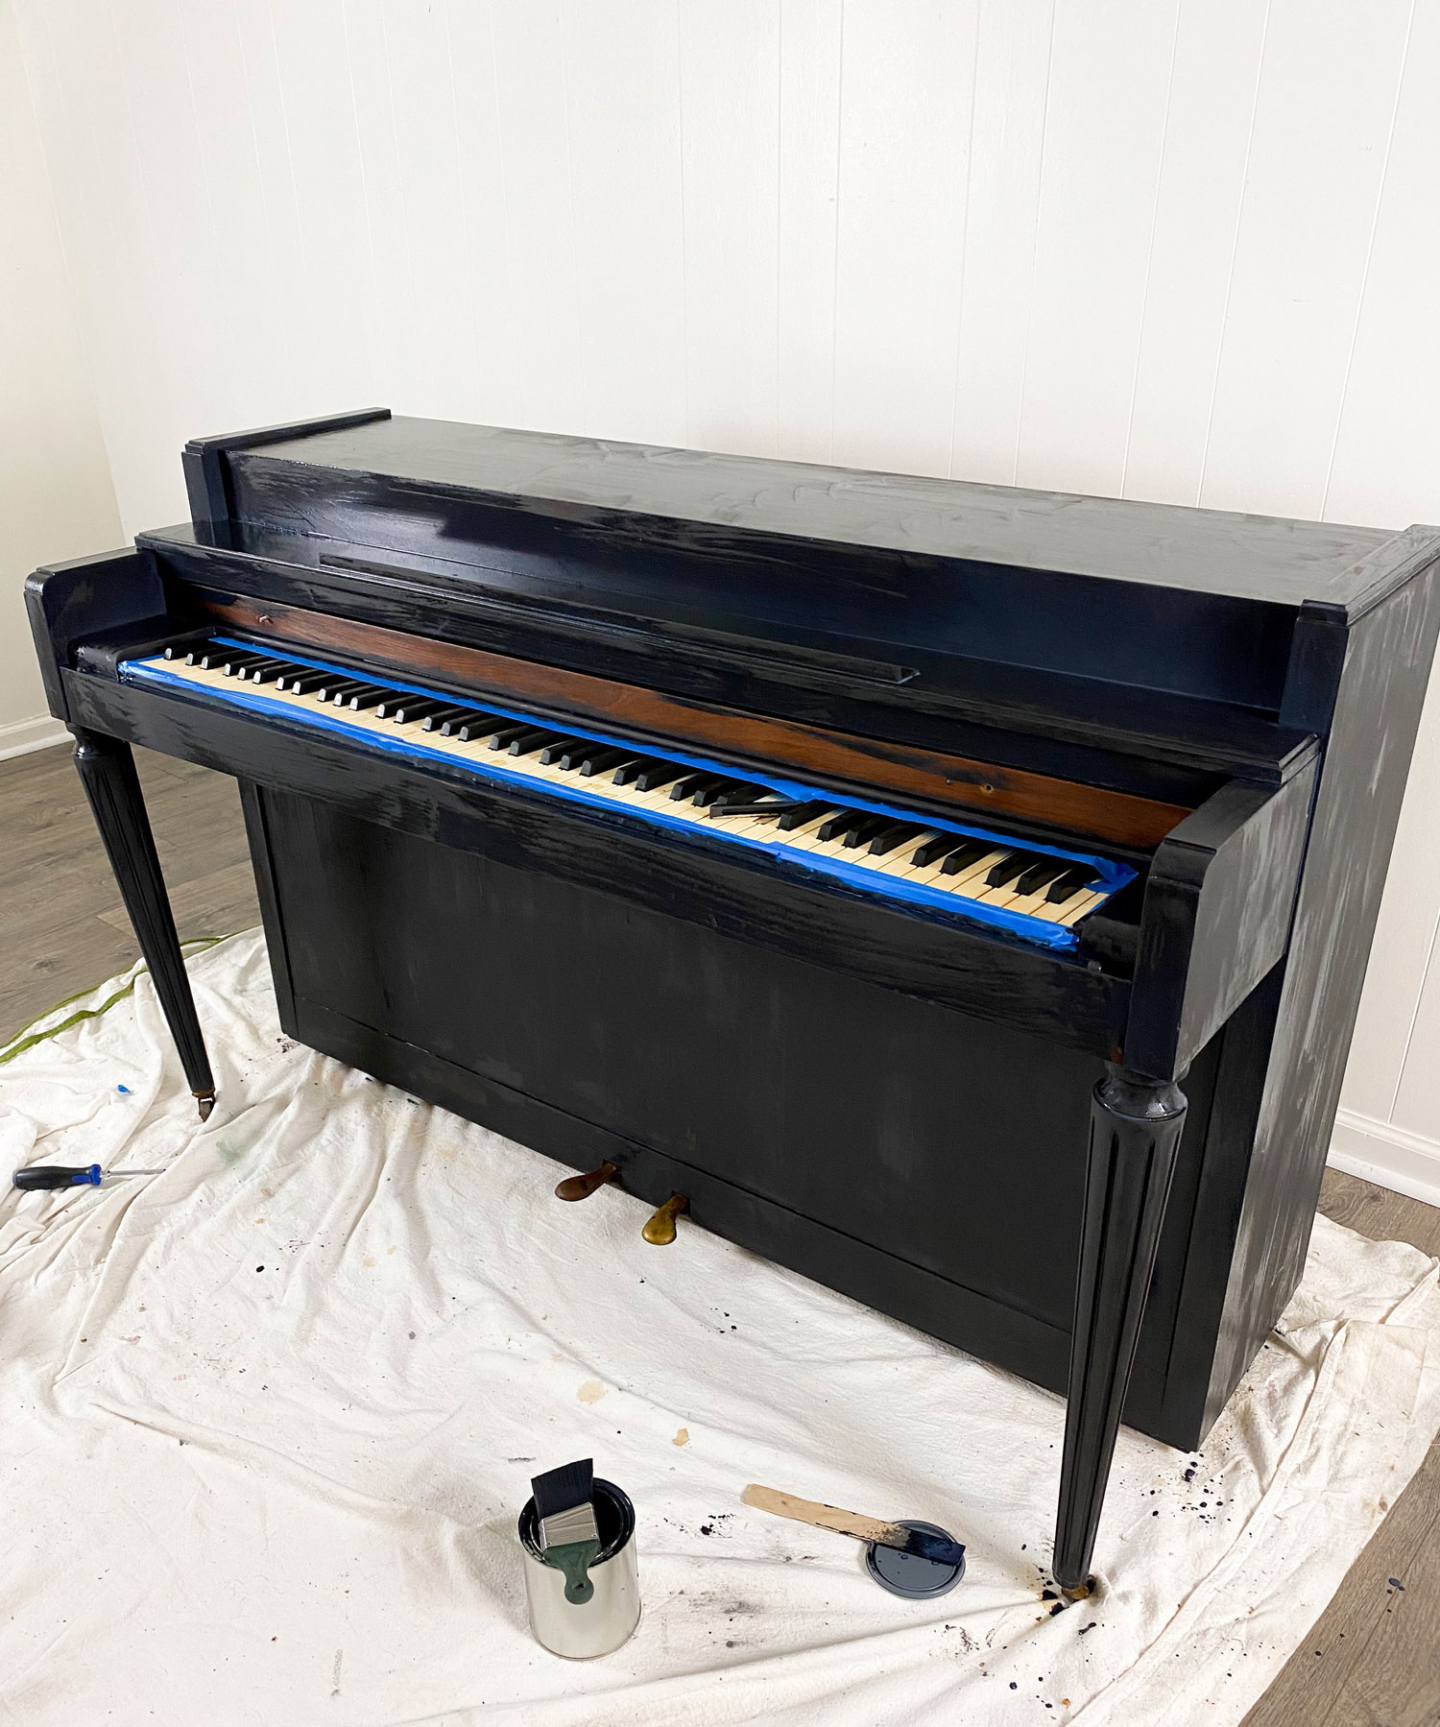
The first coat went on very well. There was a little resistance here and there where the wood showed through, but overall it was decent coverage. It only took about 30 minutes to dry and I was able to do the second coat.

The second coat covered like a dream. All of the problem spots covered up really nicely and it dried in a gorgeous matte finish. This process took about an hour and a half.
Step 3: Finish
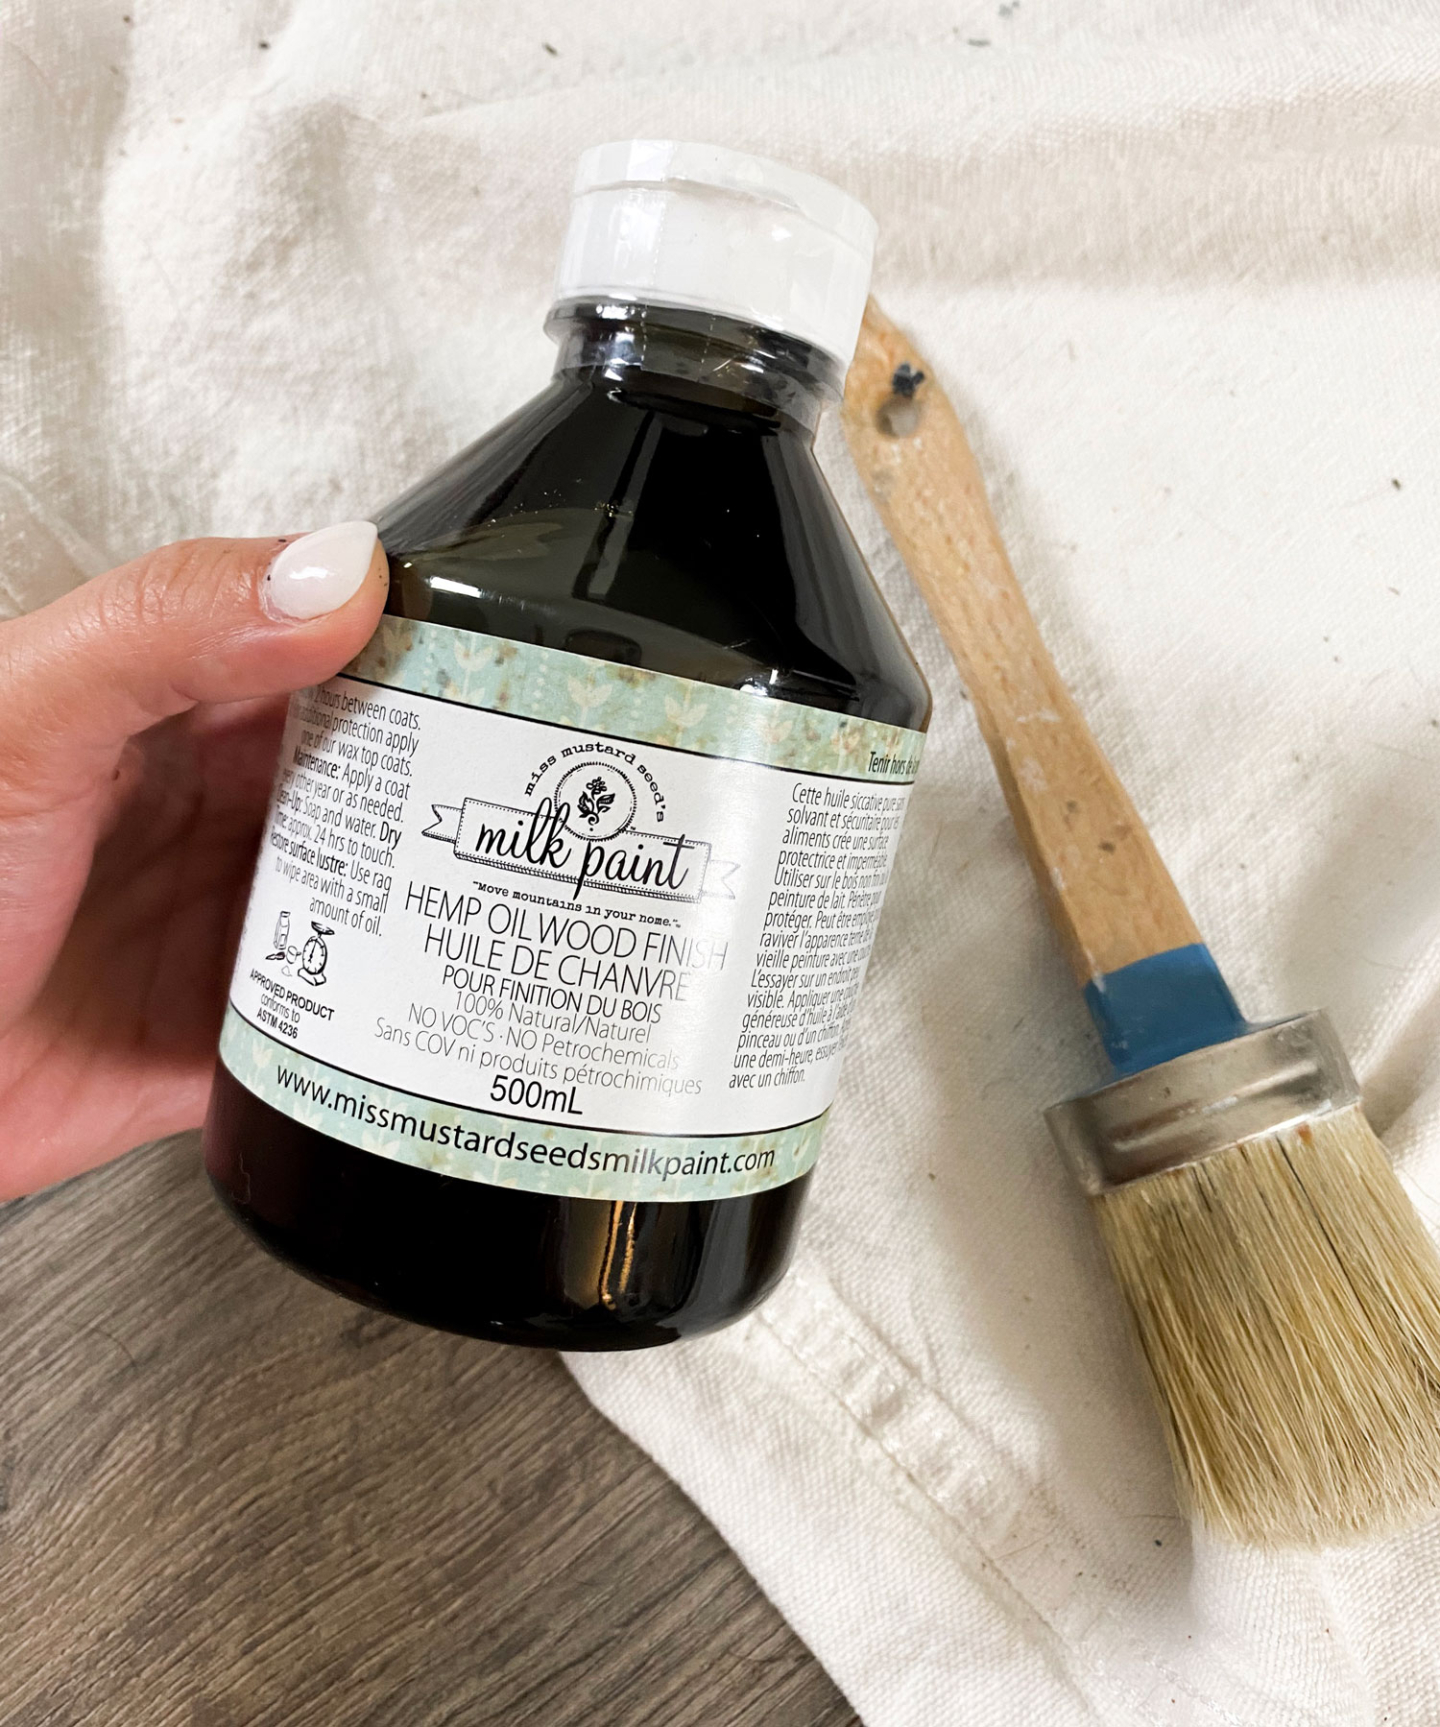
I was so excited to try out this Hemp Oil finish. Apparently, it has so many different uses. It can bring out the tones in unfinished wood and even revive old cast iron. It’s different than typical kitchen oil in that it doesn’t have a shelf life so it’s not going to go rancid on your furniture over time. It soaks in nicely and provides a beautiful finish.
It was so easy to apply. I painted it on with a brush and came back with a clean rag and wiped it off. One of my favorite tricks to tell people is that if you don’t have any lint free rags, just cut up an old t-shirt. It works super well.
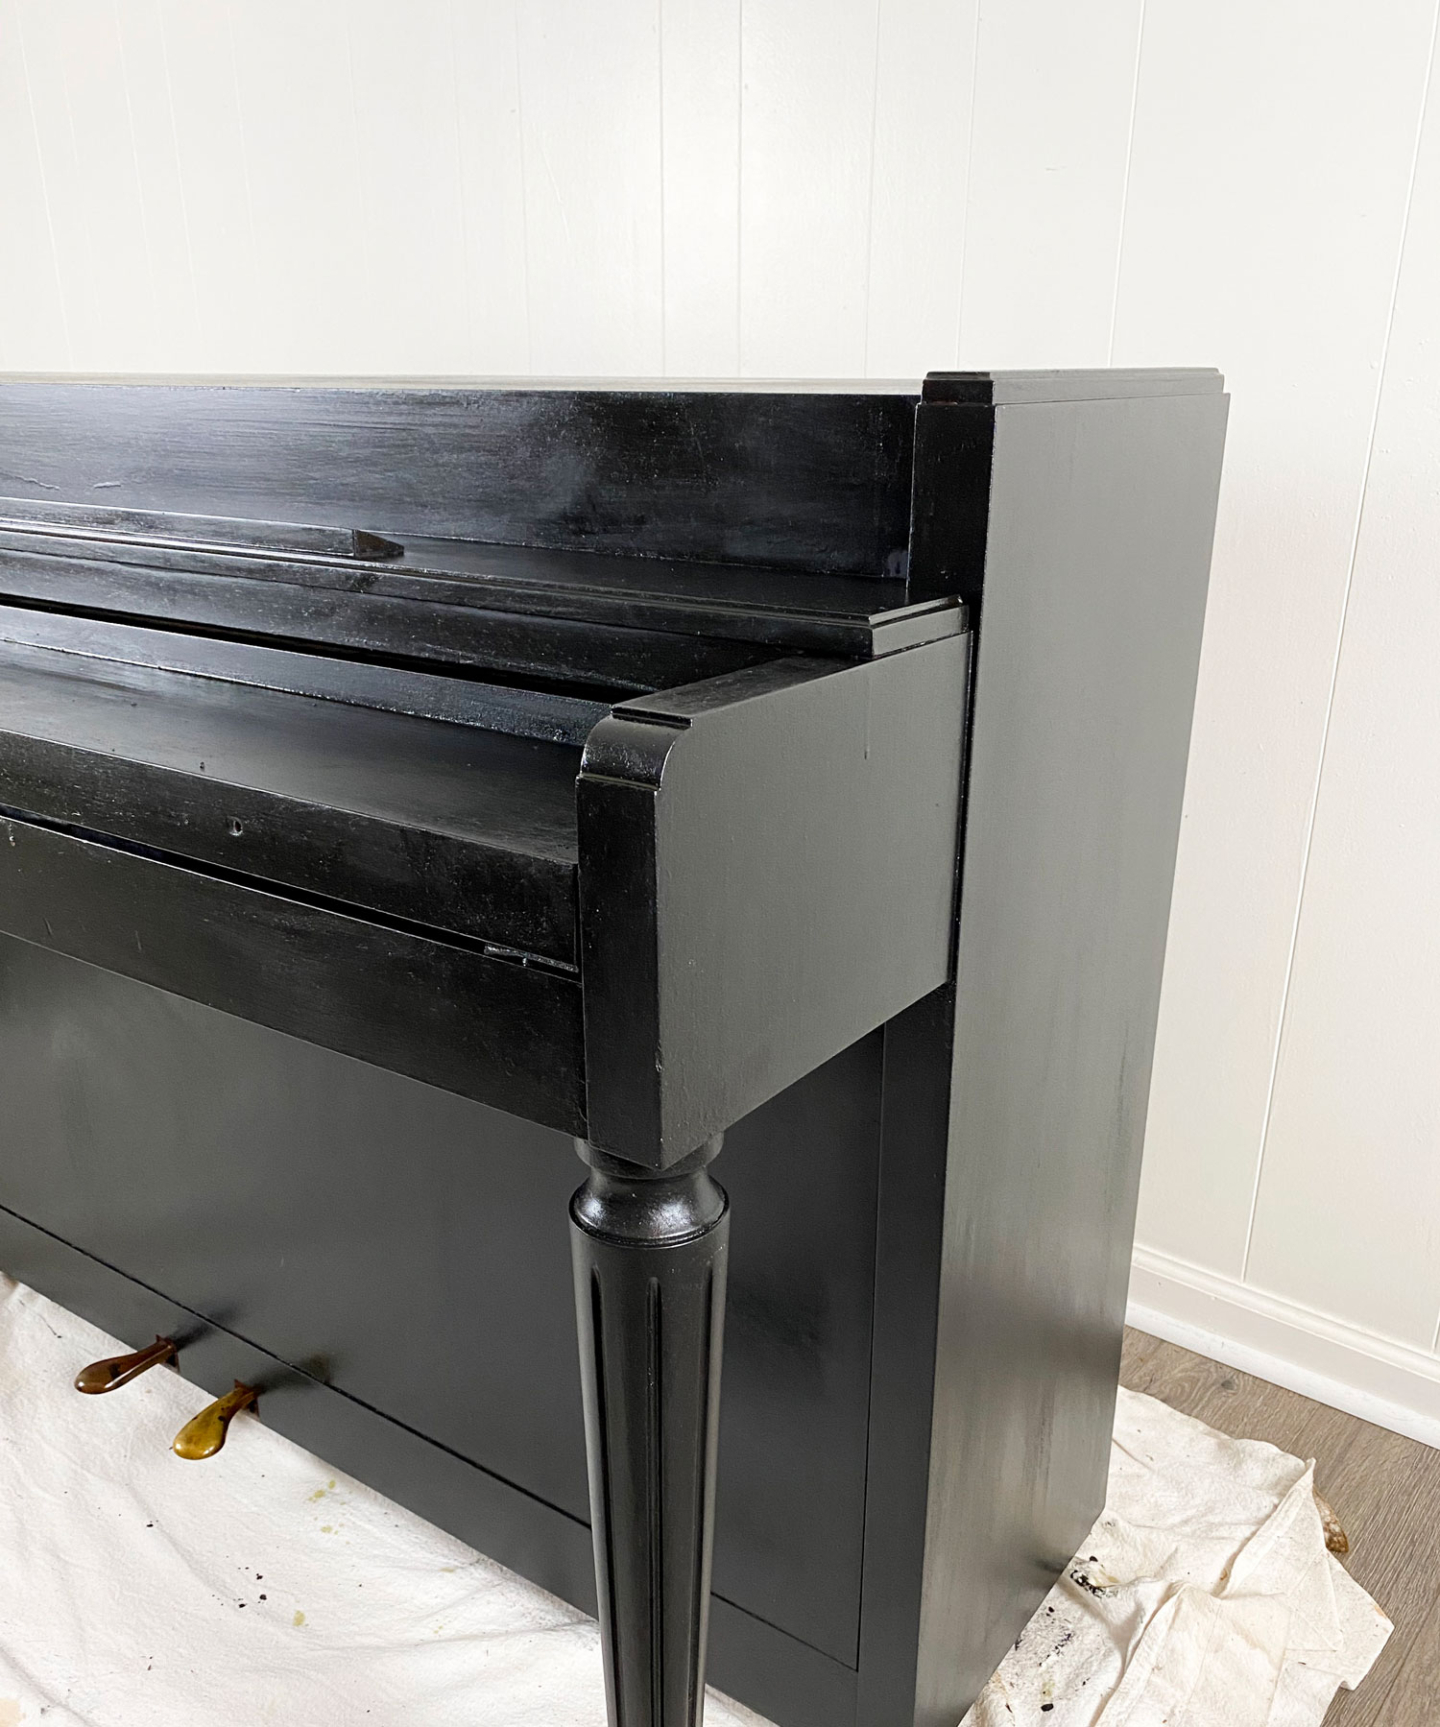
I ended up wiping it twice that afternoon and once the next morning just to be sure all of the oil soaked in and wasn’t sitting on the surface. It takes 24 hours to dry and 30 days to cure. So I let it sit for a few days before even messing with it again.
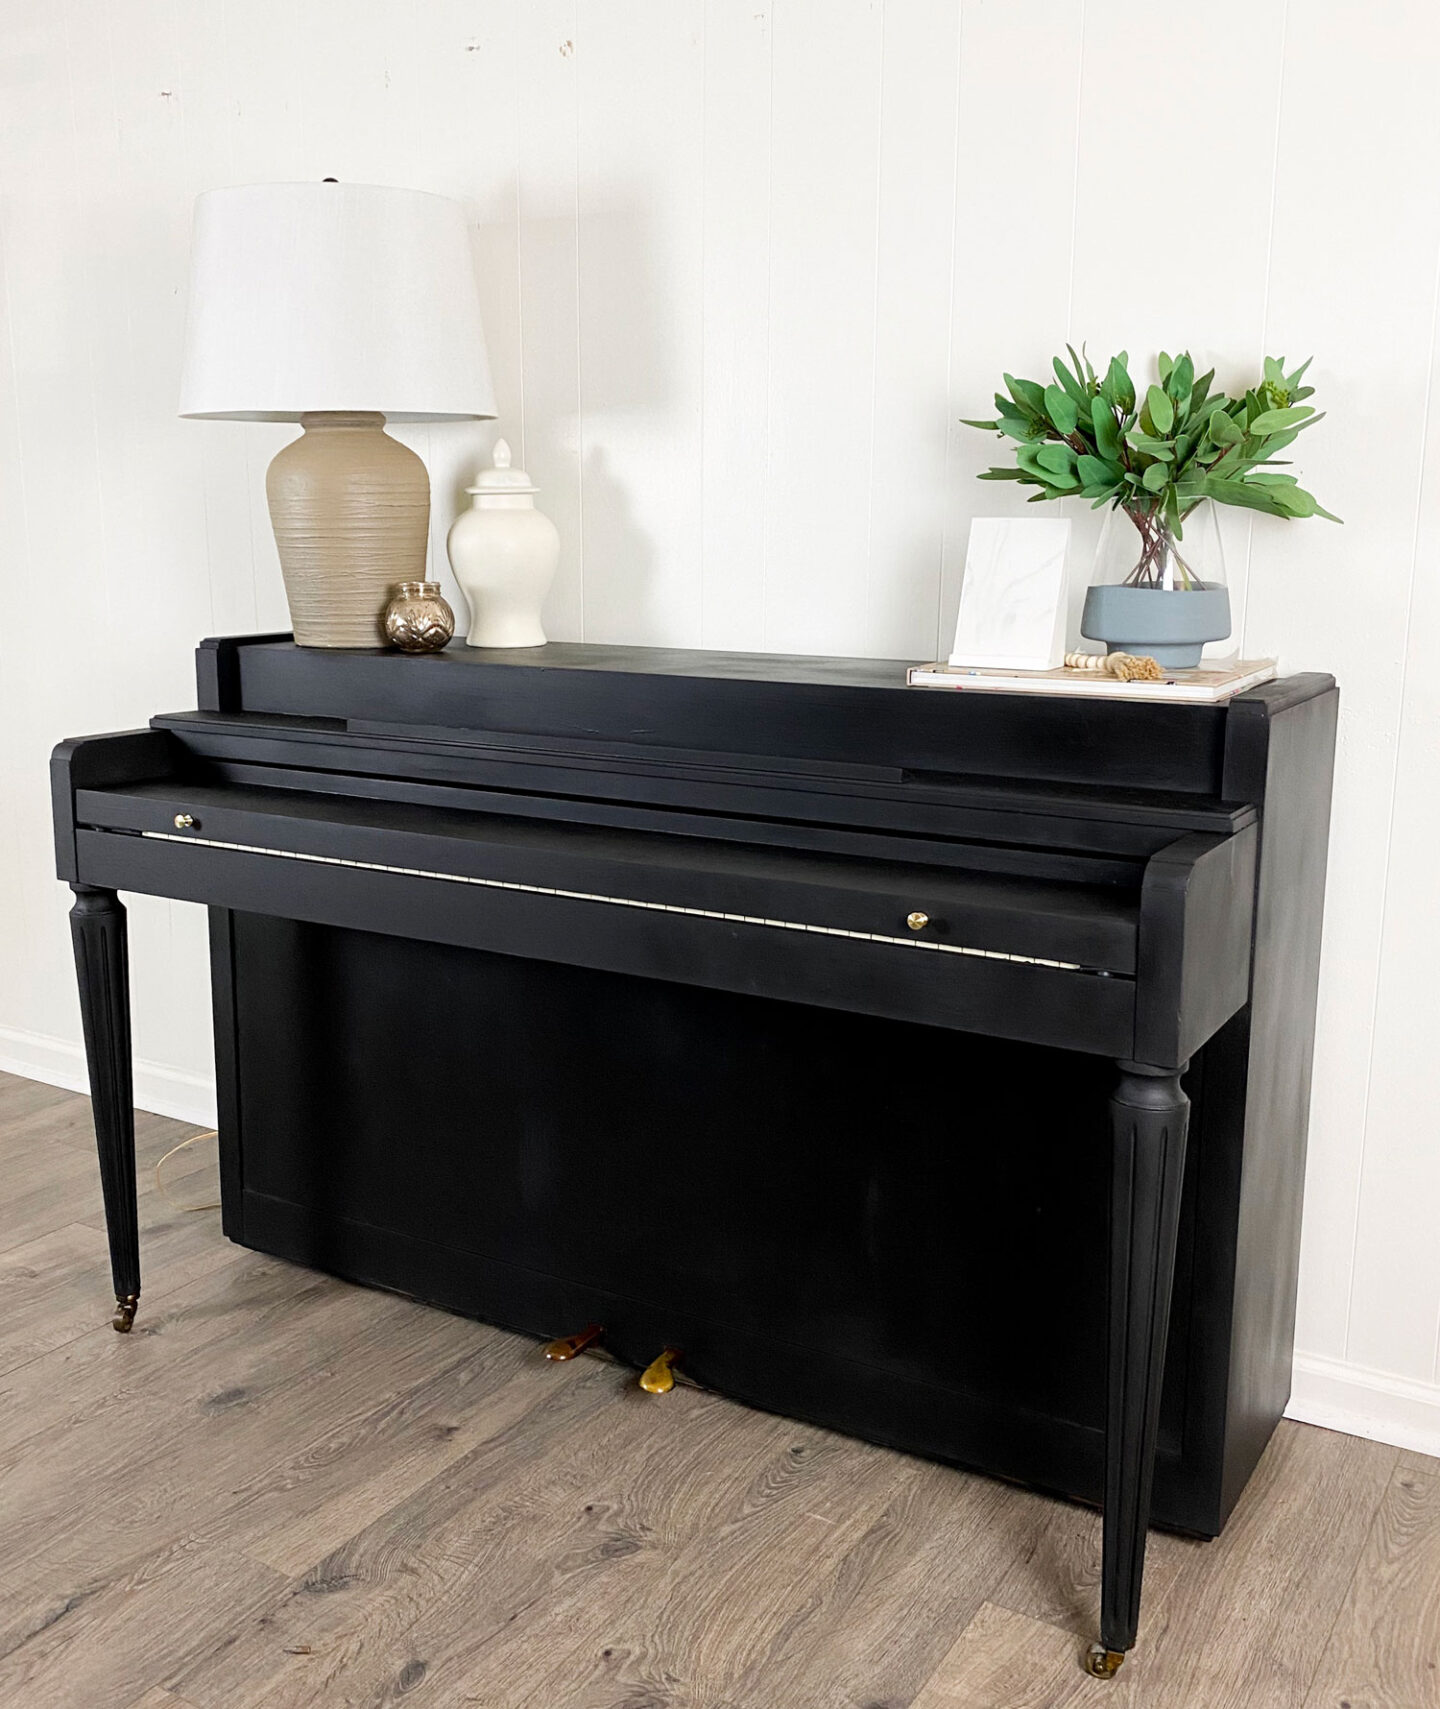
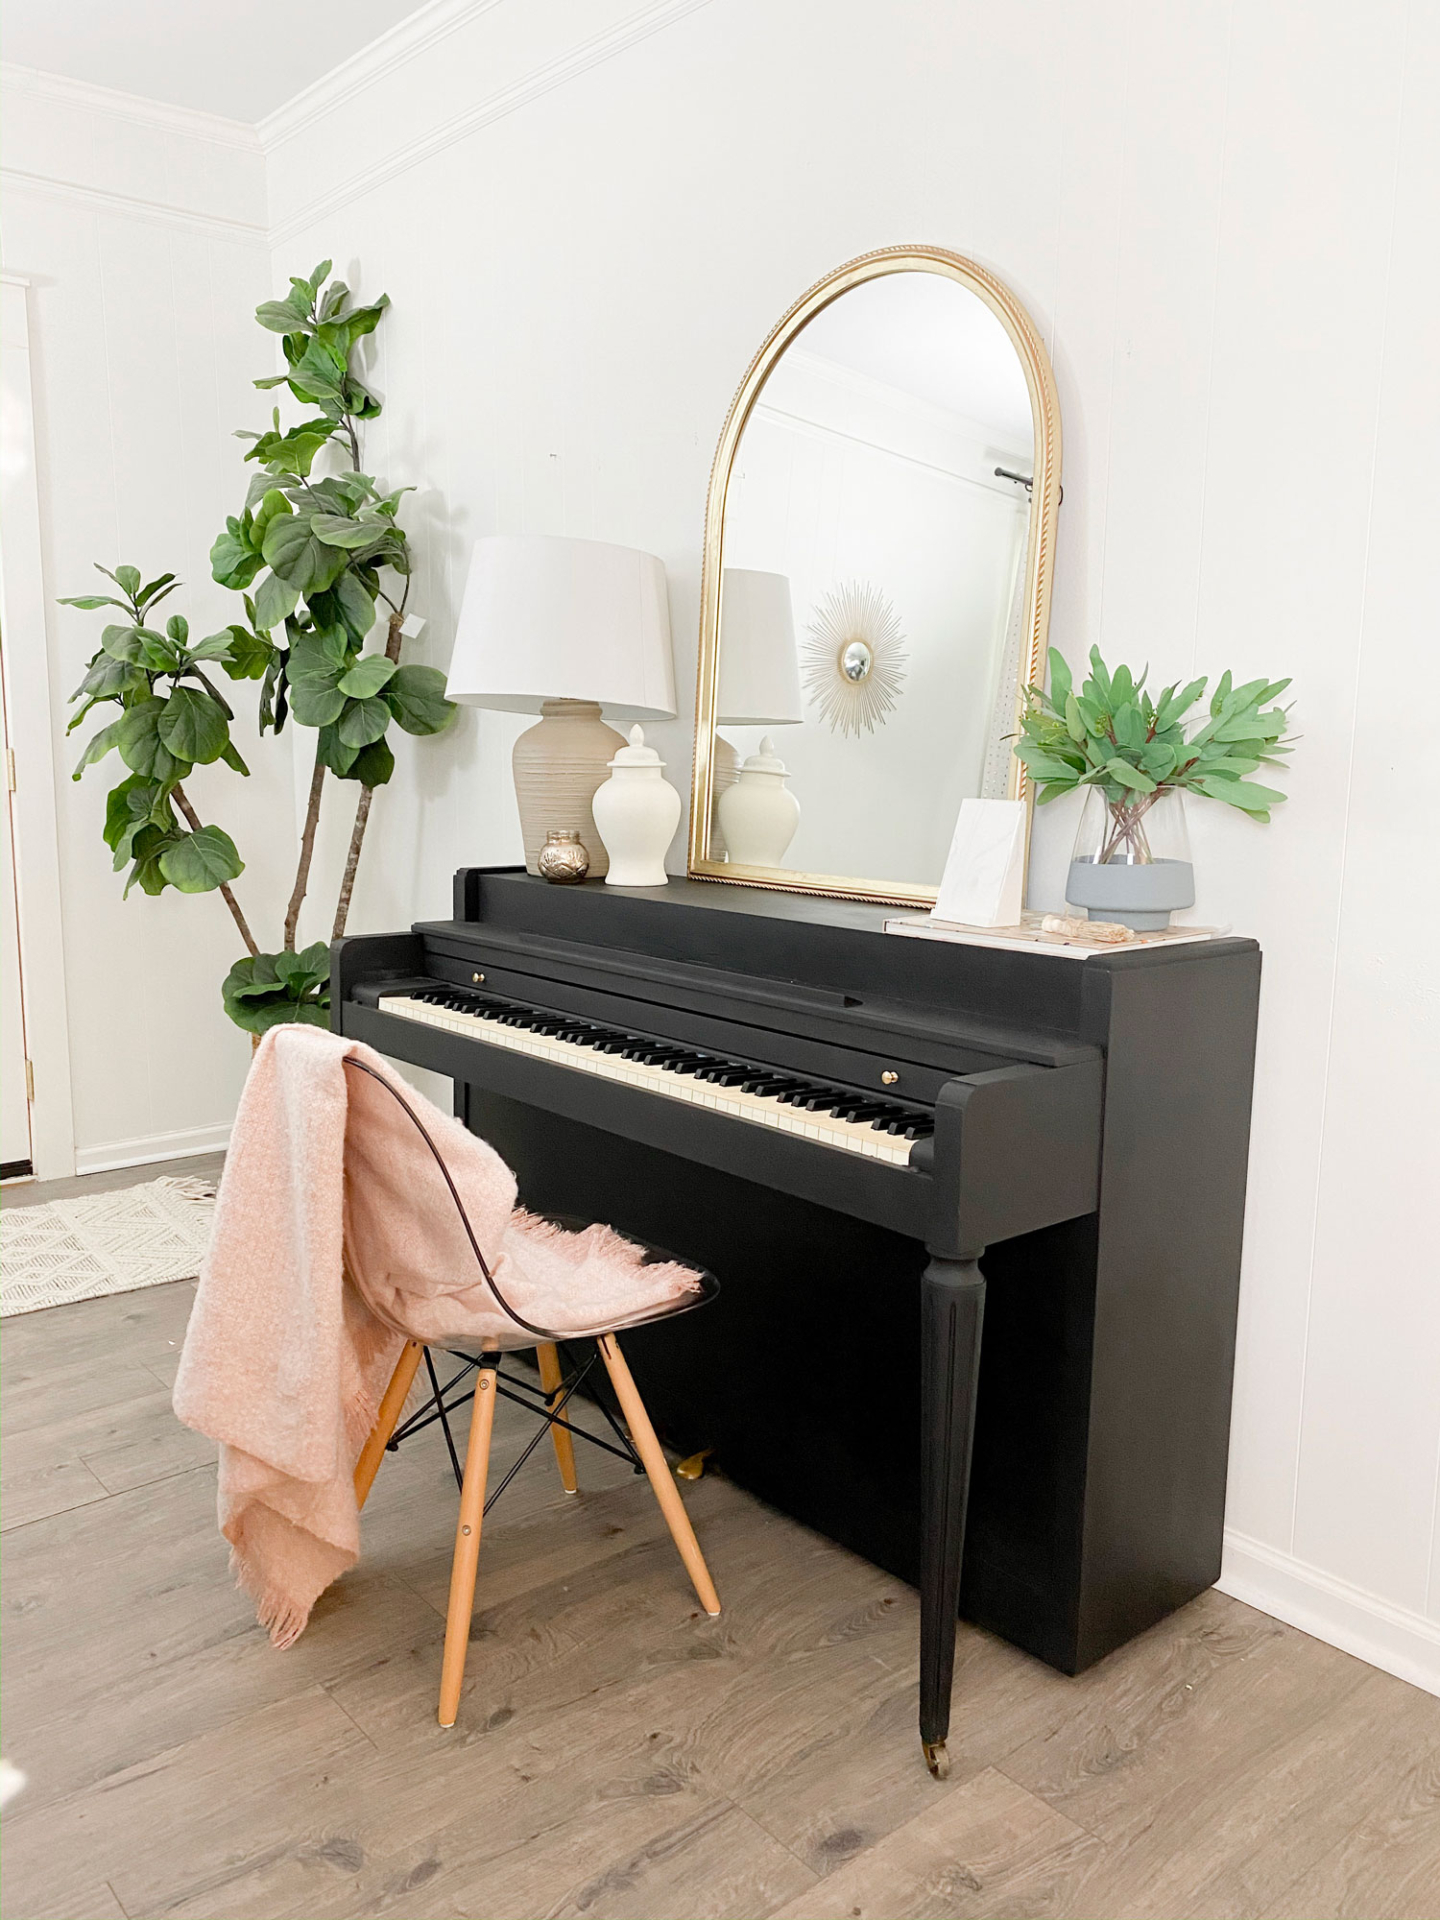
The oil soaked in beautifully and after a few days, I had a gorgeous matte black piano that looks STUNNING in my space. I also order some more mini Piano knobs on amazon and replaced those. They make a HUGE difference on the piece.
How’s it holding up?
It’s been a few weeks now and it’s holding up perfectly. For now, I’m going to just keep the hemp oil as my finish, but you can also use their furniture wax over the oil for a more durable finish. Depending on how this looks after a while, I might add that on top. They also have a finish called ‘tough coat’ for those high traffic pieces.
Over All, I LOVE Miss Mustard Seed Milk Paint and can’t wait to use it again. I have a few more project ideas that I’ll keep you updated on. In face, the two tone vase in the above below is MMS paint. I taped it off and painted a few coats with bonding primer straight on the glass. I LOVE it. It’s the color ‘aviary’!
Until then, be sure to check out the MMS website for more info and purchasing. If you have any questions, feel free to reach out to their Team. They are THE MOST HELPFUL people on the planet!
Check out the piece a few weeks later styled to my liking… I’m obsessed!
@kassyrandazzo PT 1: PREP! Boring but necessary! ##diy ##milkpaint ##pianotutorial
♬ BORN FOR THIS – Foxxi
@kassyrandazzo PT 2: PAINT! This is getting good! ##diyhomedecor ##pianochallenge ##paintingtutorial ##LetsFaceIt
♬ BORN FOR THIS – Foxxi
@kassyrandazzo PT 3: FINISH! Using hemp oil and I’m OBSESSED with the outcome! ##interiors ##paintingfurniture ##WhatsUpDocChallenge ##finishedproduct
♬ BORN FOR THIS – Foxxi