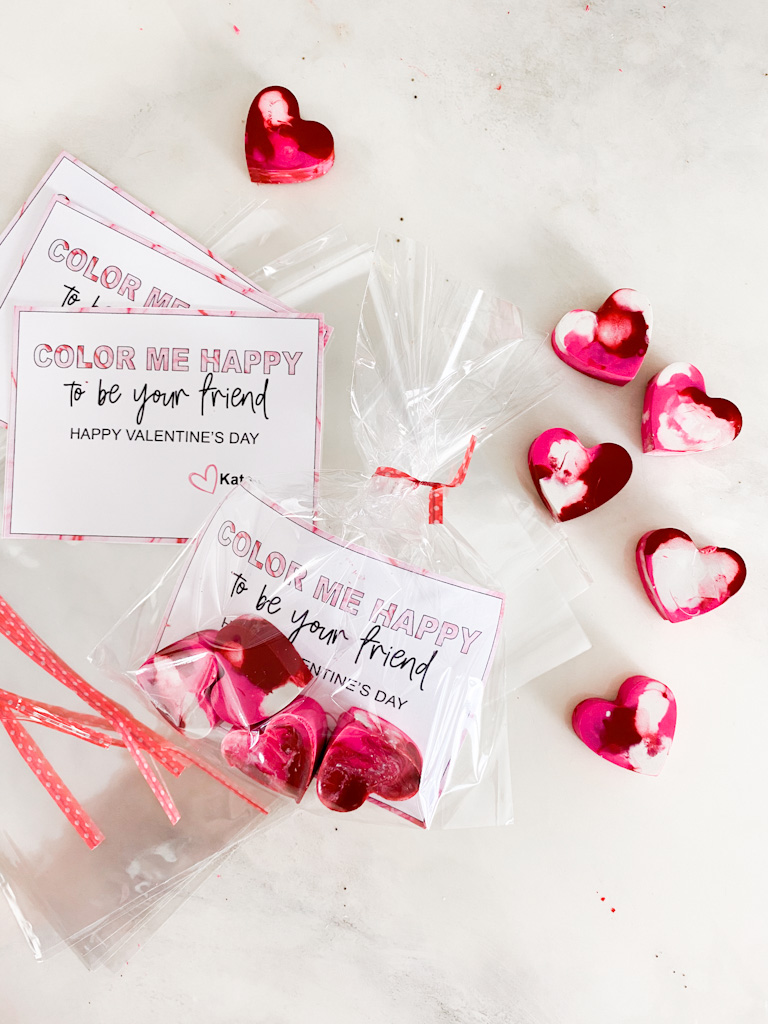
Valentine’s Day in just around the corner. While Keith and I don’t typically go big for this holiday, I DO love to get creative with my kid’s Valentine’s Day cards for their classmates. This Christmas, a friend gave Kate crayons shaped like her name. They are the cutest! So I figured I could take that idea and create some heart shaped crayons for her class.
If you’re here from Tiktok: CLICK HERE TO SHOP THE MATERIALS FOR THIS PROJECT

Here is the super easy way that I did it. This is a great craft to get your kids involved with as well. Kate lost interest before I could even snag a photo, but maybe yours have longer attention spans.
Step One: You’re going to need THIS heart shaped mold or one similar to it! Also, crayons. You can use any that you have laying around your house or you can order (we have zero regular crayons in our house…WHAT) by color on amazon. These larger crayons worked great for me! You also might need some Cellophane bags to package them up. Here are the ones I bought!
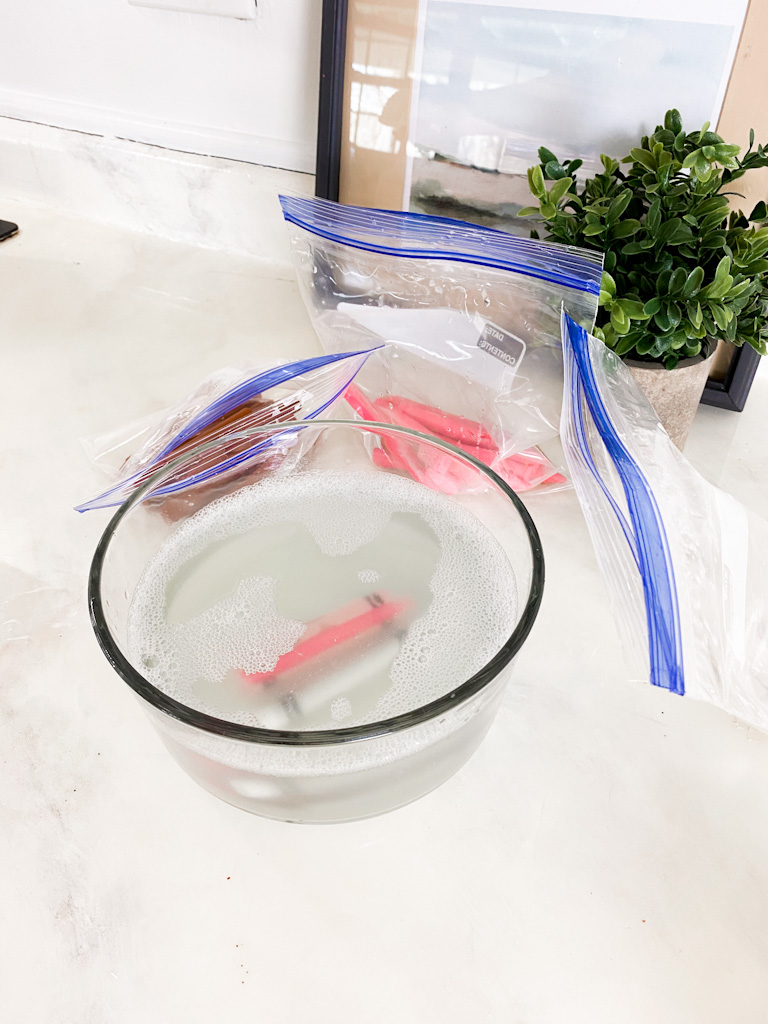
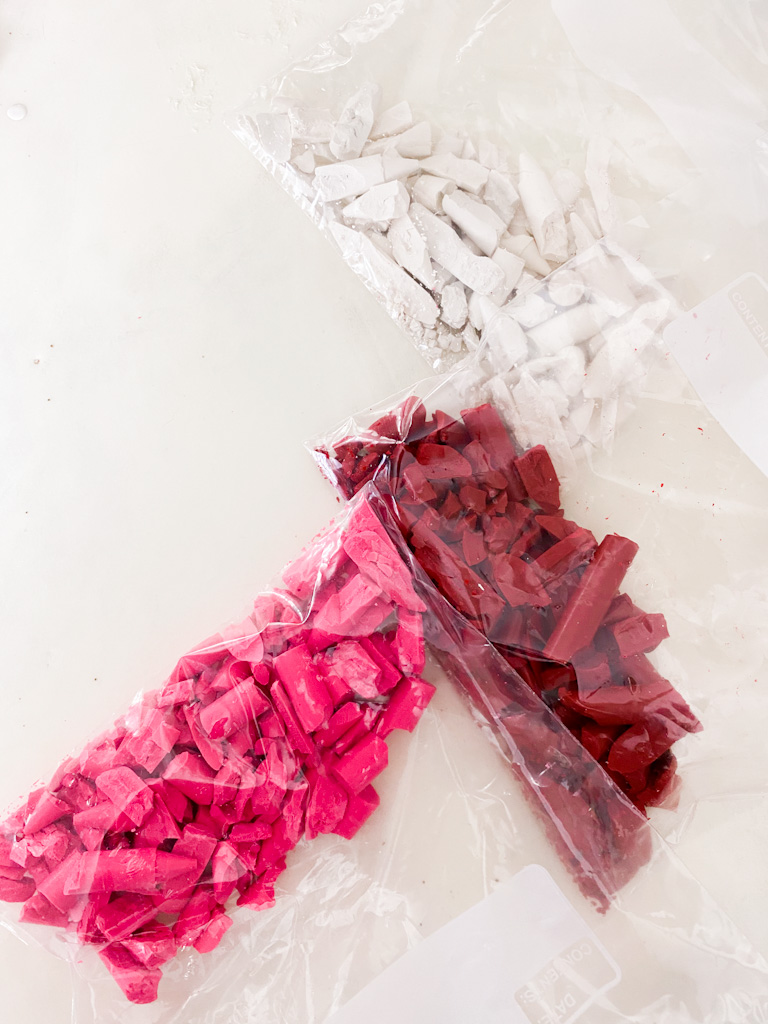
Step Two: Soak your crayons in hot soapy water (like dawn dish soap) for about 3 minutes. Pull them out one by one and the paper should come off super easily. Dry them and place them in ziplocks by color.
Step Three: Use a hammer to break up the crayons into smallish pieces. This part was therapeutic for me. But I scared the crap out of my dogs… HAH! They should look similar to the photo below.
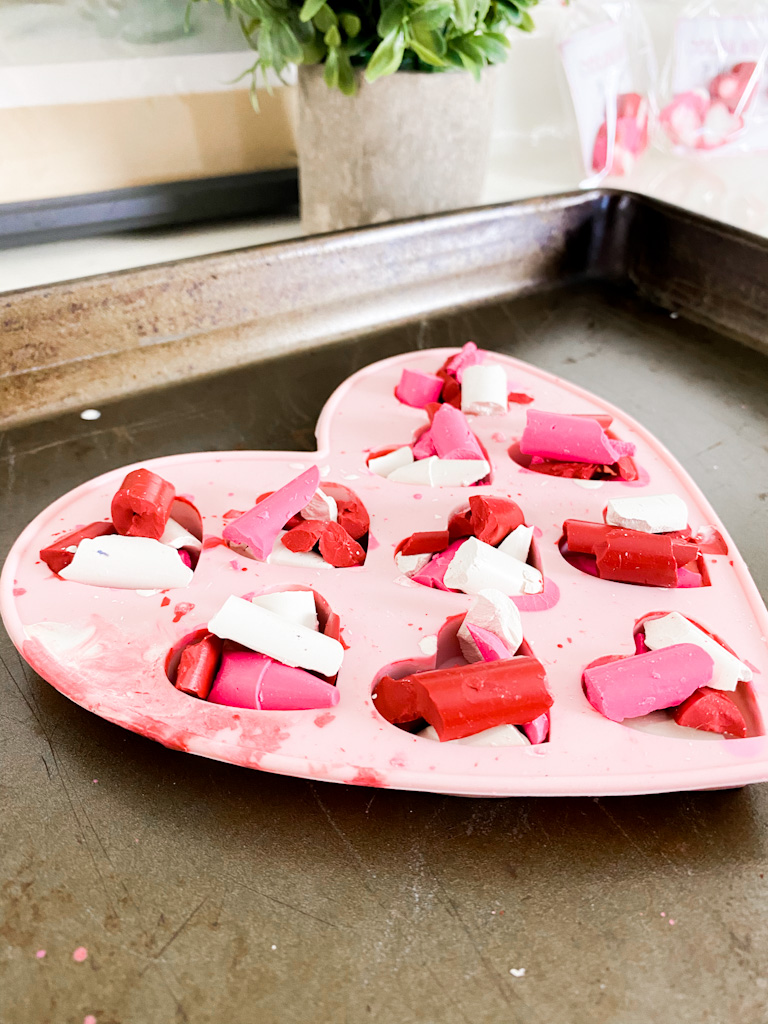
Step Four: Begin placing your broken crayon into the mold. Use different colors in each to get that tie dye swirl look. Be sure to OVERFILL each heart. As the crayon melts it fills the open space below, so if you want it thicker, you can pile the crayon up pretty high. See blow for example.
Step Five: Place the mold on a pan and put it in the oven to melt. Mine took about 5 minutes at 350 degrees. Pull it out and use a toothpick to swirl the colors together if you want to. Although, I can’t say that this made a very big difference at all.
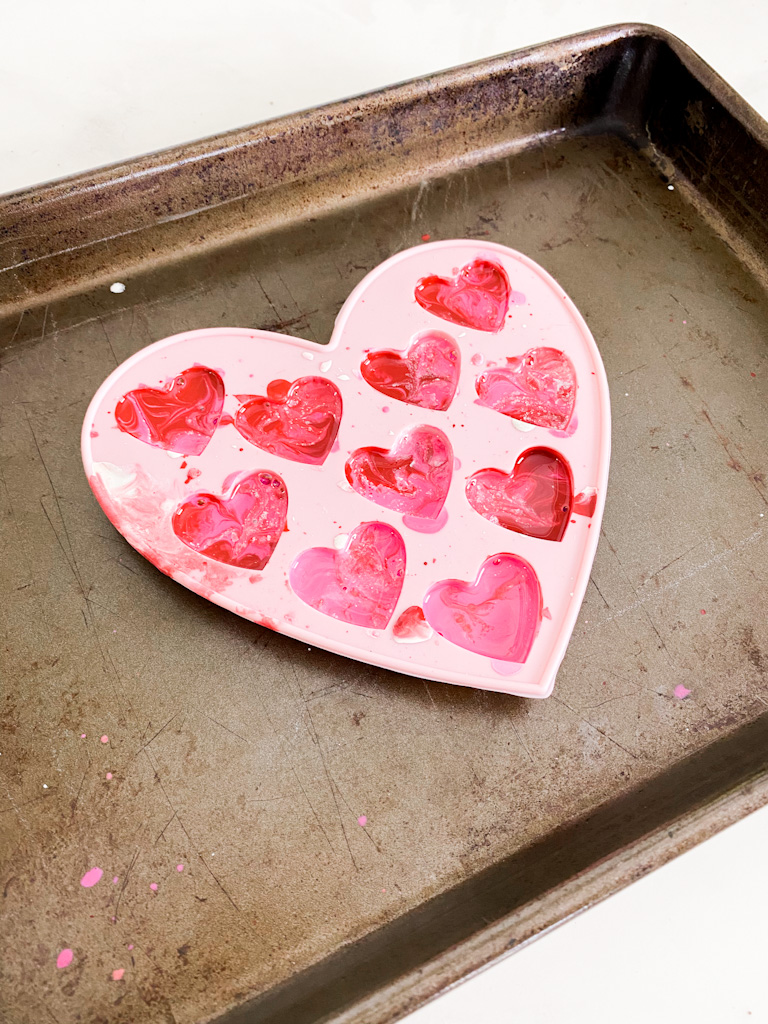
Step Six: Let them cool and harden. Mine took about 30-40 minutes sitting on the counter. But by then end, I was putting them in the fridge for about 15 minutes and they were coming out perfect! Pop them out of the mold and they should be perfect little hearts!
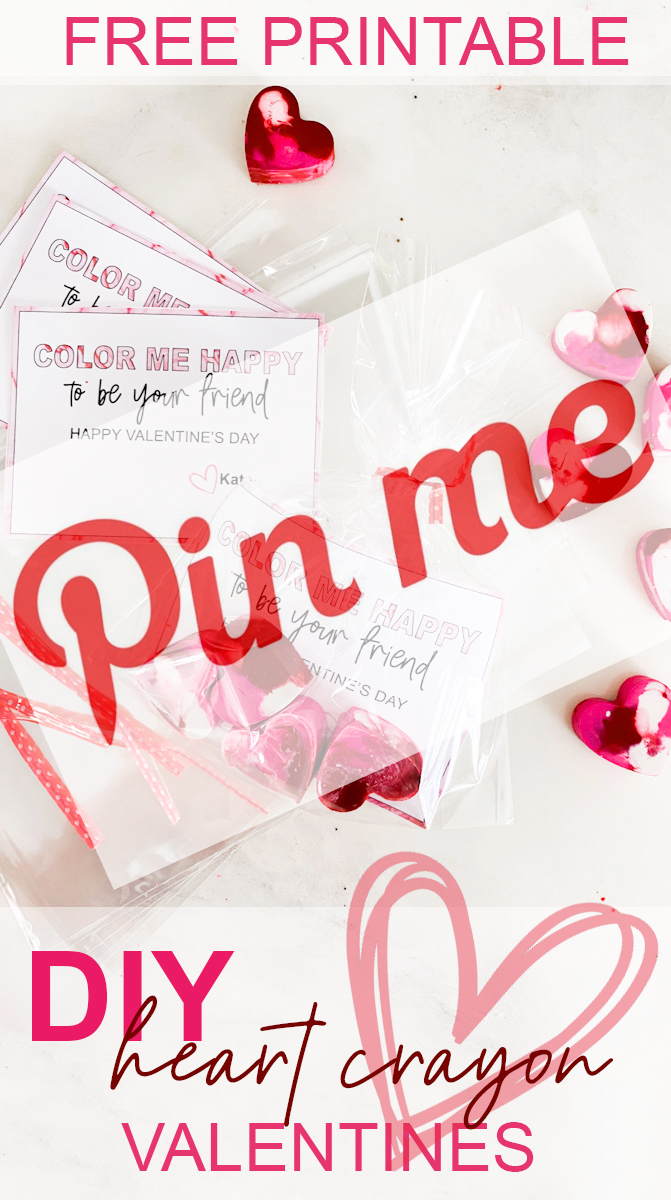
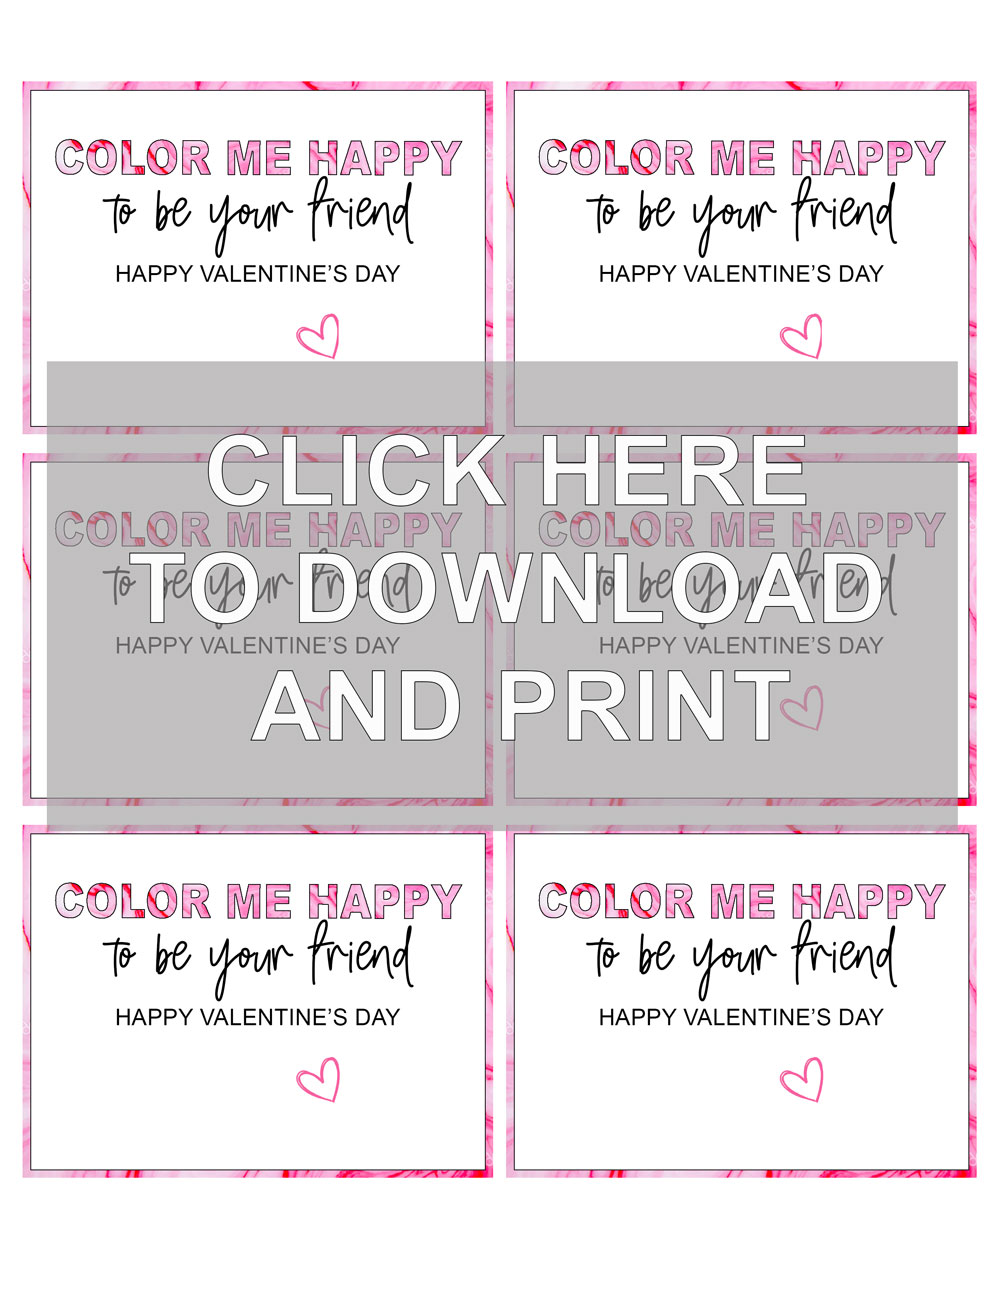
Step Seven: I created and printed the cutest little cards on cardstock to slide in the bags. I put 4 crayons in each tied them up with the bread ties that came with the bags. I included the cards below so that you can download and print it out for yourself!
They took me a few hours to complete but that only because I had to wait for them to melt and cool every time. I ended up doing about 5 batches just to be sure I had enough. If you’re doing a LOT, then buy a couple molds to save you some time!
I also included my Tiktok video of my step by step process below! ENJOY!!
@kassyrandazzo Because I Luuuuuv You! ##happyvalentinesday ##valentinesdiy ##kidsvalentines ##amazondiy
♬ original sound – Kassy Randazzo