This might be my favorite DIY I’ve EVER made, you guys! And pretty darn easy too!
It all started with this gorgeous bed from Lulu & Georgia – it’s $3700 and a big NO for my budget. I searched and searched for a dupe version of it but couldn’t find the look I wanted. I was dying to have a ‘slipcovered’ look and not just a wrapped upholstered look. Almost everything I found that I truly liked was over $2000. That’s a no for me, dawg. So I decided to make it myself and spent months planning this one out in my head. It happened faster and better than I imaged and I’m SO PROUD!!!! Lets get into it.
Here’s what you’ll need.
- (5) 2 x 4 x 8 boards
- (1) Sheet of 1/4″ Plywood
- (1) Sheet of 3/4″ Plywood
- (9) 3″ bolts (any size you want) with corresponding nuts and washers. I used rounded heads to make them easier to cover up.
- (1) drill bit that is slightly larger than the bolts you chose
- (7.5) Yards of the fabric of your choice (I’m pretty sure this is what I bought)
- Enough Extra Loft Batting to cover everything (I used 2 Extra Large Bags)
- Furniture pads
- Brad Nailer
- Electric Drill/Driver
- Circular Saw
- Circular Saw Guide
- Staple Gun
- Sewing Machine
- Metal Bed Frame (I have this one)
- Big Strong Man to help you lift things.

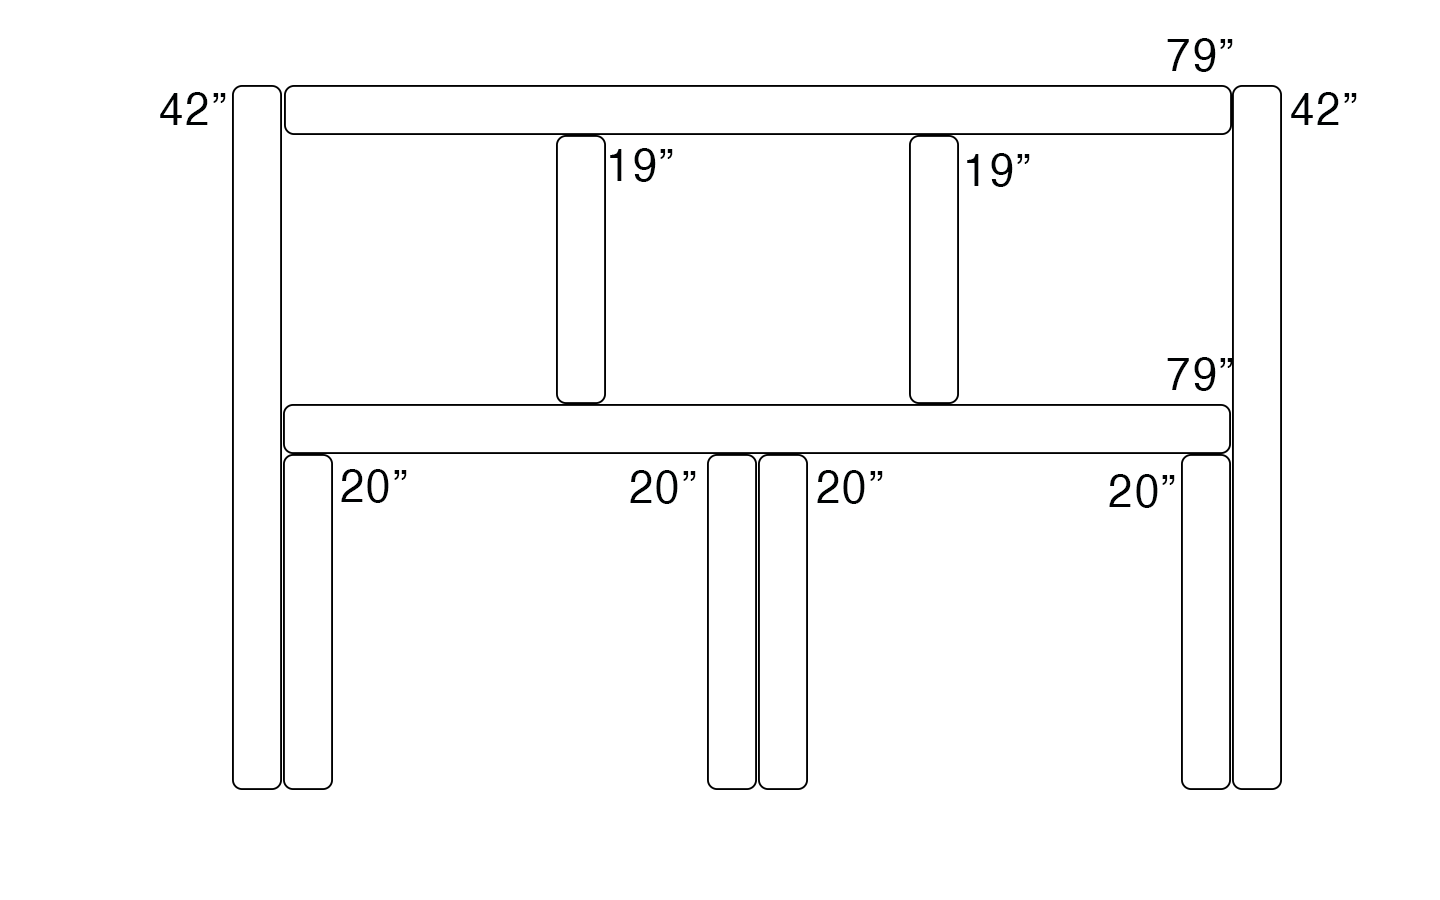
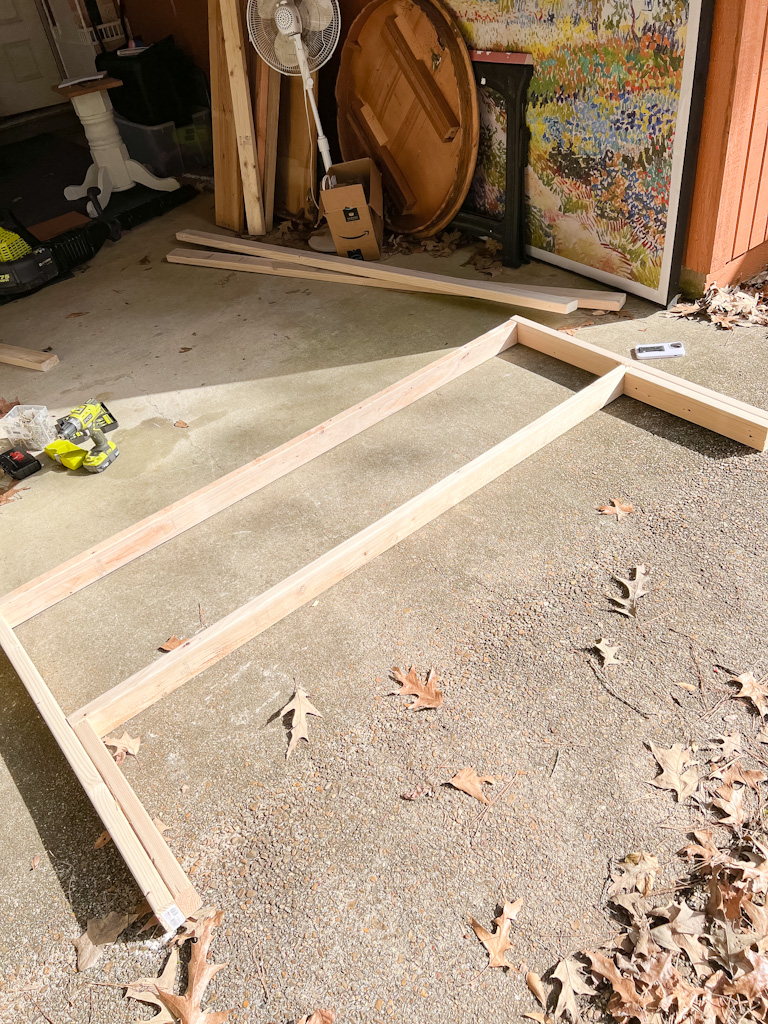
Step 1: Let’s build the Headboard
I’ve included my diagram for the general headboard build below. But I used my current metal bed frame as a guide for the measurements I needed. My bed is a king size and I ended up making the headboard 82″ W x 42″ T!
I precut everything except the small 19″ supports so that I could remeasure for those after everything was put together. I used my drill driver and some basic screw to attached everything!
I then added furniture pads to the bottom to be sure it didn’t scratch my floor.
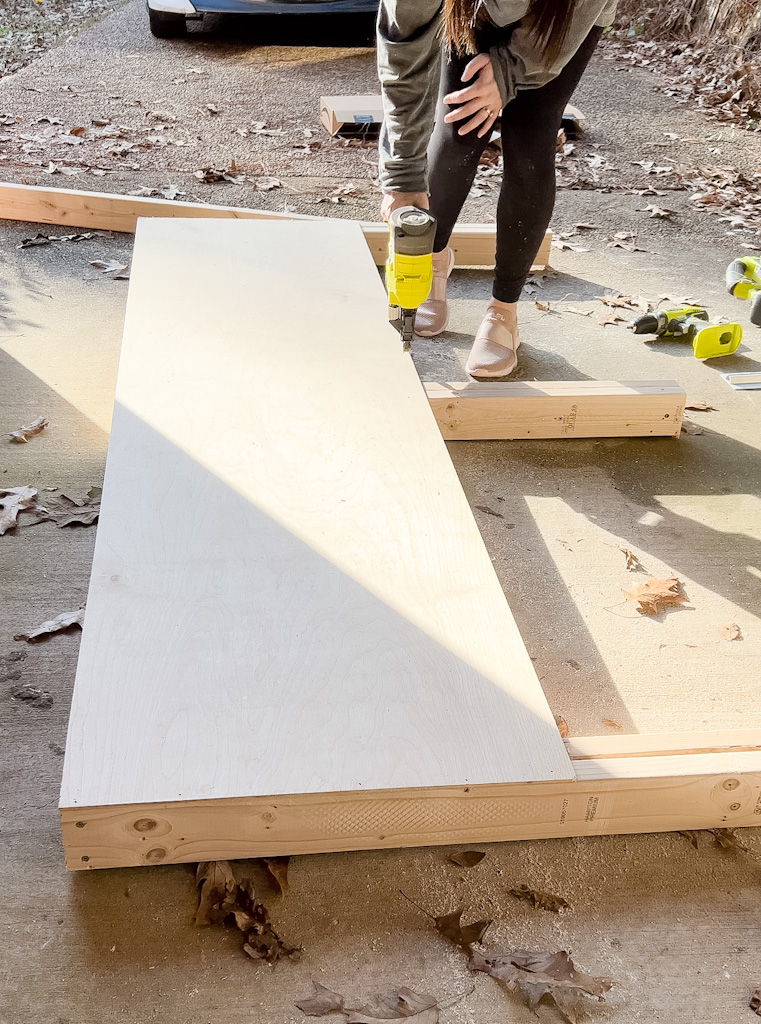
I then measured the top portion of my bed and cut the 1/4″ plywood down to size. I attached it to the bedframe with my brad nailer. My pieces ended up being 82″ x 22″.
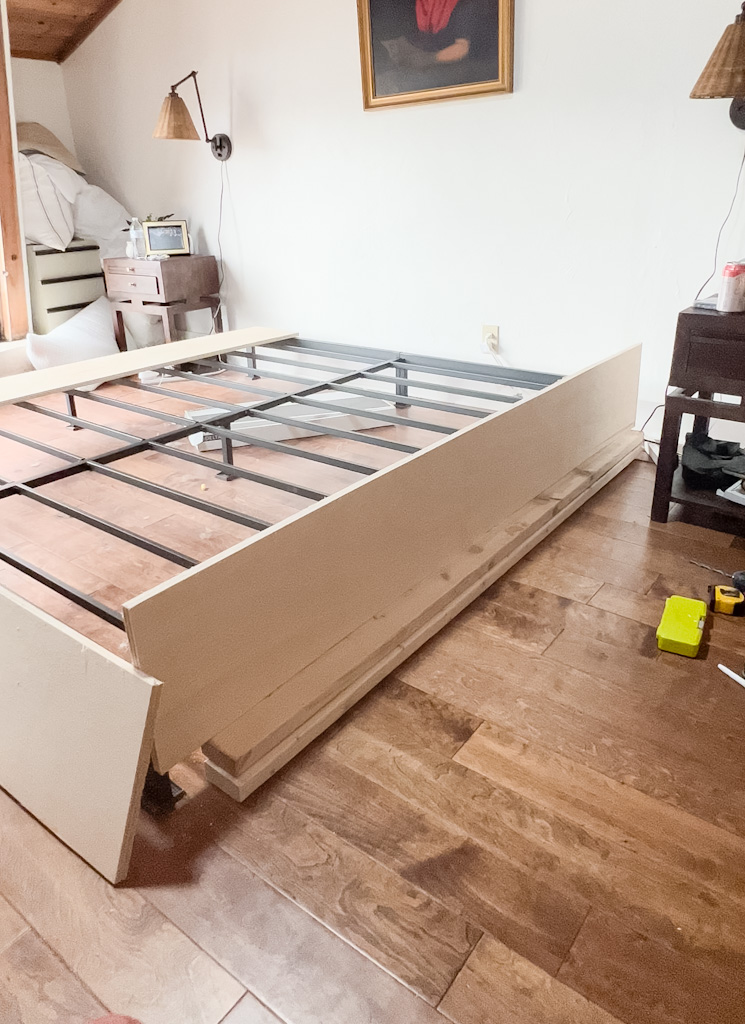
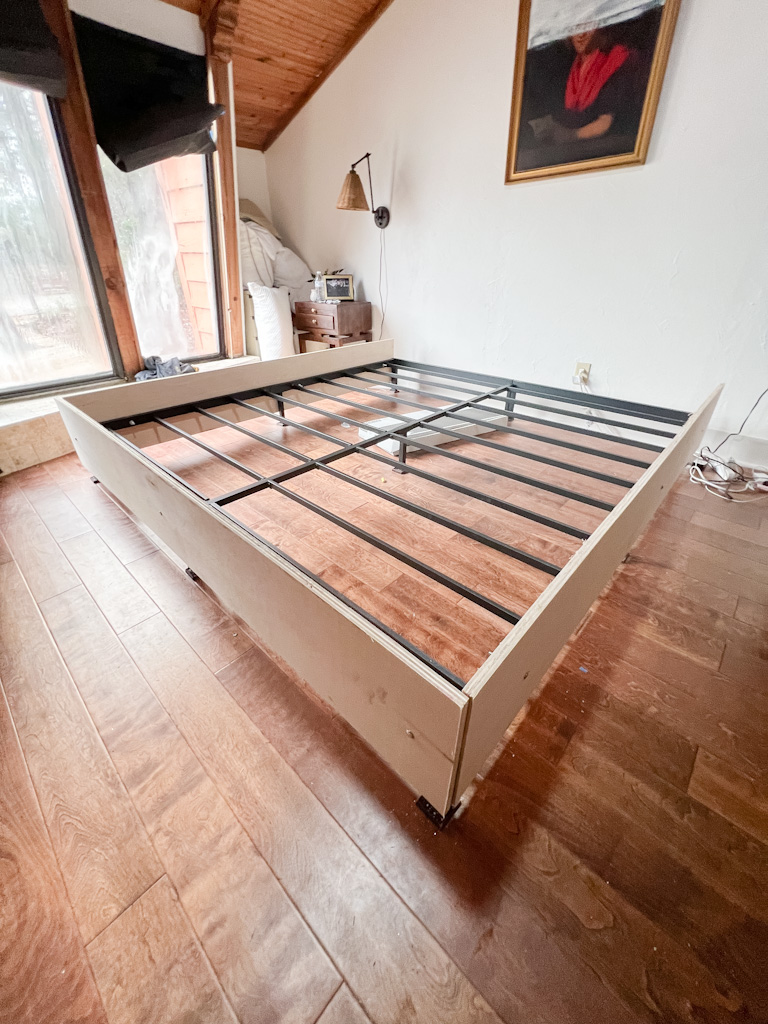
Step 2: Build the Frame
This was the part I mulled over for a while. I thought about making the frame from scratch but then I would have to make sure it was sturdy and level and all that jazz. So I contemplated ways to turn my metal bed frame into the frame for this slipcovered bed. Spoiler Alert: I figured it out.
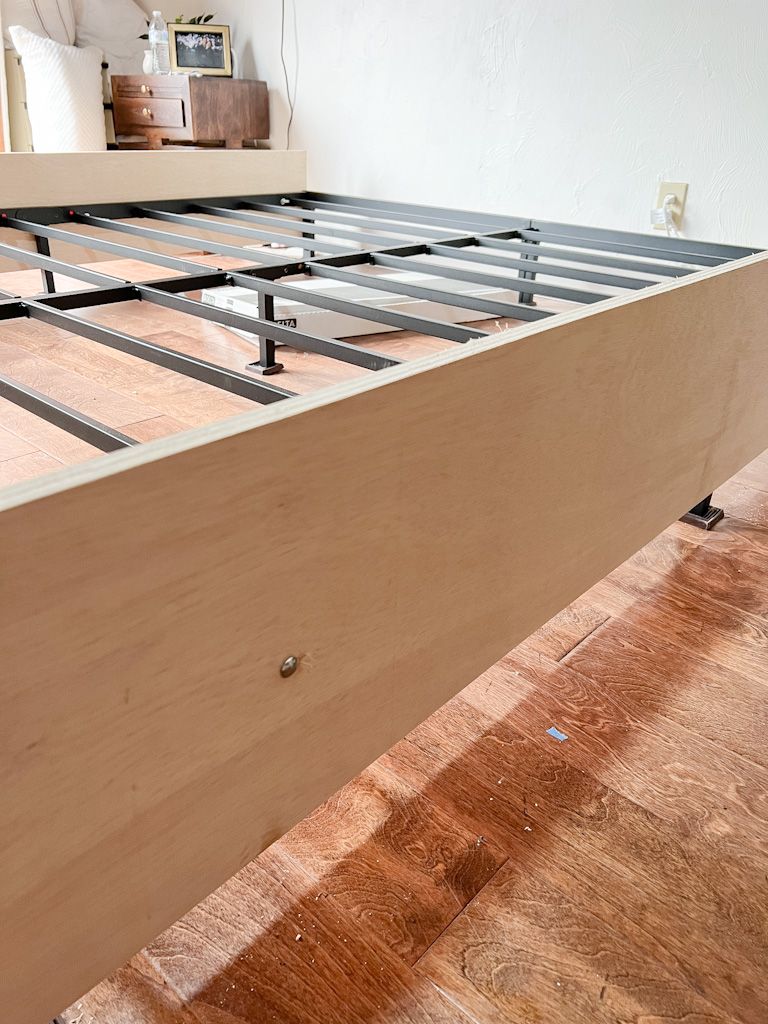
I cut 3 pieces of 3/4″ plywood at 12″ H. I measured my bed frame to determine how long they needed to be. The two sized pieces ended up being 81.5″ long and the end piece was 79″ L.
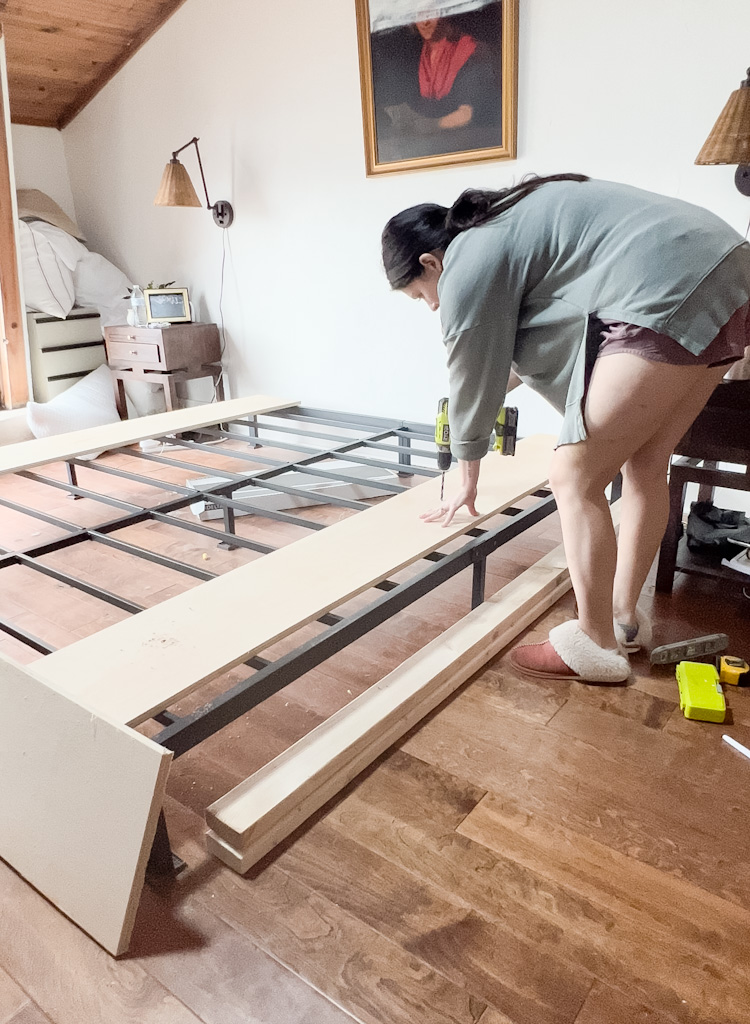
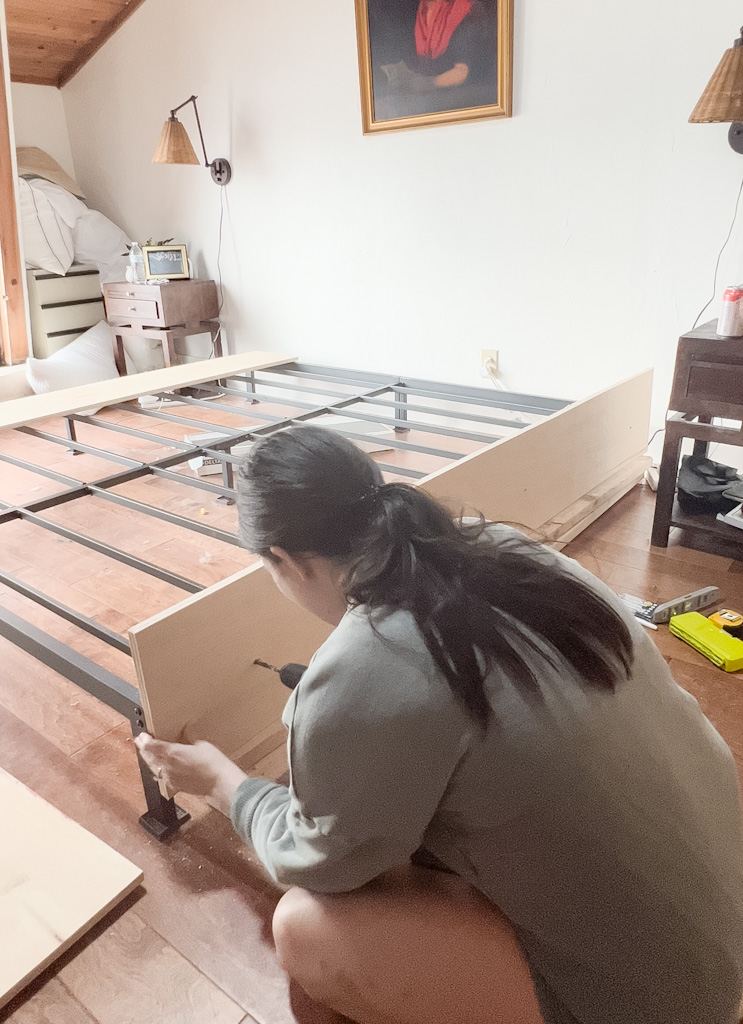
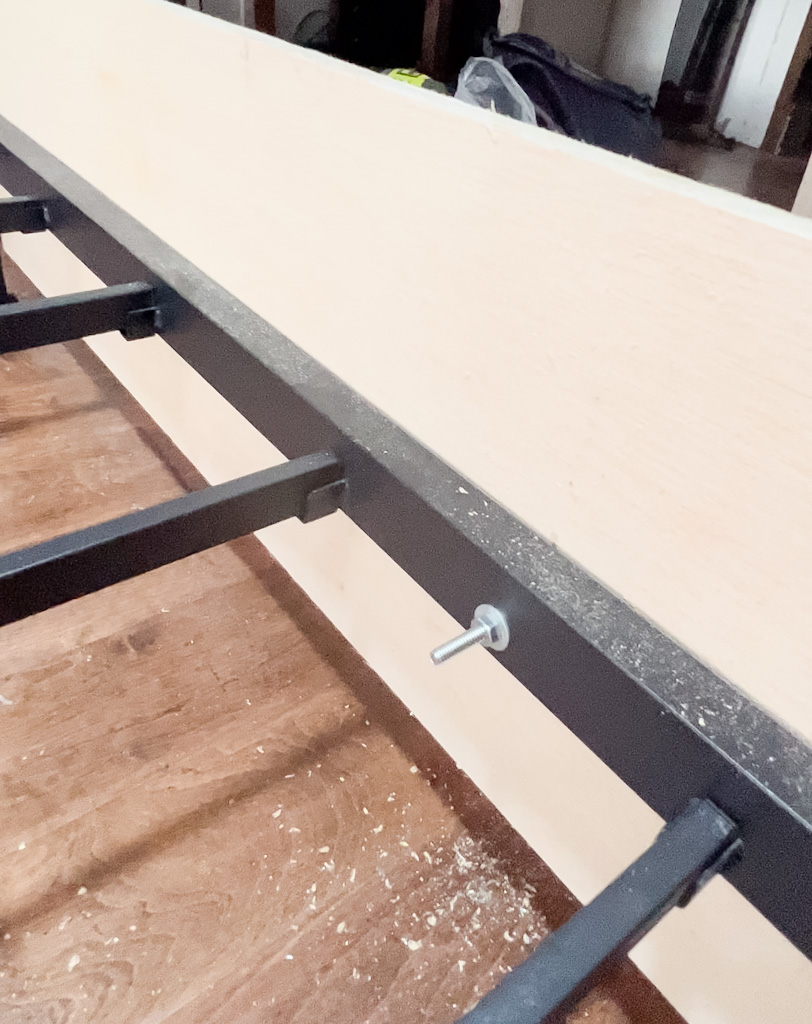
I brought them inside and used a couple 2 x 4’s to support them on each side of the bed. That made them exactly 3″ above the floor. I marked where the boards met the bedframe and put a line on the top and bottom. That way, I knew the hole had to be somewhere between those two lines. I drilled 3 holes (slightly larger than the bolts) across the board.

I then used those three holes to determine where my holes would go on the metal bedframe. I lined everything up exactly where I wanted it and drilled through the bedframe. I then used the bolts and nuts to attached the board to the bed frame.
I repeated on all three sides!
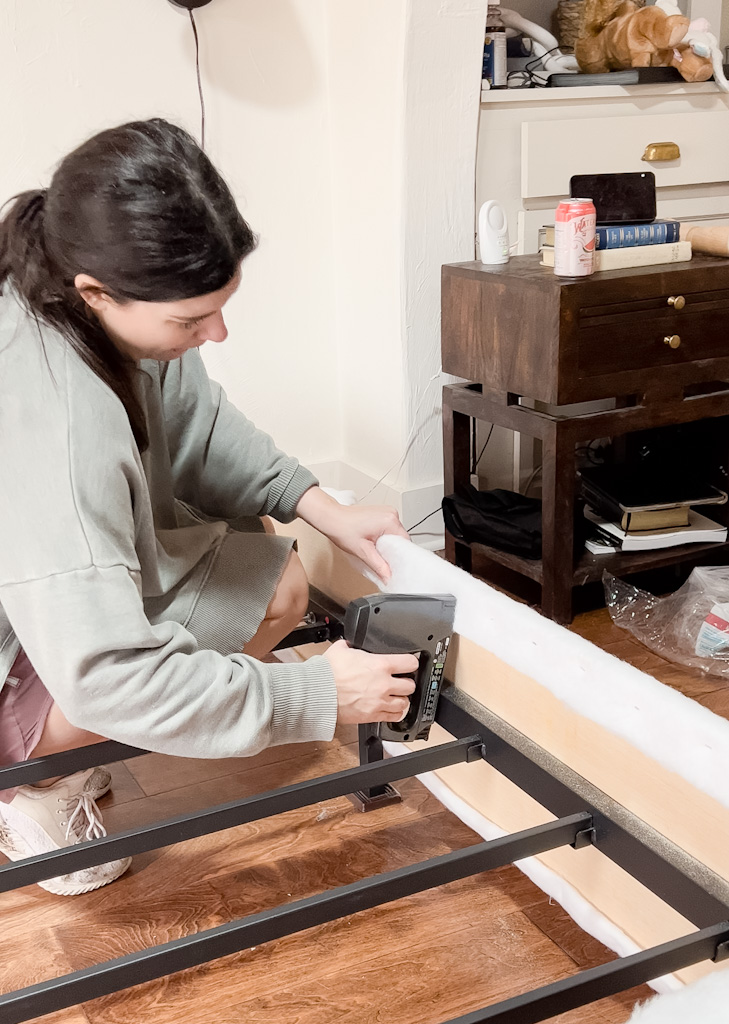
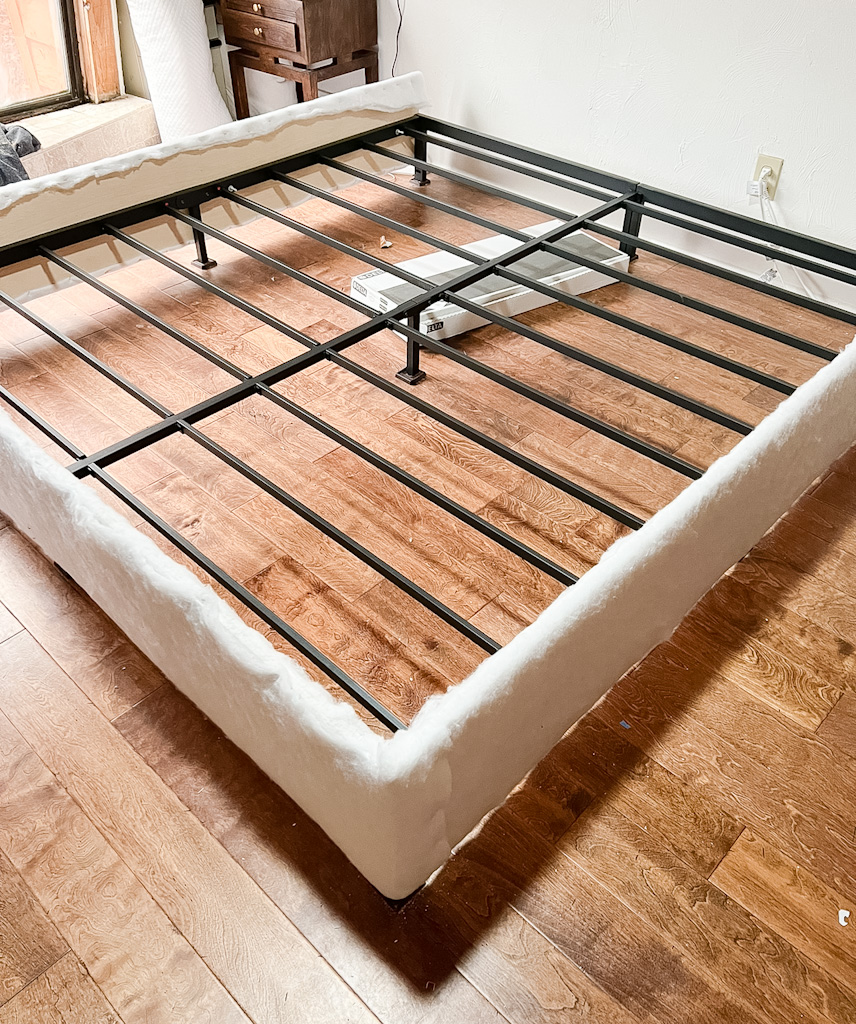
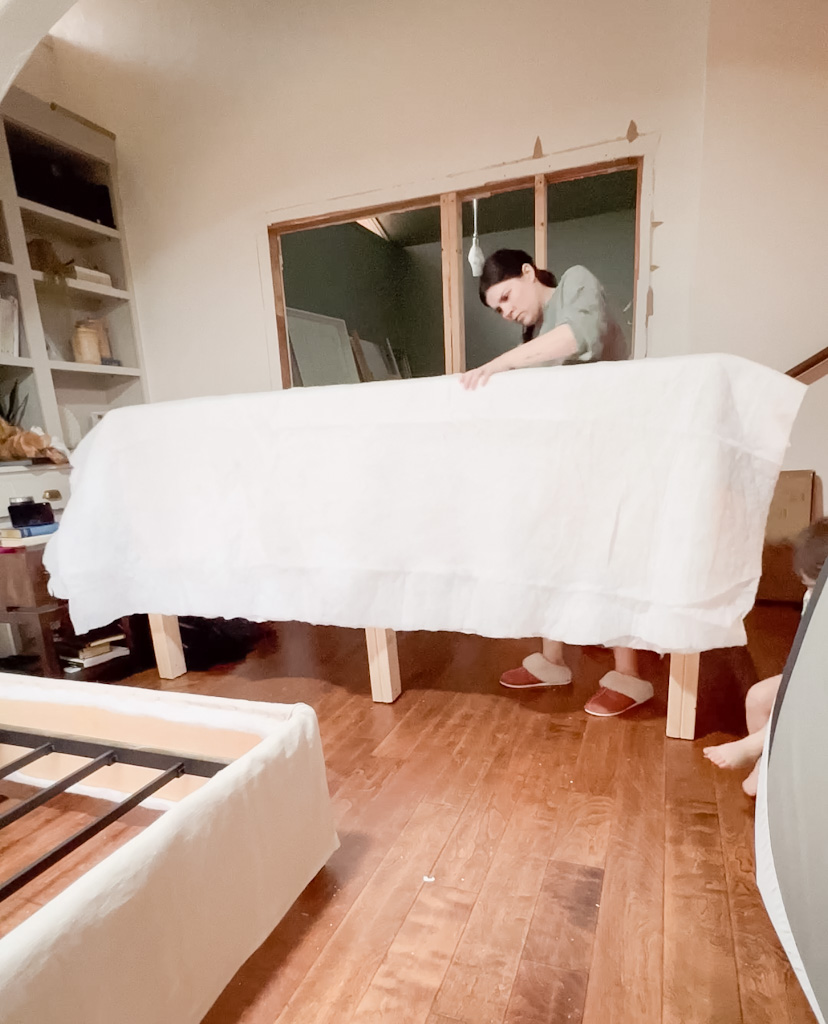
Step 3: Covering the Base
I used extra loft batting and a staple gun to wrap the side pieces. I wanted them to be fluffy and comfy so that they would feel like a real upholstered/slip covered bed.
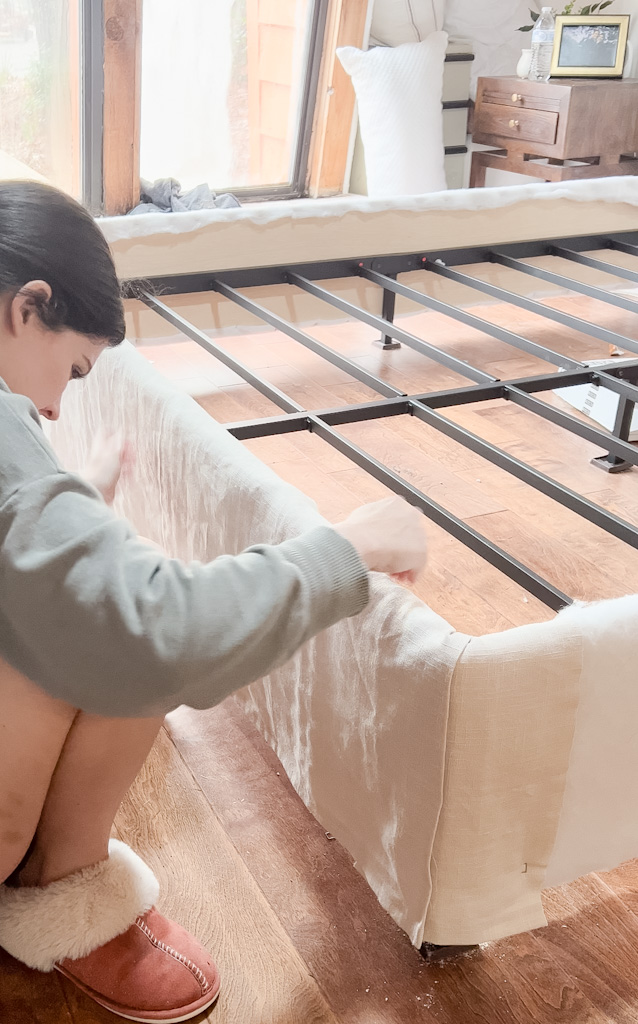
I cut my fabric into strips long enough to cover each side and about 16″ tall. I hemmed the bottoms and the sides where they meet at the two bottom corners of the bed. I wanted to create a ‘pleated look’ so I covered the corners first and then stapled on the long hemmed pieces.
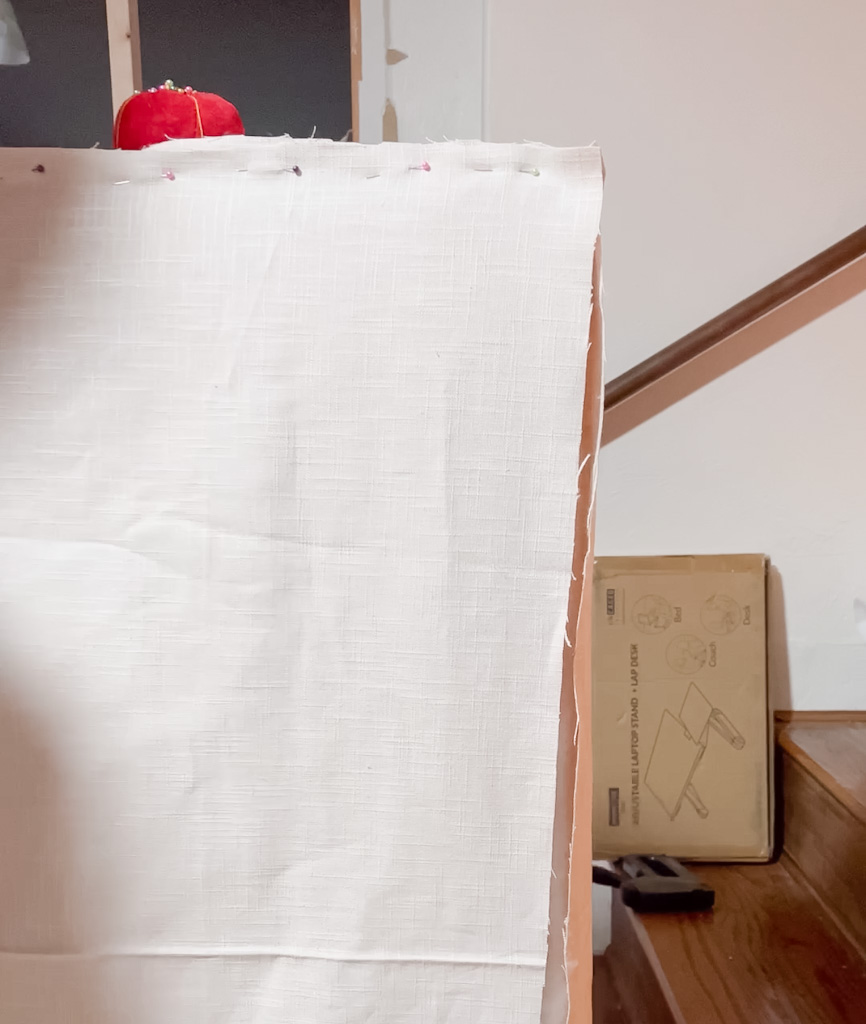
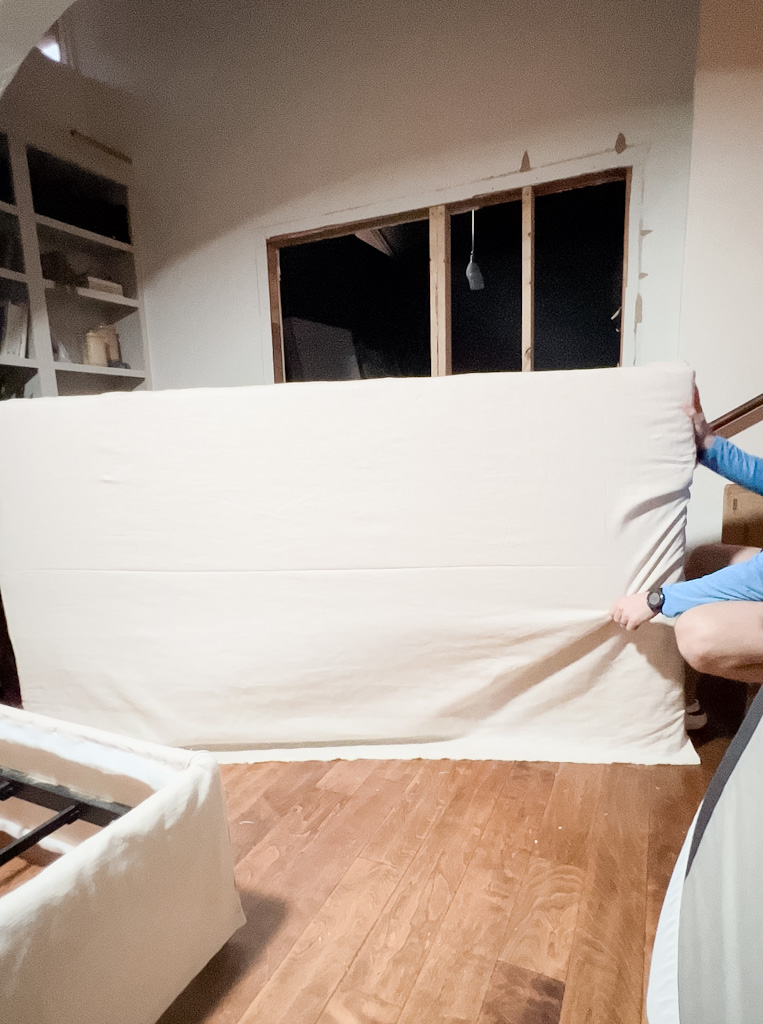
Step 4: Slipcover for the Headboard
The last step is covering the headboard. I just wrapped it with two laters of extra loft poly fill. I didn’t worry so much about covering the back because no one would see it. I used the staple gun to attach this as well.
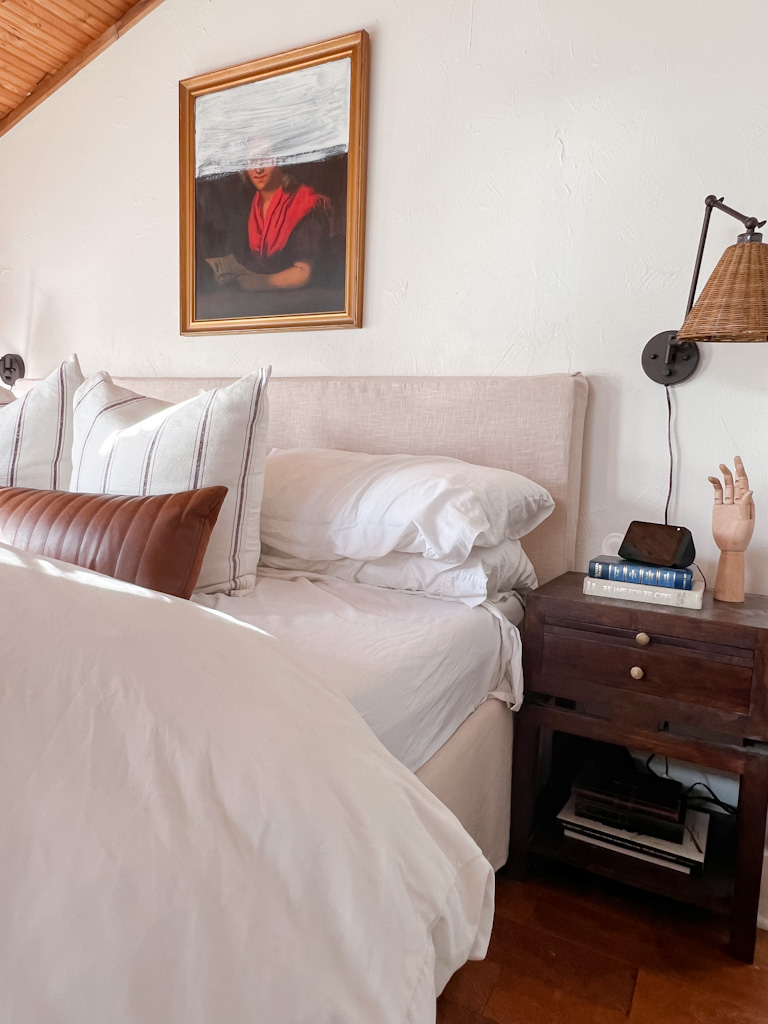
Then I made a slip cover. I cut 3 slim strips for the top and sides and two large rectangular pieces for the front and back. Then I pinned and sewed them to make a box, basically. I then added a hem to the bottom, put the slip cover back on. I hate that I can’t better explain the sewing process, but it’s a hard one to explain if you don’t know how to sew.
NO SEW: This whole project could be done in a no-sew version if you wanted to go that route. It wouldn’t look ‘slipcovered’ but it would still give you that upholstered look. Just completely wrap the side pieces and then wrap the headboard as well and staple around the back.
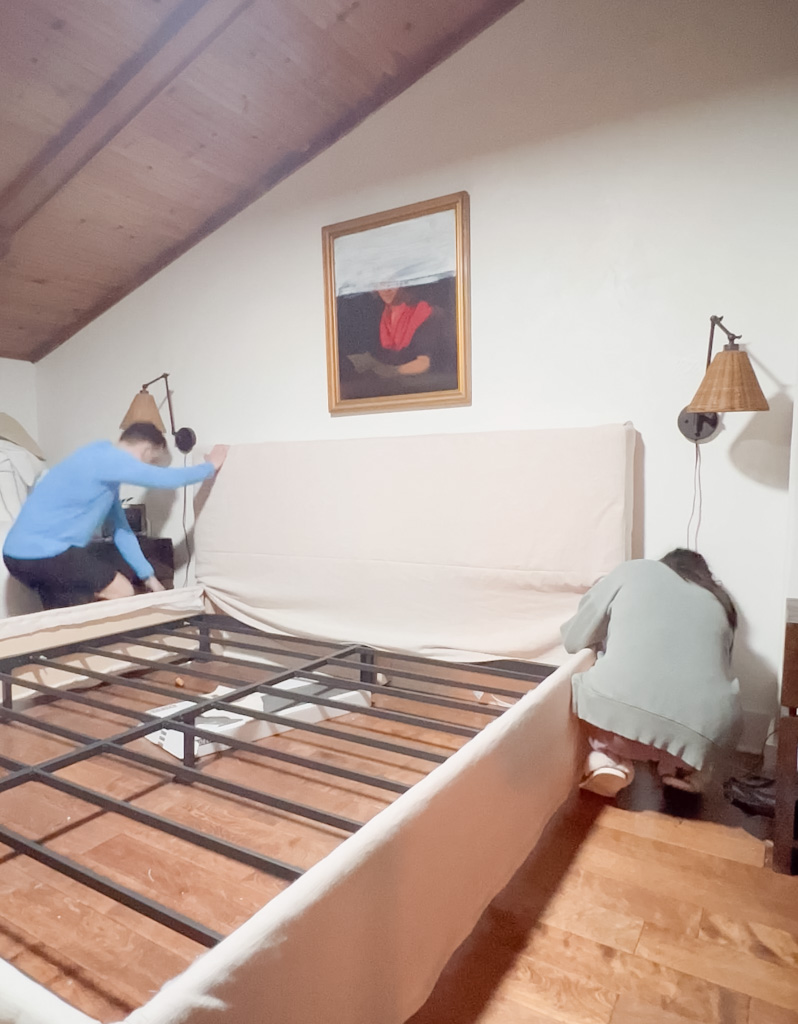
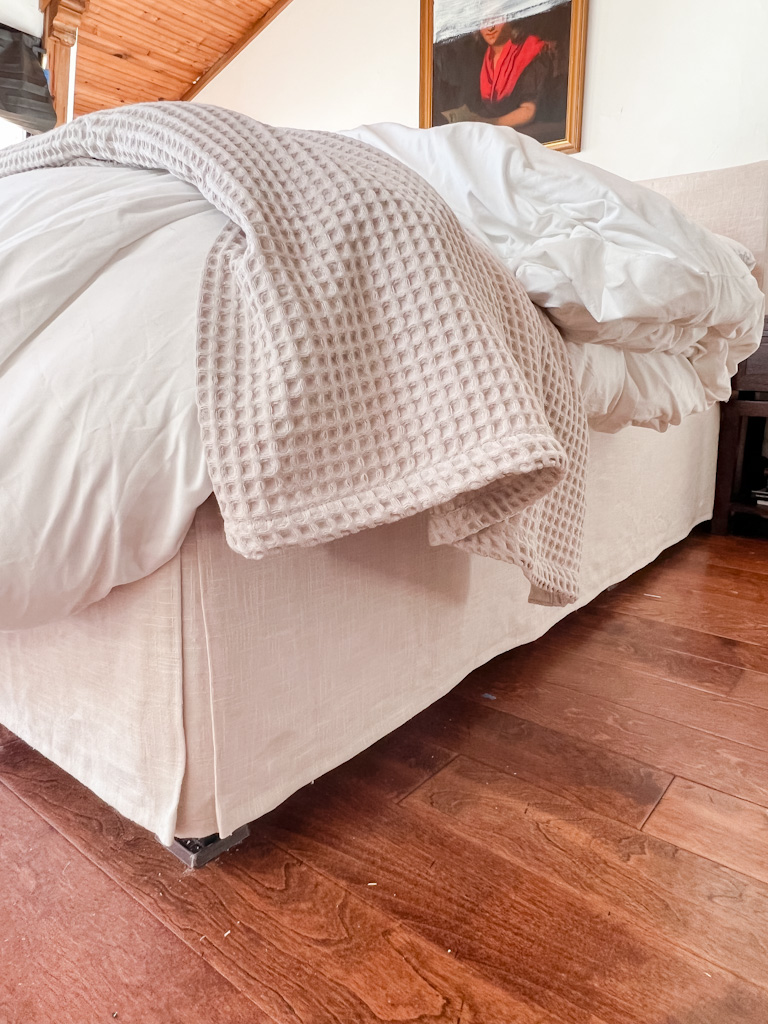
Step 5: Finishing up
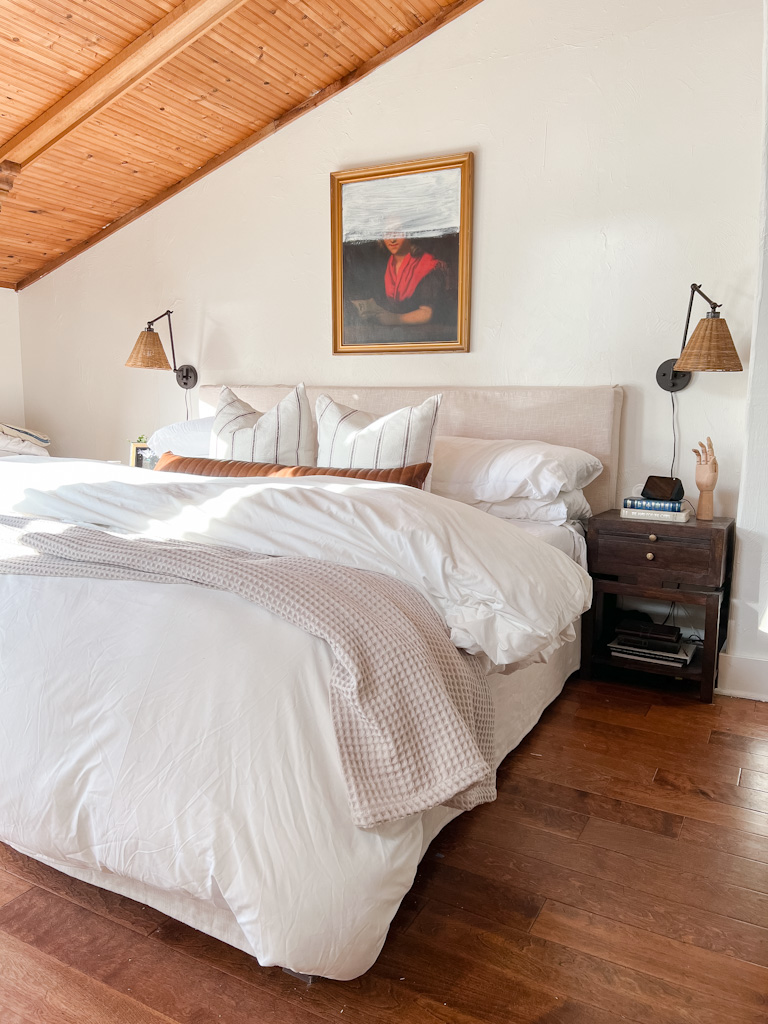
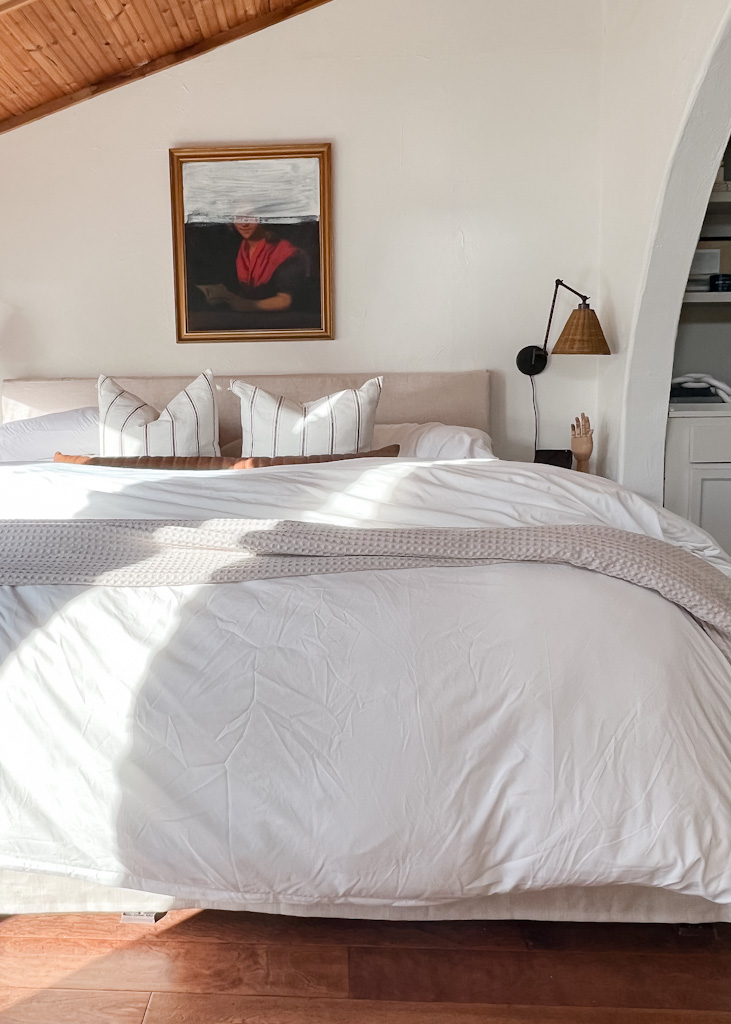
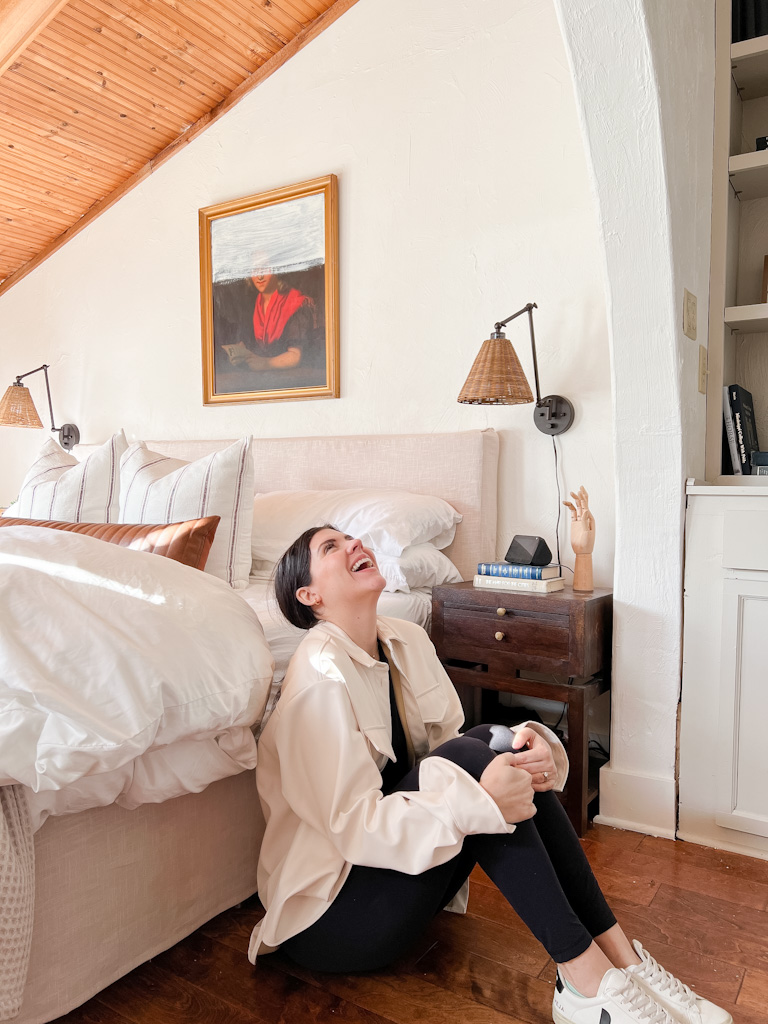
The last step was to move the headboard to the top of the bed. We just pushed the frame super tight so that the headboard would be stuck between the wall and bed frame. It doesn’t appear to be moving at all and everything feels super sturdy. Our mattress was a perfect fit in the frame and I couldn’t be more excited about how it turned out. Compared the the $3700 bed that I wanted, I think it’s a dead ringer! And it only cost me $275 total!
Can’t wait to see everyone give it a try. Please tag me if you ever decide to try this!! I’m already dreaming of a pink version for Kate’s room one day!
CLICK HERE TO PIN THIS FOR THE FUTURE!