I can’t believe the support you guys have shown over the last few weeks as my content shifted from general sharing to DIY/Home content! And I’m so excited for my first blog post! My plan is to continue to post as I do each project explaining my steps to better help you understand and to provide a future resource for you.
So Let’s jump into it! First things first, here is that before photo just for reference.
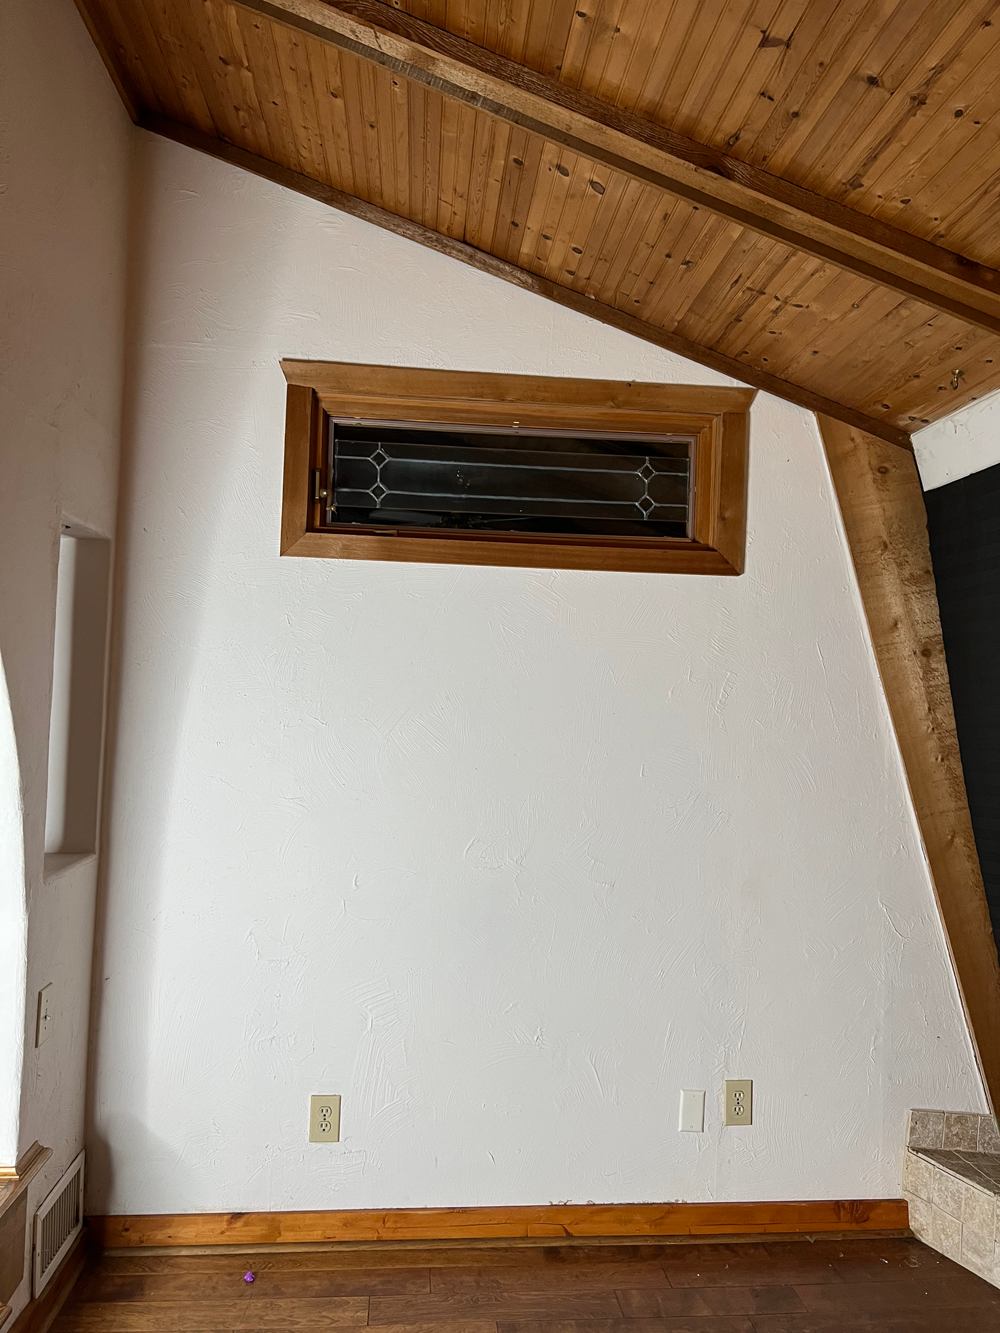
Now, This isn’t necessarily a bad look. But it’s certainly not MY look. There are so many amazing details in this room- The large arch, the slanted windows, and the wooden ceiling. My goal is to allow those things to really shine by simplifying the rest of the space. The wooden baseboards and wooden window frame were distracting your eye from the important stuff. Not to mention, they made the space feel much darker. The baseboards were also old and honestly, not well done. Plus, the wood tones in here don’t really all match. You can see from the above photo how much more orange the baseboard is compared to the floor and ceiling.
Ripping out the baseboards was easy and SUPER satisfying! Having a bad day? May I recommend a Pry Bar and rubber mallet? For real, though, the rubber mallet is key here. Everyone should have one in their homes. I find new uses for it everyday. It’ doesn’t cause the loud noise or the damage of a regular hammer.
For the baseboards themselves, I used 1 x 6 MDF Trim Board. You can find it at Home Depot or Lowes near the trim and moulding. It’s pre-primed, which is AMAZING. And easy to work with. It comes in both 8ft and 12ft lengths, but I chose the 8ft because of my car situation. You’ll also need shoe molding. Thats the tiny rounded piece that make the baseboard and floor joint look clean and nice.
Keep in mind, there is a difference between shoe mold and quarter round. Quarter round is exactly what it sounds like. It’s a quarter of a circle. It works if you need to cover more of the floor, but I suggest the shoe (or toe)mold. It’s lower profile and cleaner, in my opinion!
I pre painted my boards so that I would only have to touch up once they were installed. Saved so much time and clean up! Paint color is Alabaster by Sherwin Williams in ‘SATIN’ sheen for the baseboards and ‘EGGSHELL’ for the walls!
I used my miter saw (also love this miter saw table) to cut 45 degree angles and fit them together along the wall. A brad nailer with 2in – 18 gauge finishing nails is what I used to attach it to the wall. Be sure to mark where your studs are using a stud finder to be sure you’re giving the baseboards something to grab onto. I did have to use my jig saw to cut around a vent at one point as well. A jig saw is such a great starter tool for anyone wanting to so projects in my opinion.
After attaching all the boards and trim, I used a spackle to fill the tiny nail holes. It’s a great idea to sand around the holes first to make sure there are no raised areas. If the nails didn’t go all the way in, you can use a hammer to drive them in as far as you can! Sand the spackle before you touch up paint! This little hole filling tool is my favorite!
Caulking is probably the step that is going to make your project go from DIY to professional. It’s what makes the trim boards look PERFECT all around. Here is the difference between and uncaulked basedboard and one that I caulked. SO MUCH BETTER!
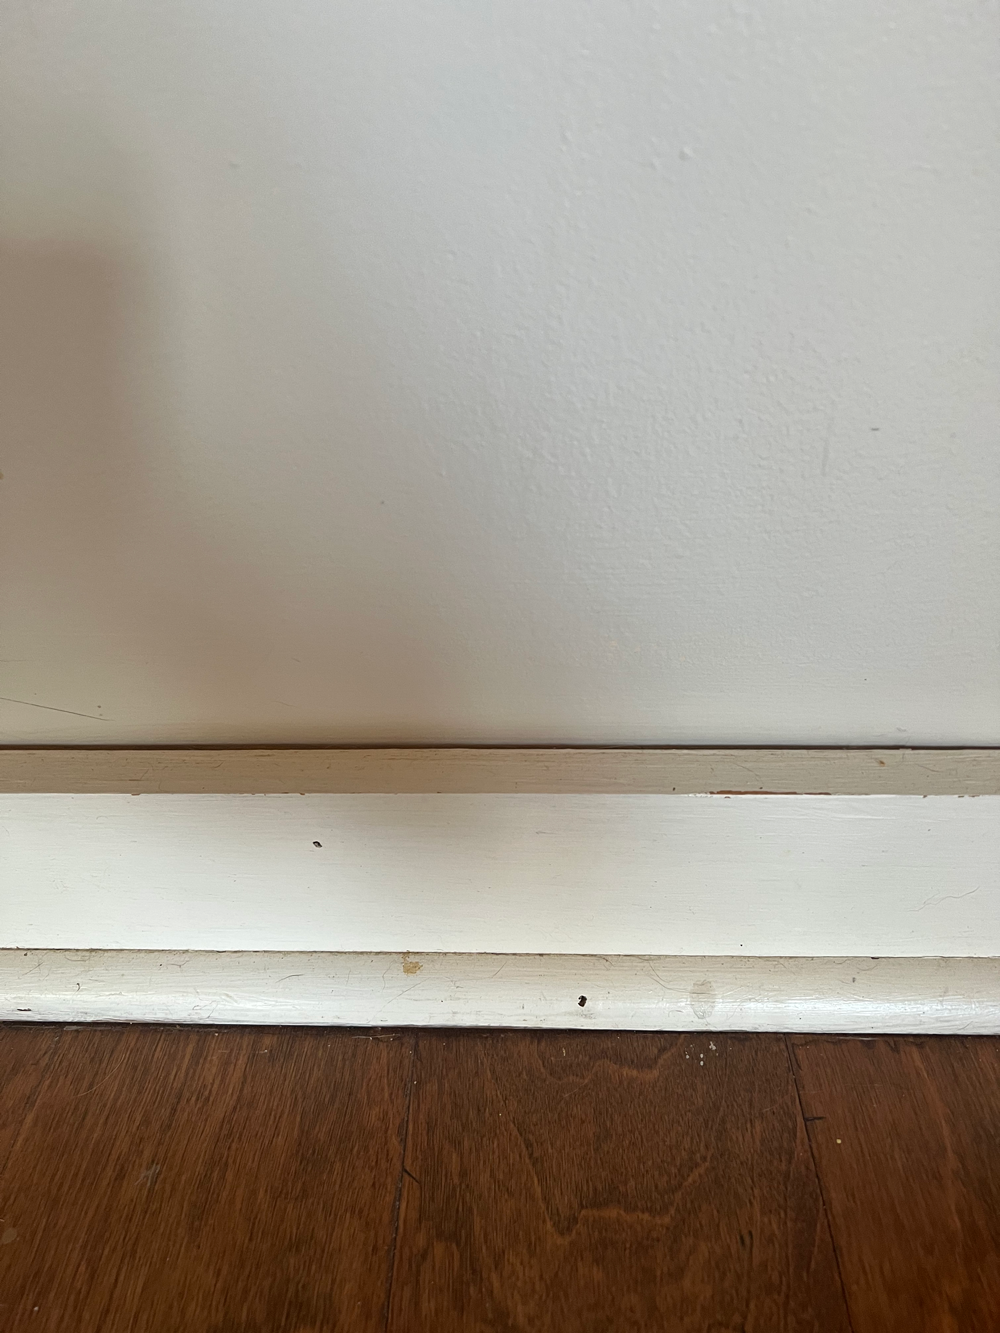
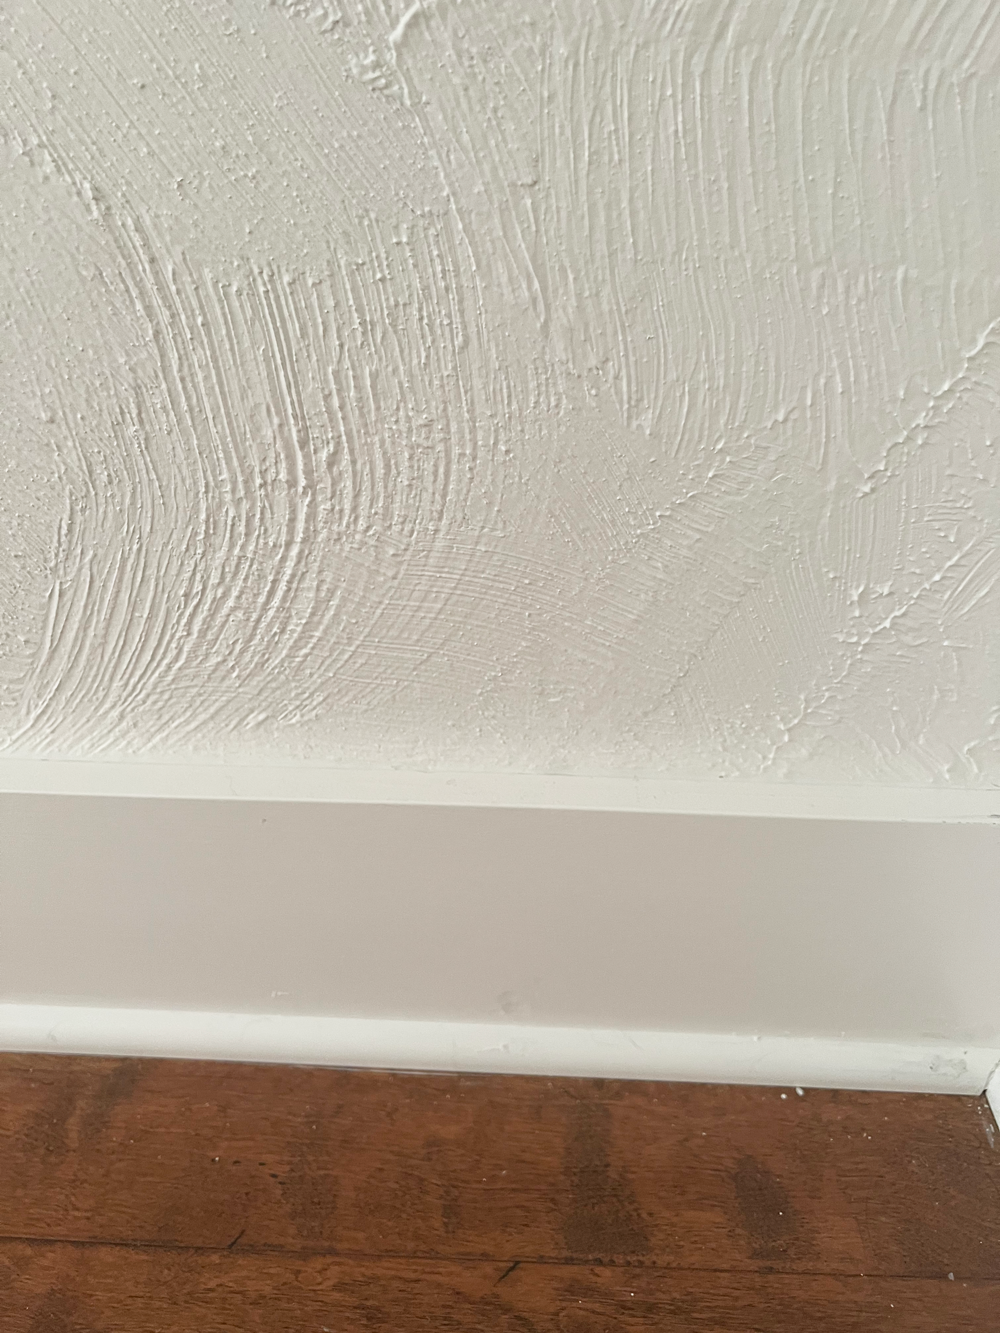
Just add a bead of caulk using your caulk gun and a caulk that is specific to trim, moulding, and paint projects (meaning it can be painted) and use your finger to smooth it in. It’s pretty easy but the gun takes a minute to get used to!
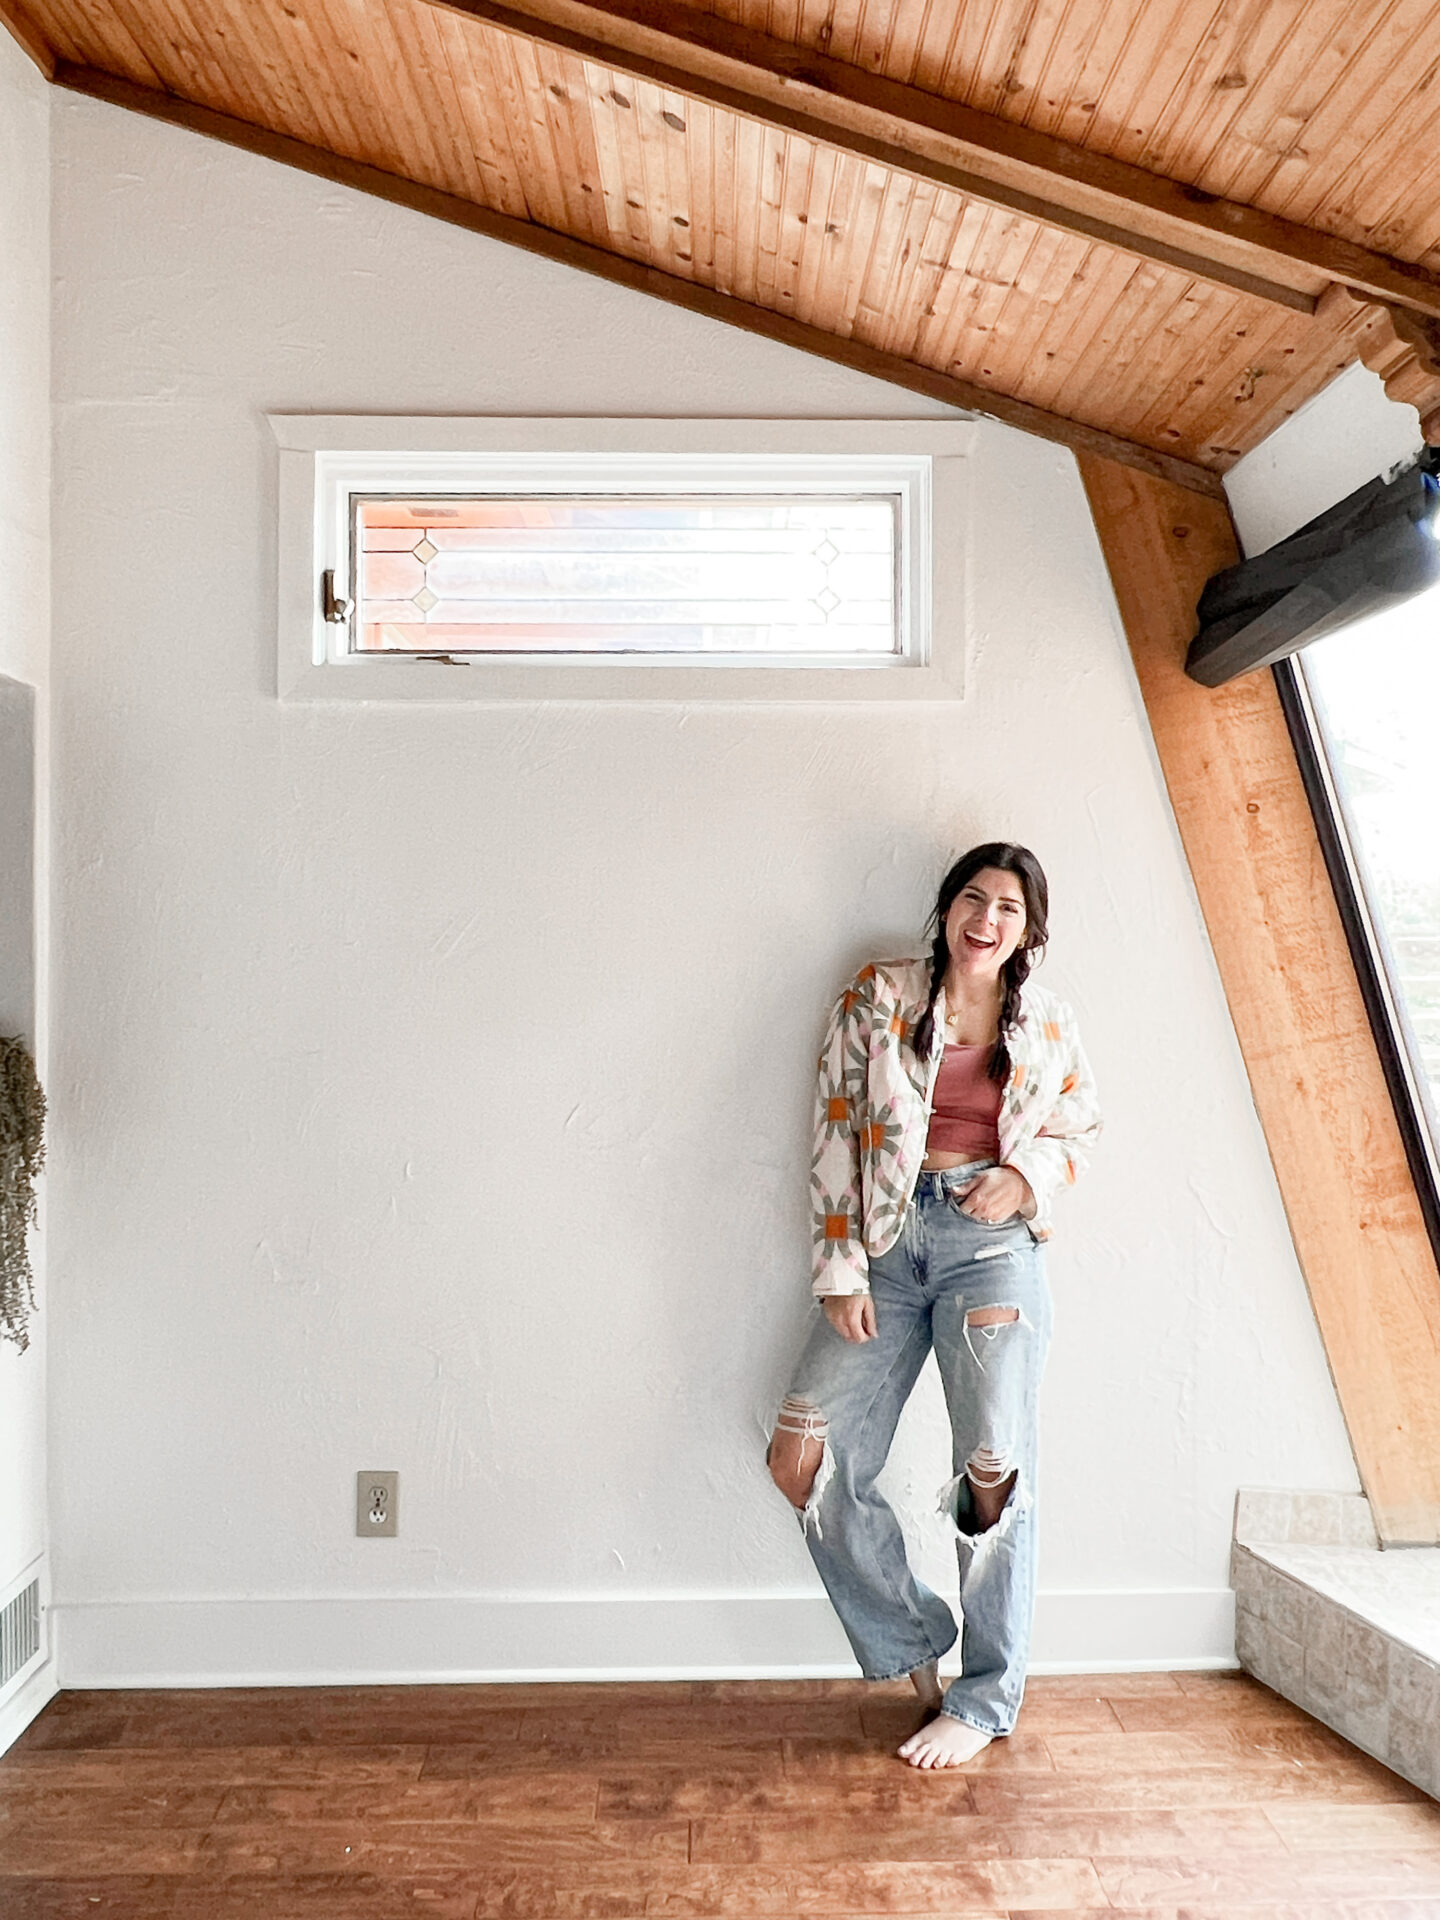
After caulk is try, give your trim a touch up paint and clean up and you’re good to go!! I was surprised at how easy this became once I got the hang of it.
I’m not saying the entire project went off without a hitch though. I cried about 2 hours in when the nail gun stopped working and I made 2 incorrect cuts back to back. But I kept on going because I’m not a quitter! And I’m so glad I did! It’s amazing how good it feels to have built something with my own two hand!
The entire project took 3ish days (5ish hours of work a day) and about $400 including paint for all of the walls and trim!