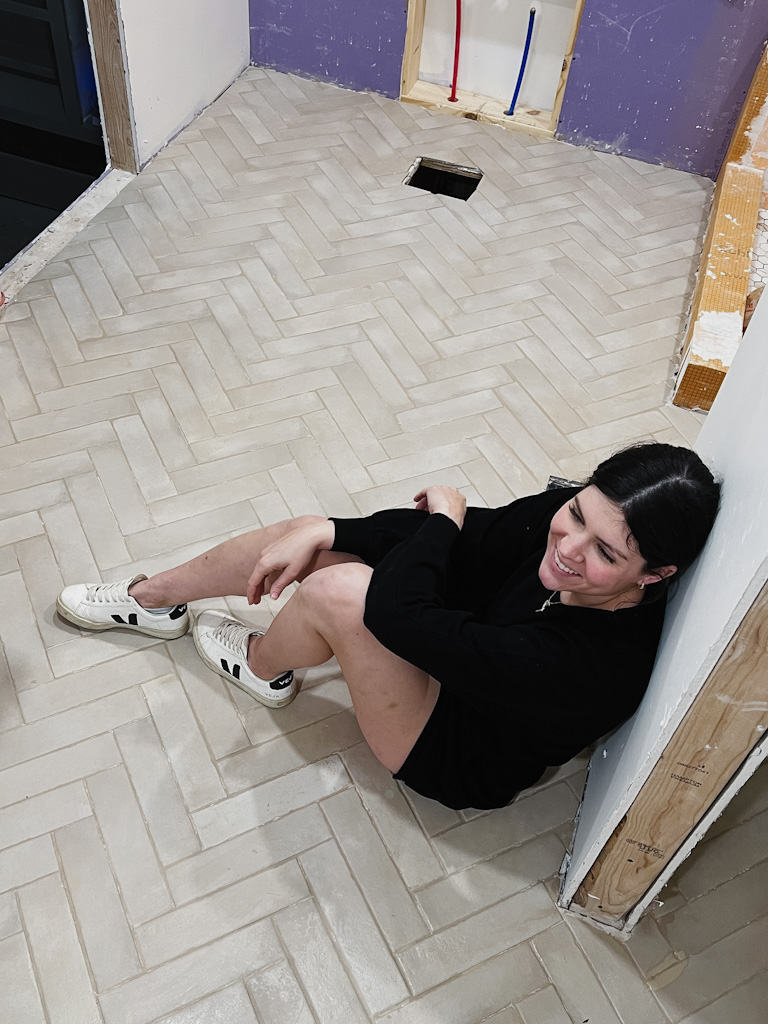
The bathroom floor is officially finished and it was a LONG process. Not a bad process, but a long one. It took me a full week to lay the tile and then a few more days to finish up the grout! There are tons of ‘how to tile’ videos and posts out there, so I won’t pretend like I came up with my process on my own. BUT, I do think tiling is a learning process and I wanted to give you guys a mini teach on the 5 Lessons Learned My First Time Tiling.
5 Lessons I Learned:
- Prep Work. This is easily the most important of all the steps. It can make or break the life and longevity of a tile job. In the case of my bathroom, I had a wooden sub floor. You can’t lay tile directly on a wooden subfloor. The easiest to understand reason is that wood contracts and expands. Porcelain tile does not. So if the wood starts to move, the tile will crack. So I used Ditra Uncoupling Membrane from Schluter Systems as a barrier/joining layer between the wood and tile. And Ditra Set to adhere the membrane to the wood and the tile to the membrane!
- Dry Fitting. Dry Fit areas that have lots of cuts before you mix your thinset. I had several spots that had lots of cuts that needed to be made. For those areas, I found it much easier to precut all of the smaller pieces before mixing my thinset. Then, when I started to lay it, I already had those small pieces in hand.
- Back Buttering. with lots of smaller high and low areas on my subfloor, I knew I’d have to work a little harder to get the floor as level as possible. Back Buttering (or adding thinset to the floor AND the back of the tile) made it much easier to control the height of my tiles making some slightly taller and others lower. Make sure to comb your trowel marks in the same direction as the floor trowel marks.
- Grouting. Grouting is the easy part. But not if you mix it too thick. I found it was SO much hard to work with if I mixed it to the consistency they describe on the bag. I mixed mine a bit thinner (as suggest by my dad) and it was so much easier to use.
- Don’t be too Afraid to Make a Mistake. If you followed along on IG stories, you’ll know that I made 2 big mistakes. The first is that I laid a tile in the wrong place and messed up my pattern. I didn’t notice it until MUCH too late. No sweat, though. It’s a reminder that no one is perfect and that this was a learning experience for me. I also chose the wrong color grout. In my defense, I thought it was the right color grout but it dried WAY to light for me. Thankfully, a little grout stain fixed the problem easily.
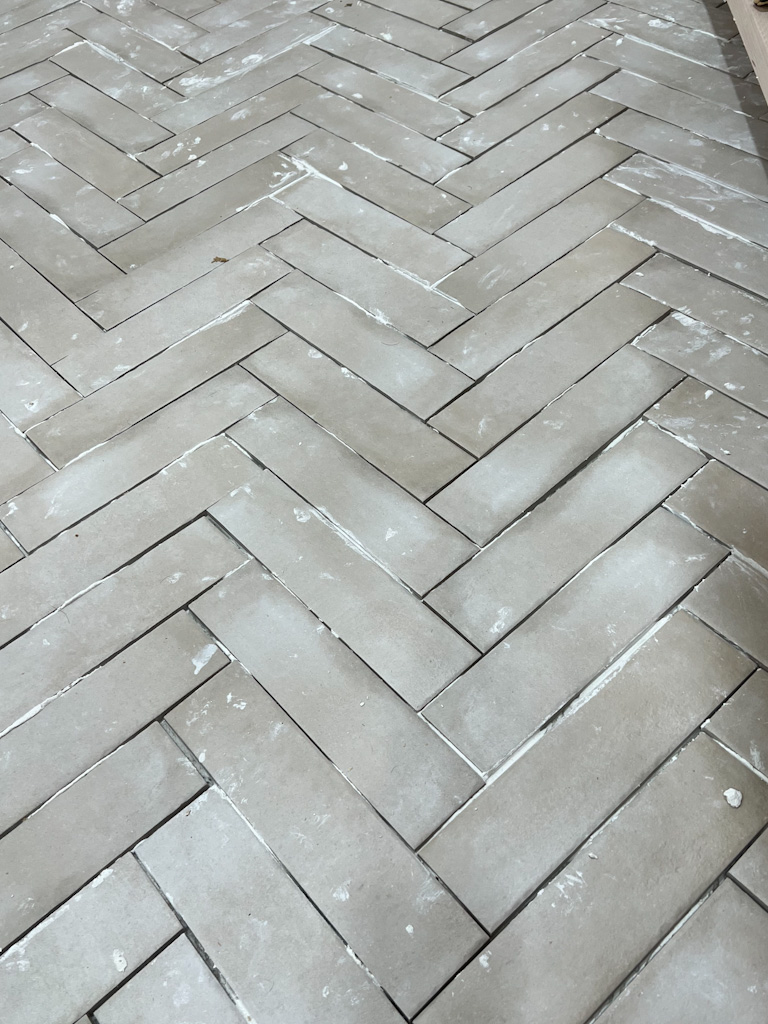
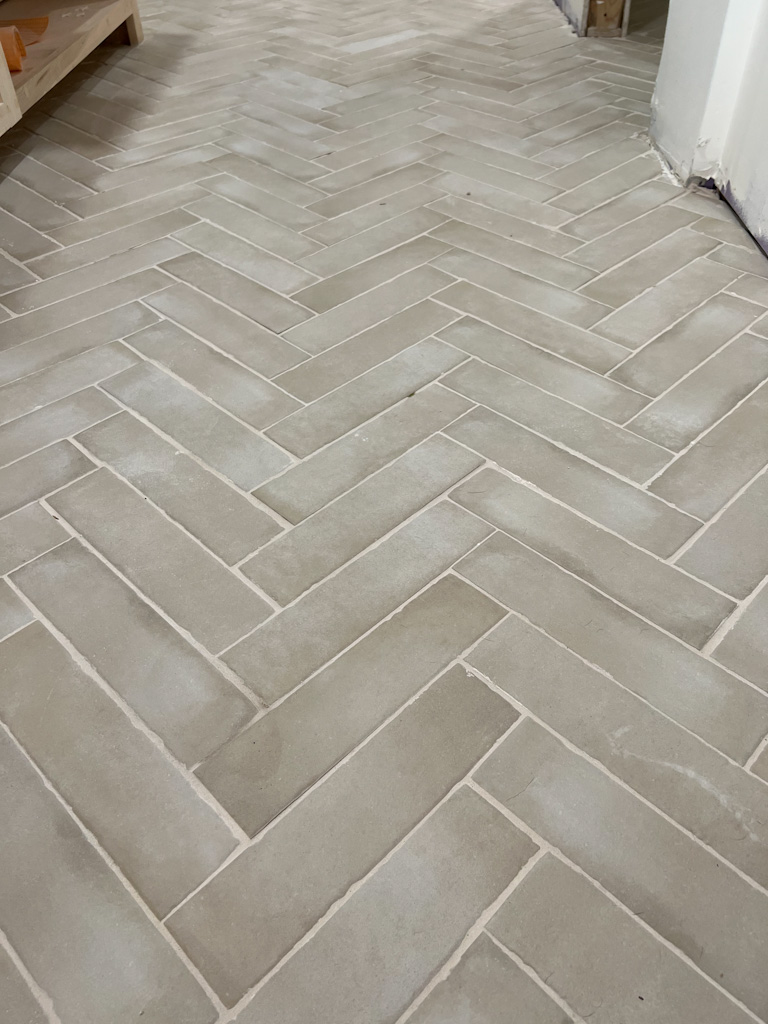
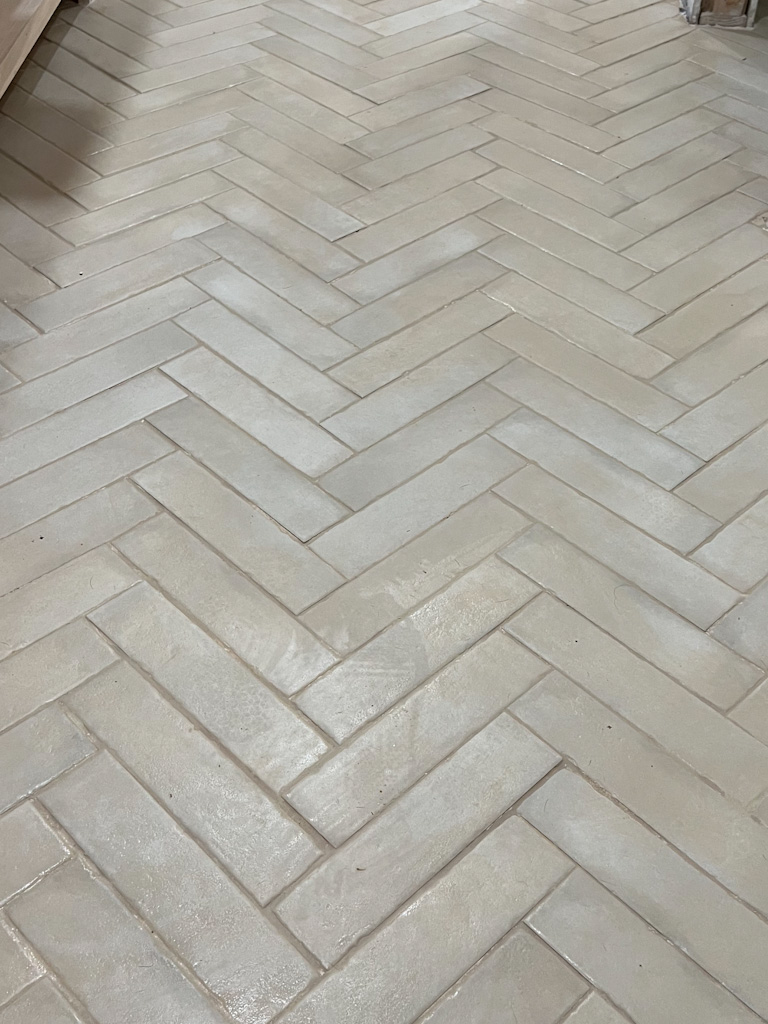
Overall, I’m so excited about my finished floor. Would I do it again? Well, I have to. The closet floor is going to be the same tile as the bathroom so I have another room as large as this one left to do. But even still, I would totally do this again! I saved TONS by doing the job myself AND I have another skill to add to my resume.
My here is my two cents about trying new things. DO IT! What’s the worst that could happen? It could look bad. And that’s fixable. Weigh your costs and do your research. I know DIY is not for everyone, but don’t let fear hold you back. I made mistakes during this project but I LEARNED so much more!
Want to know more about my Bathroom Renovation?
Check out my guide to finishes here: Tips for Choosing Materials and Finishes
Check out my budget information here: What is the cost of a Bathroom Reno