Throughout the process of renovating my Primary Closet and Bathroom, the big double door sized hole in my bedroom wall has been the bane of my existence. Not only was it an eyesore, but it also forced me to look at the mess that is a renovation space every minute of everyday and first thing when I wake up in the morning. It was, quite honestly, causing me more stress than it should have. So when I got the go ahead to install the doors and patch the drywall, I was DOING IT!
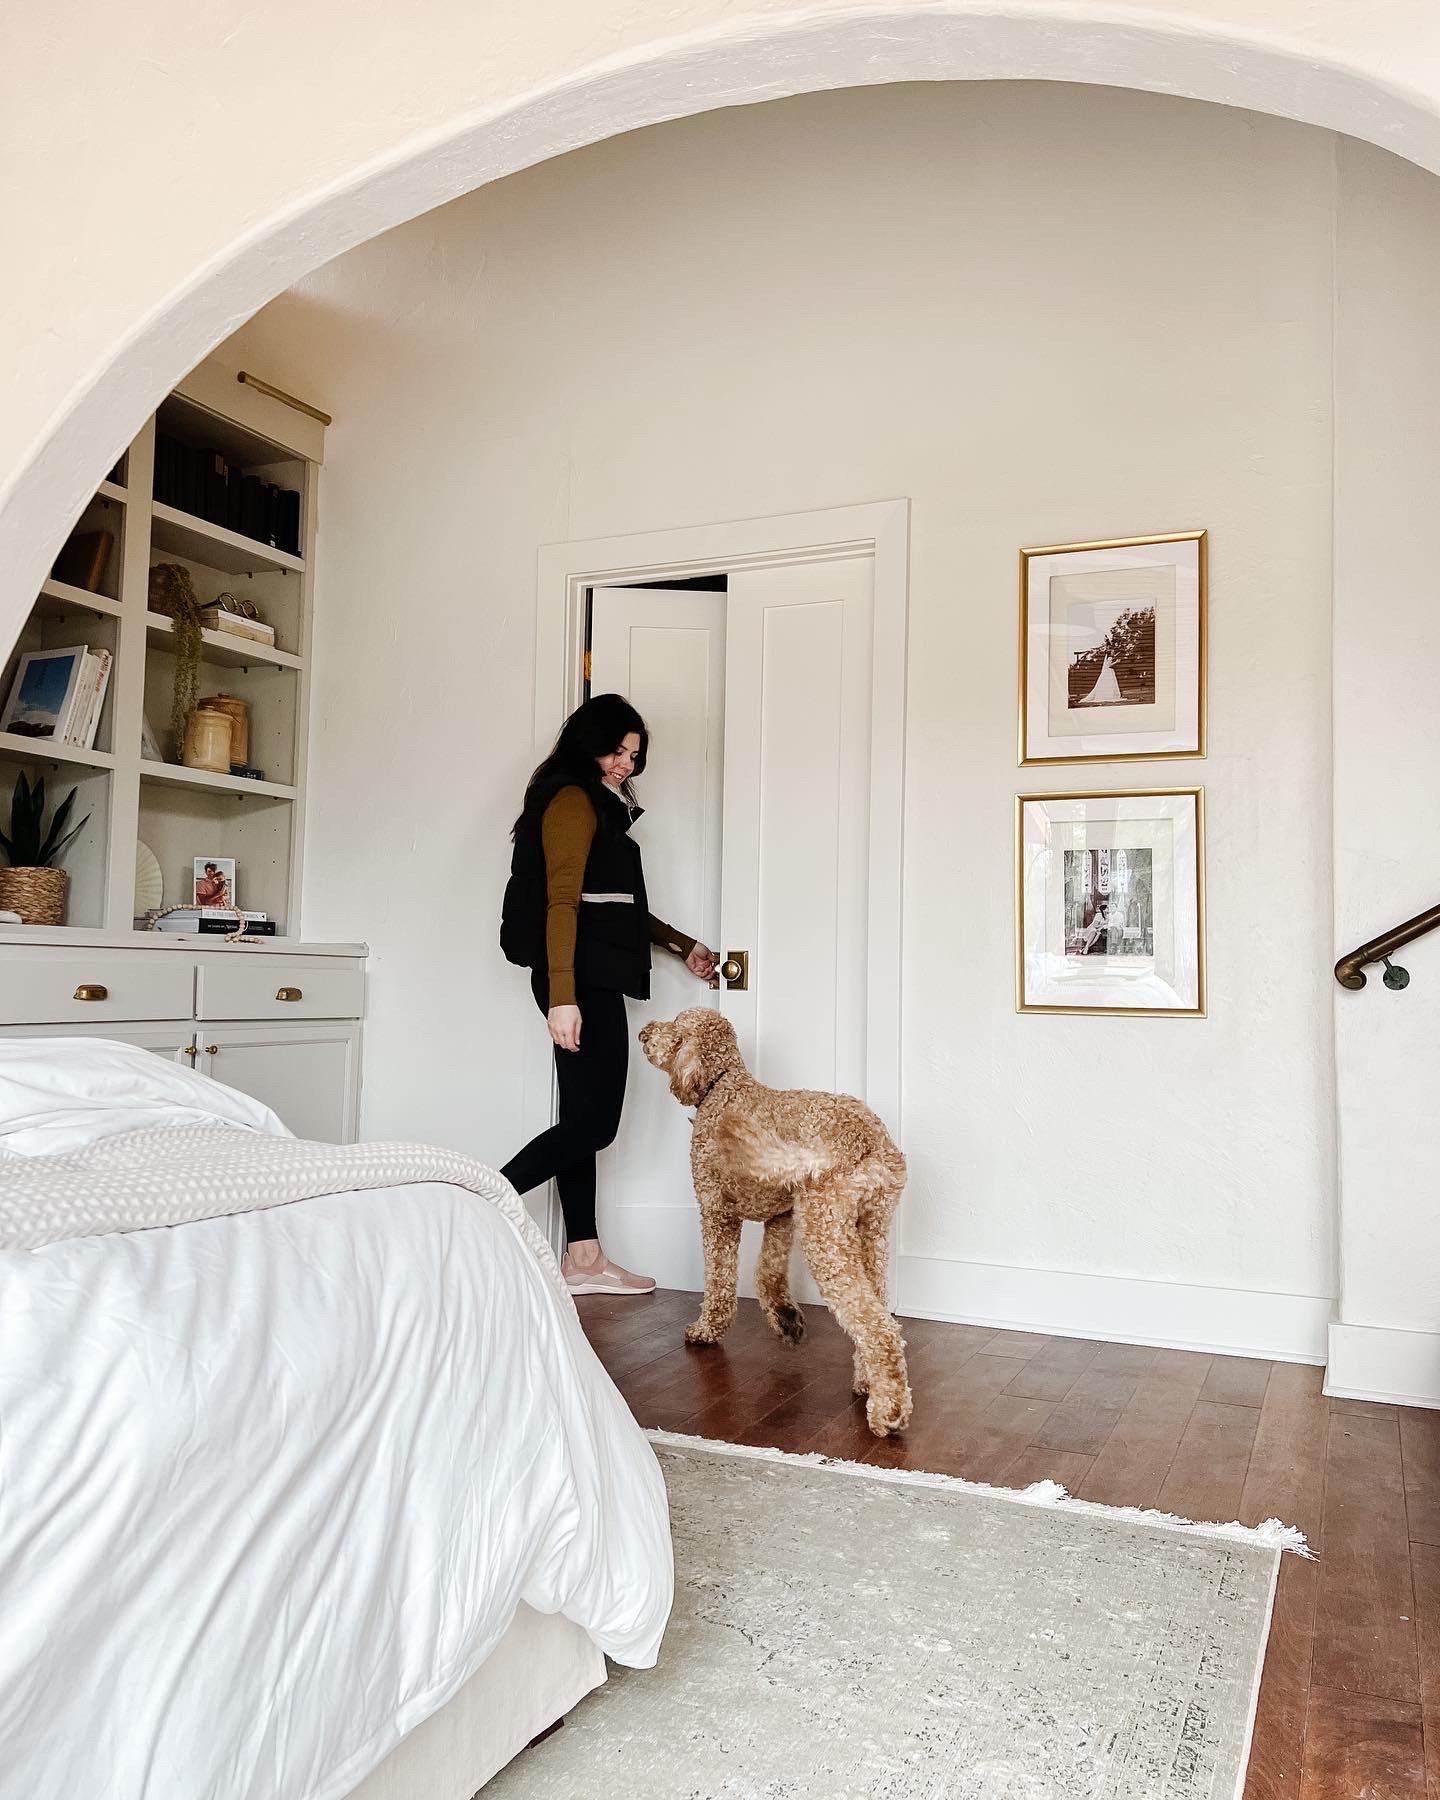
First, I had a crash course in hanging door frames. A level, square, and shims were involved. and I was able to help Jason get my custom double closet door in place! Seeing one of the shaker style doors I chose in place was so exciting!
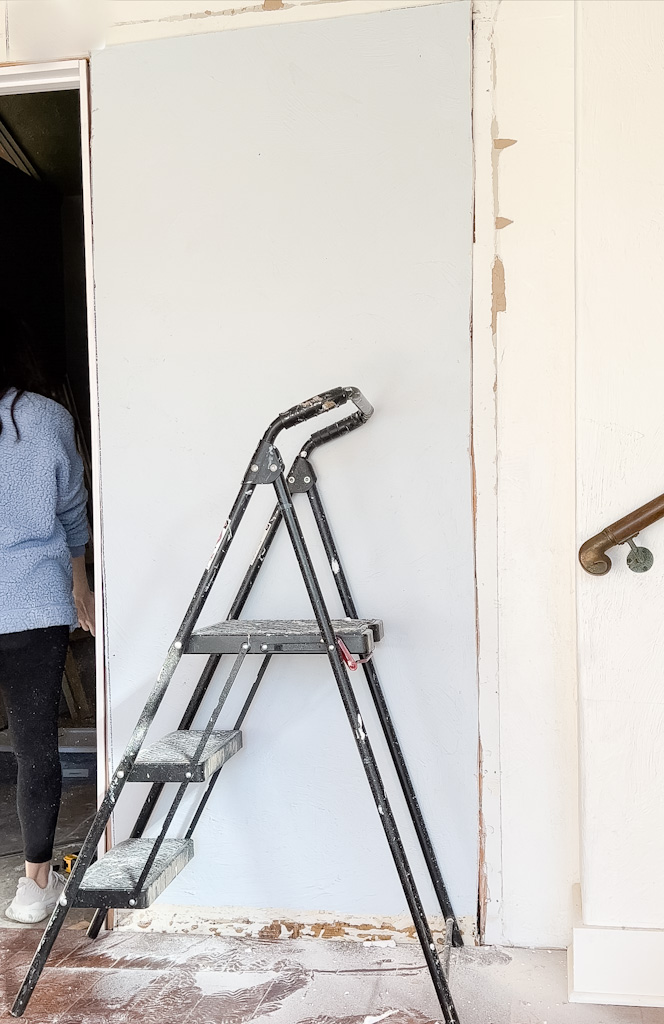
From there, I still had a BIG hole in my wall. Not to mention the odd, but pretty brushed texture that was on my bedroom walls that would have to be matched. But don’t worry, I had a solution. The small, powder bathroom that was originally connected to our Bedroom was being absorbed by the new bathroom. All the walls in that bathroom were the same brushed texture of my bedroom.
So I had the guys keep one wall whole as they were tearing it out. That left me a large enough piece of solid drywall to reuse it in the bedroom. AND it had the same texture which meant I’d only have to patch and texture the seams.
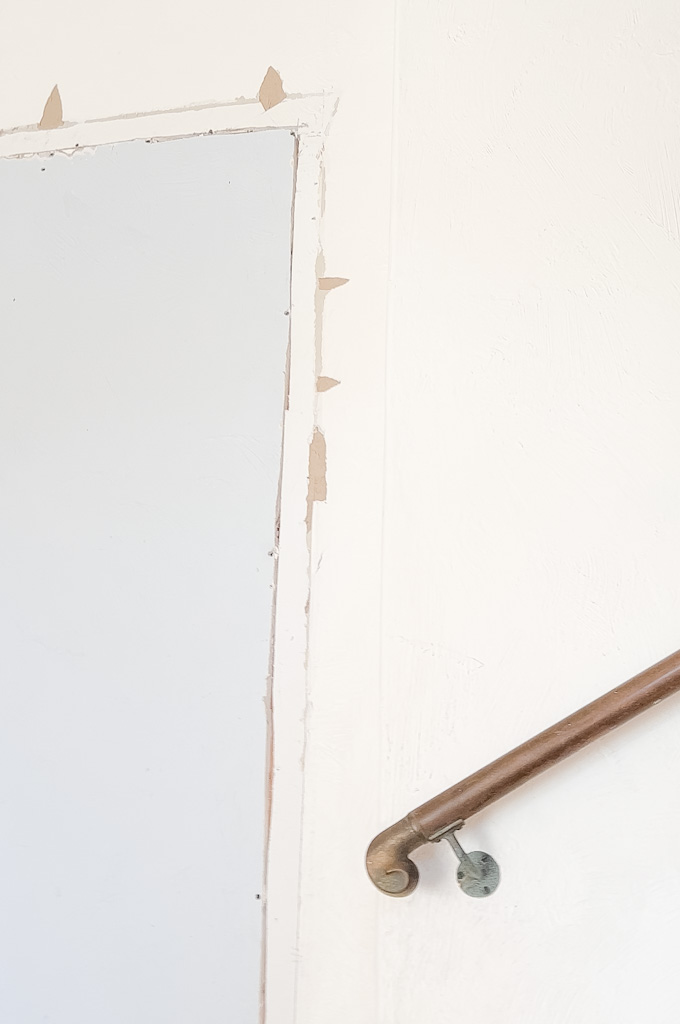
I was able to cut the large piece to size and screw it into the stud. I then used Easy Sand Joint Compound(fast drying), some ultra thin mesh tape, and a putty knife to patch the seams. I let that coat dry for a few hours and then came back with a really thick coat.
This was the coat where I experimented with the texture. I did a bit of research before and found that my textured looked like a chip brush texture. So I purchased a chip brush from Home Depot and lightly drug it across the drying joint putty. Turns out that was exactly what I needed and the texture was starting to blend immediately.
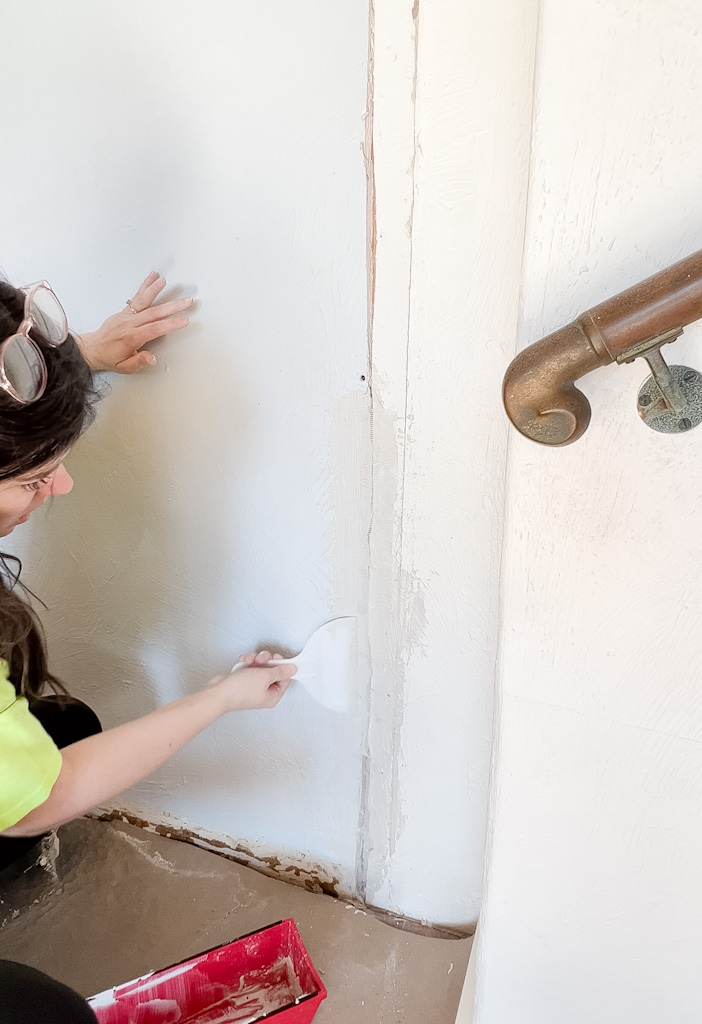
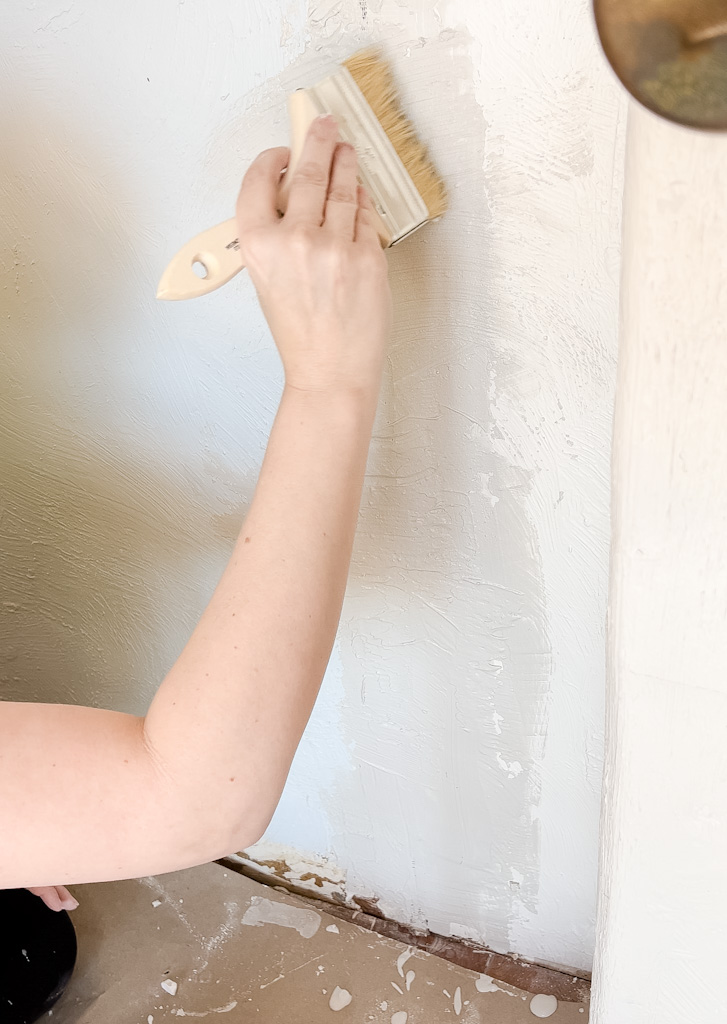
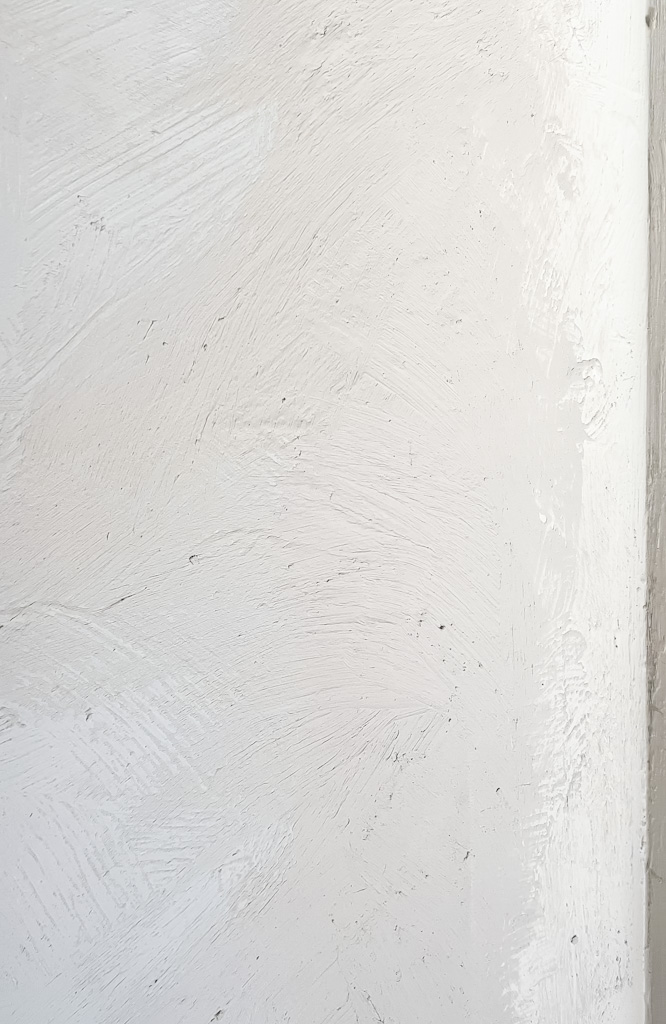
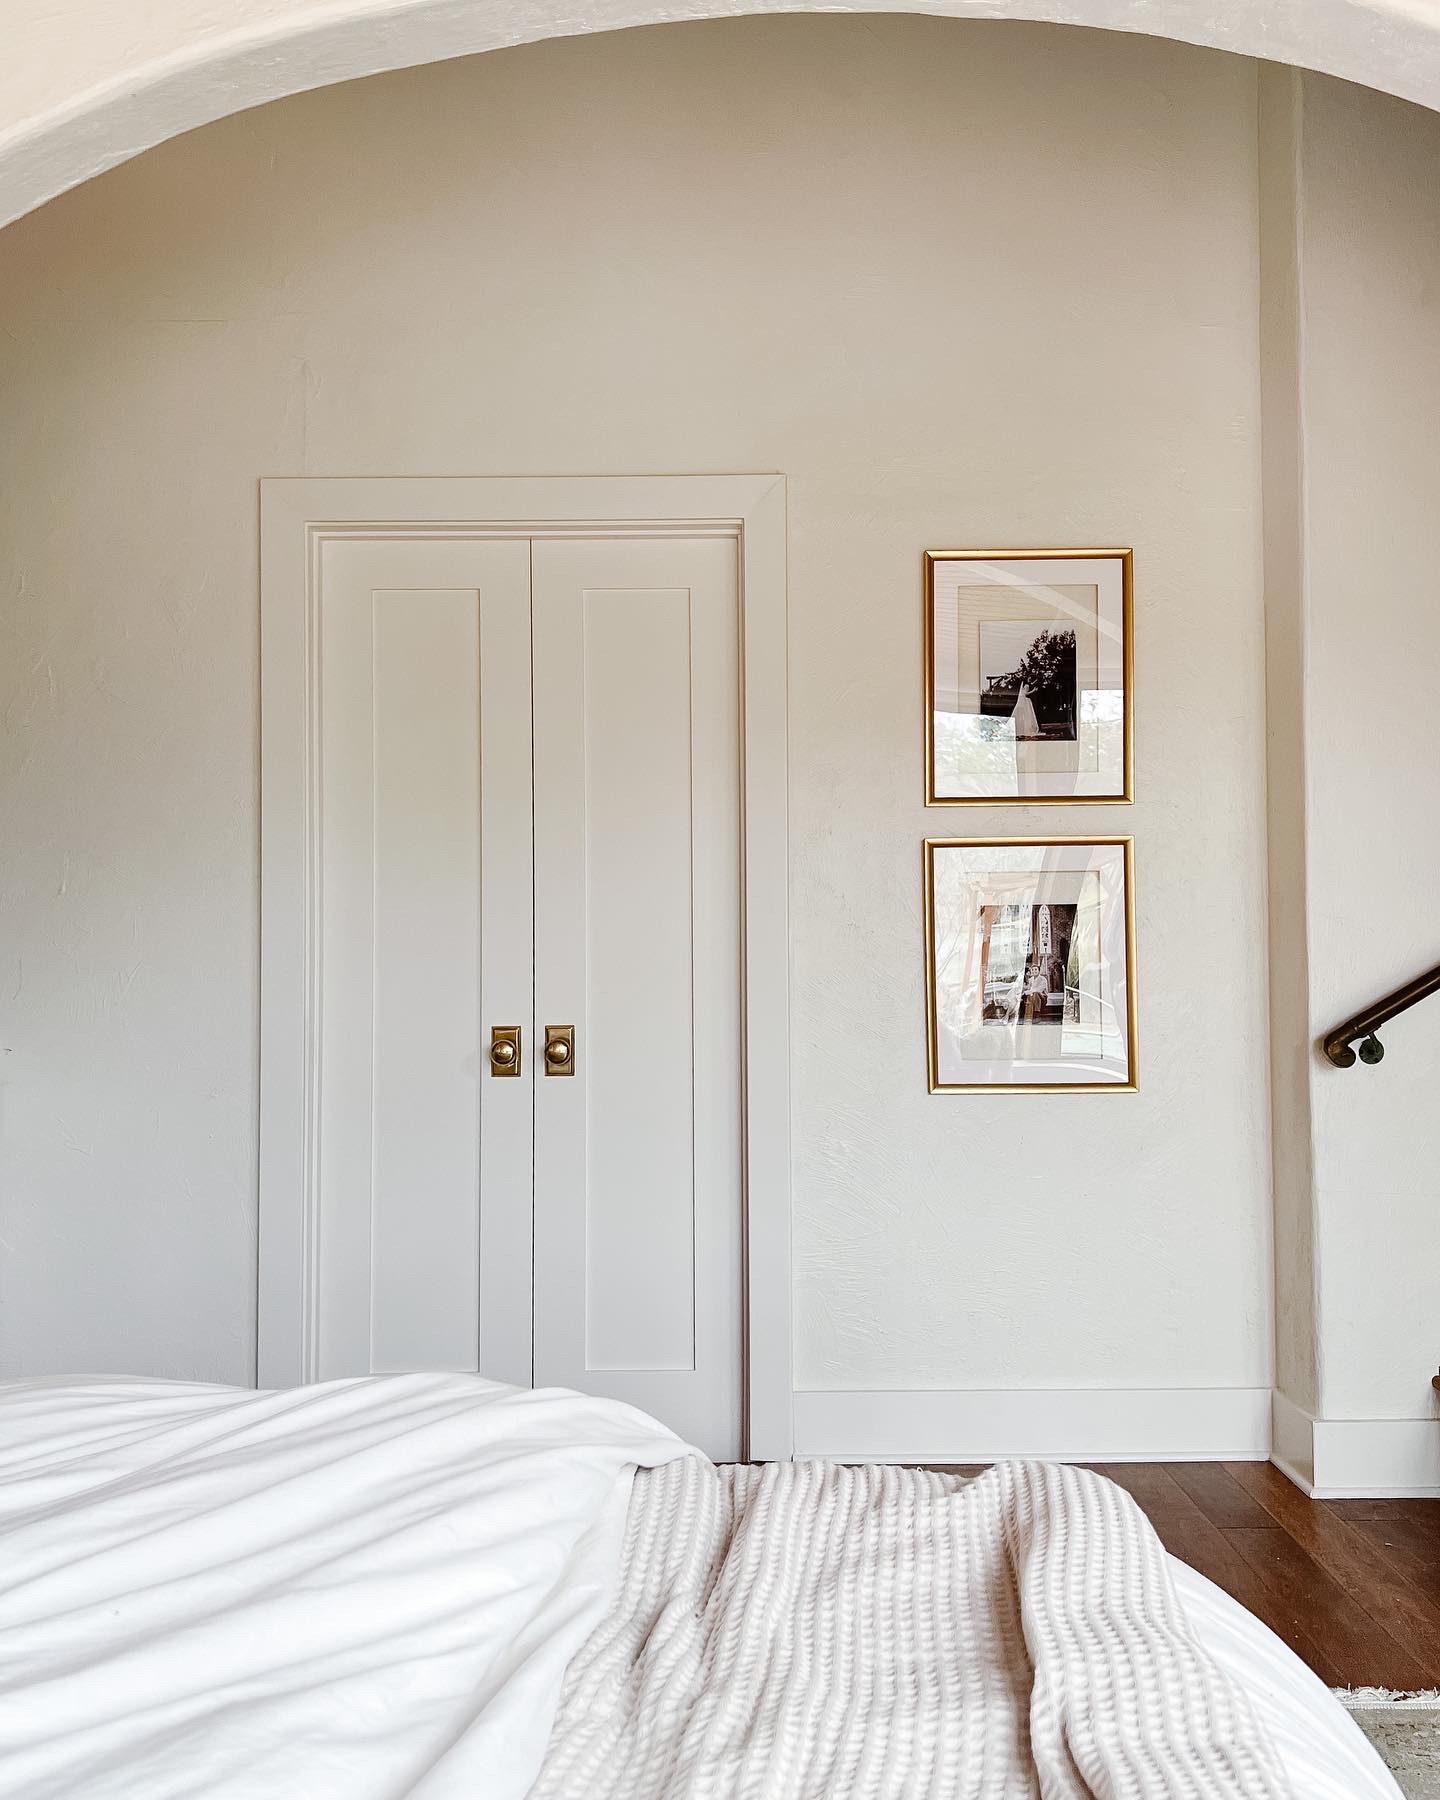
You can see in the photo above. The bluish color is the wall texture and the gray is where I was attempting to match it. When I was happy with the texture, I let it dry over night and gave it two coats of Sherwin Williams Alabaster paint in Eggshell finish.
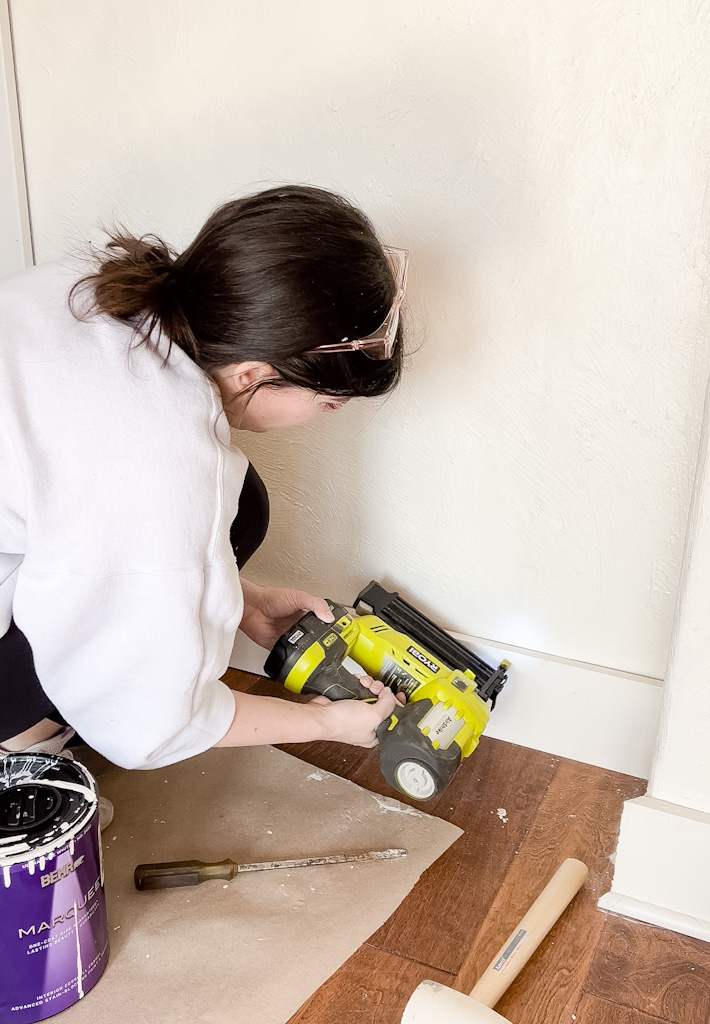
I then trimmed out the door casing and added baseboards just like I did in this post. I painted the door and added my new EMTEK hardware, hung up a few pieces of art and I was done. I can’t believe I patched drywall!! I’m so proud of myself for getting out of my comfort zone and learning something new! And now my room is no longer open to the renovation. I sleep easier and the fact that I’m able to close the door to the mess makes for a much less stressful state of mind.
But I can’t wait to show you all whats about to happen behind those closet doors!!